Building of Permaculture Earth-Shelter Cabin

Picture Summary: Clay-slip Straw Cabin Build
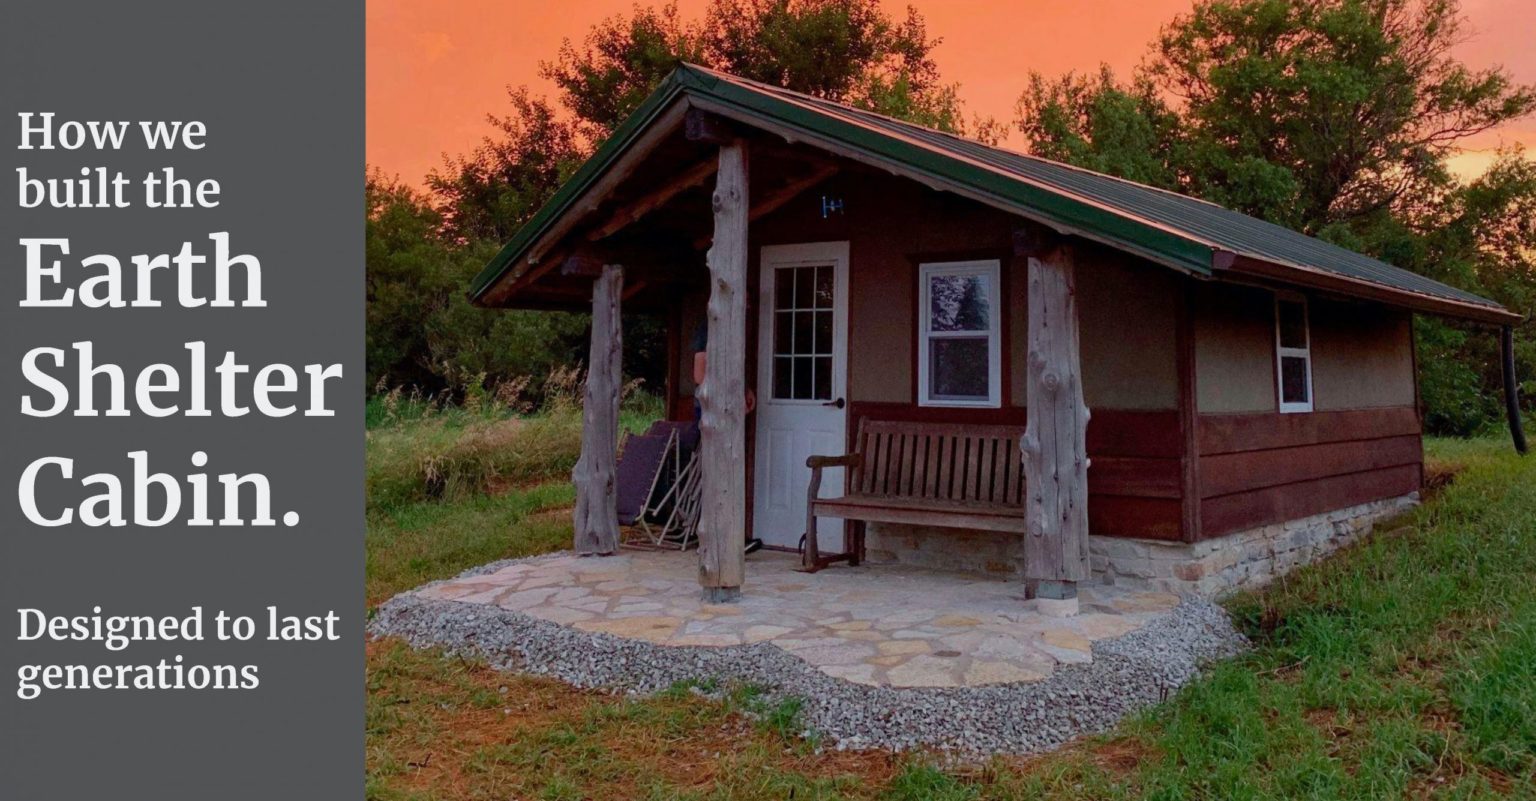
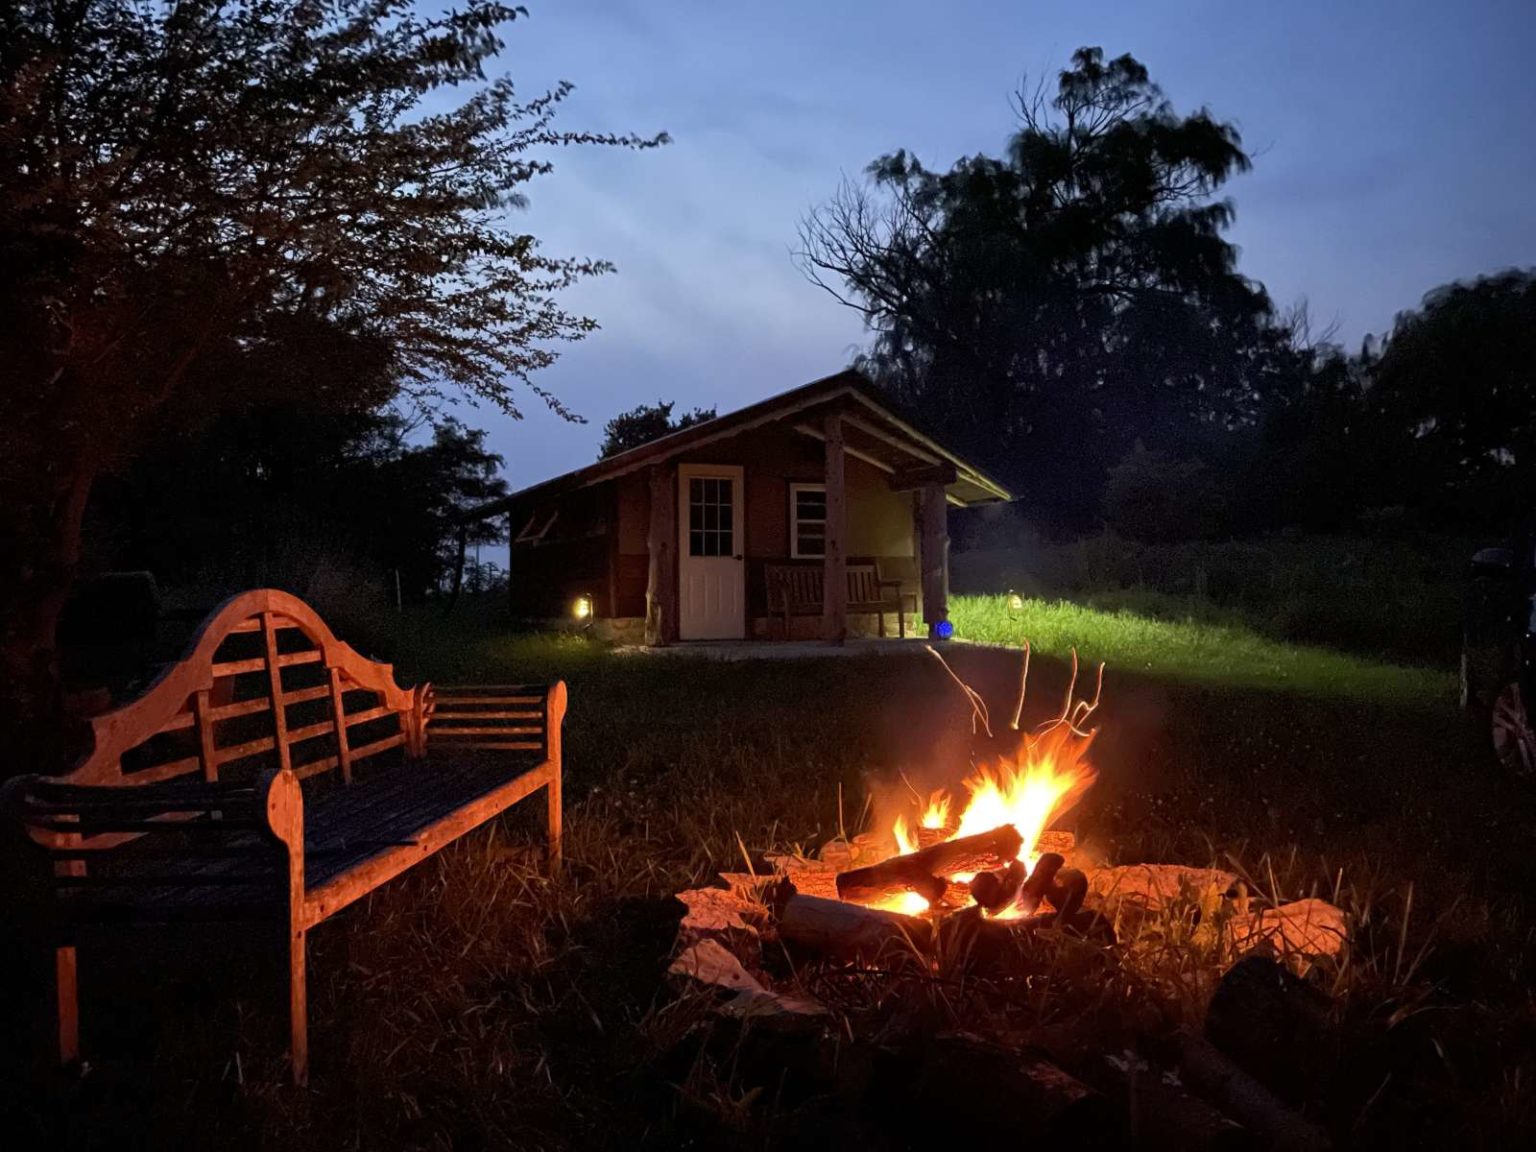
The cabin is available for overnight stays through our HipCamp listing. Enjoy the cabin and visit this Midwest Permaculture design site at CSC in Stelle, IL. Tours available.

Our First Cabin is Done - Completed 2020

We guided the design and construction of the first of several cabins on the CSC’s 8.7 acre design project. The cabins are part of a long-term sustainability plan for this land.

Why is it called an ‘Earth Shelter?’  Because it is made from the earth right beneath our feet here, just 50′ from the cabin.

The goal of the CSC permaculture design is to learn how to build and live more simply so that we might create a more sustainable future.  Many people are interested in tiny homes, as are we, so a small cabin made from mostly natural and locally sourced materials became an obvious early project.
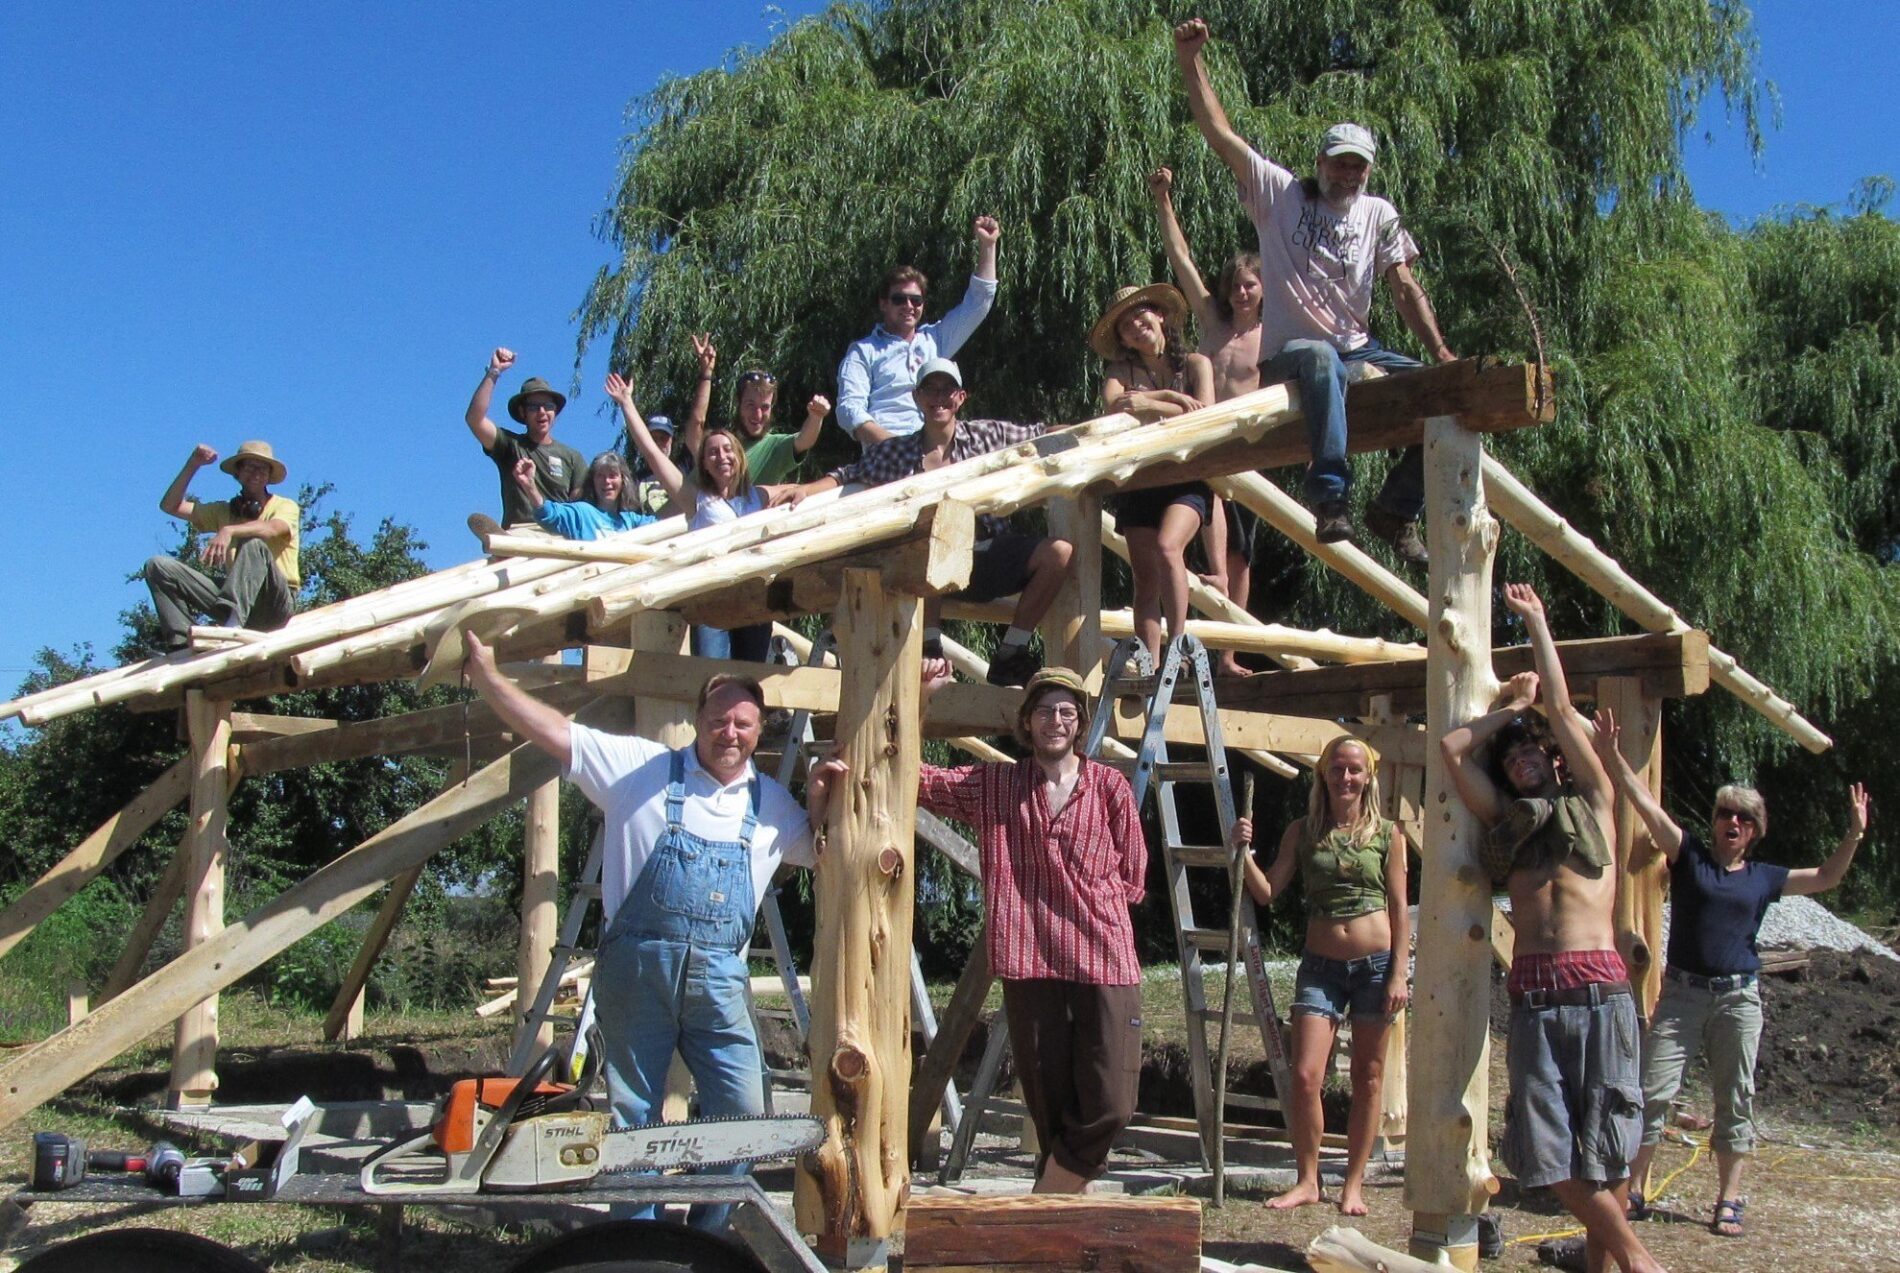
With all the workshops we offered, over 150-people got first-hand experience in natural building as they helped build this cabin over a 6-year period. Here is the basic information on how the cabin was built from the foundation up.

Why the Cabin and the Size?

The creation of this cabin was inspired by Henry David Thoreau. He lived in a hand-built cabin on Walden pond for close to two years where he reflected upon and wrote about his ideas of living simply in his classic book, Walden.  Our appreciation for his thoughts on living close to nature encouraged our efforts to build a cabin that had integrity and longevity. The square footage of our cabin is almost exactly that of the one Thoreau built on Walden pond from recycled and hand-cut materials for $28.12 in 1845.

“I went to the woods because I wished to live deliberately, to front only the essential facts of life, and see if I could not learn what it had to teach, and not, when I came to die, discover that I had not lived,” he wrote.

Why use clay?

The first rule of thumb in permaculture construction is to seek out ways to use the most readily available materials on site. In Stelle, we are sitting on an ocean of clay.
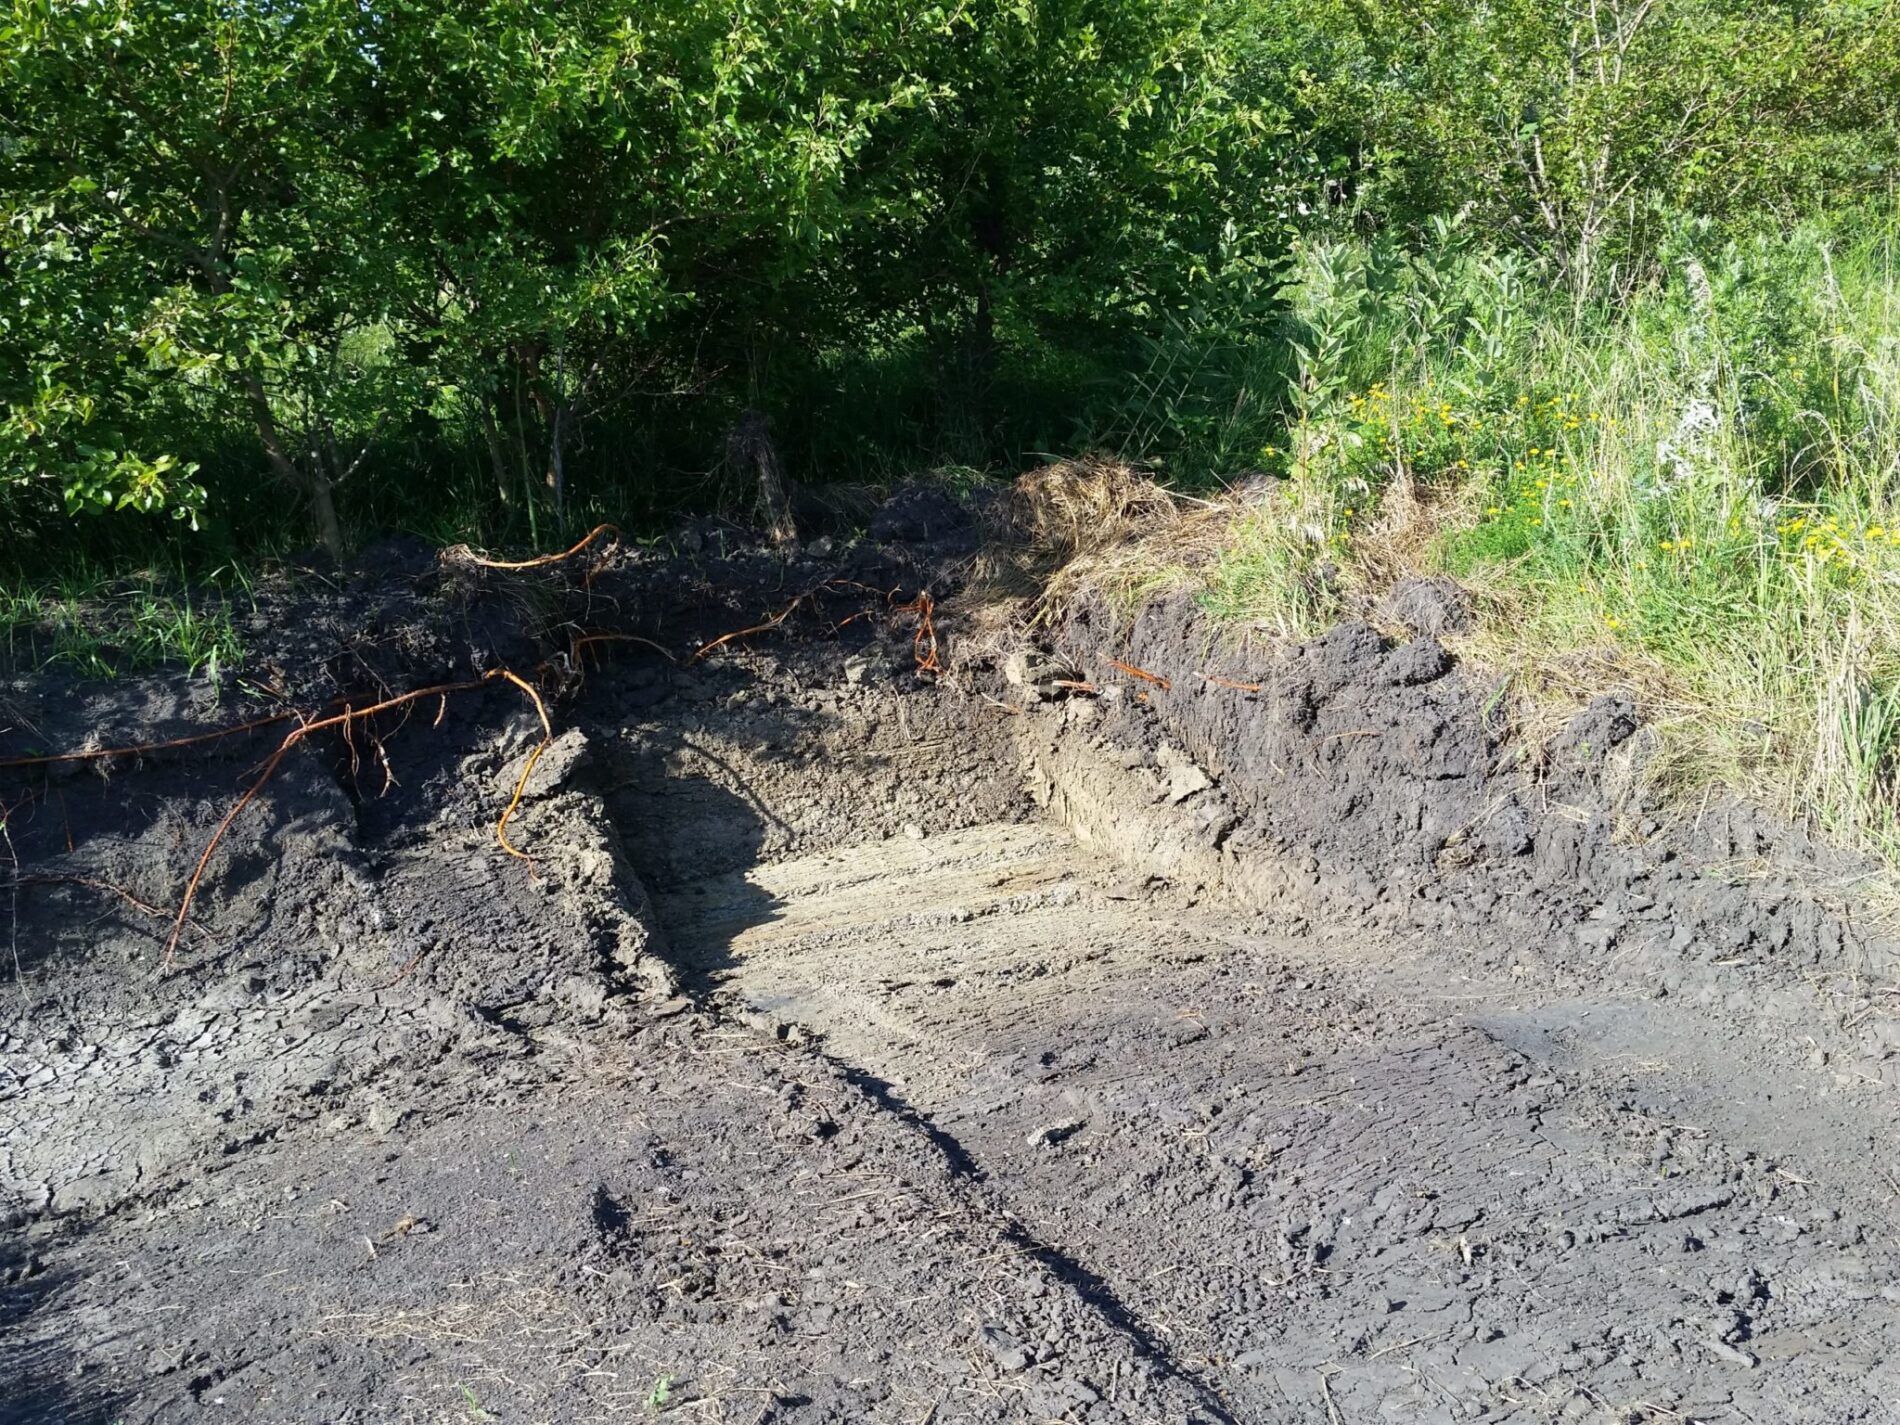
The clay lies about 18" under the topsoil on our land. We dug it out with a front-end loader and put it into buckets of water to soften.

Clay soils are typically slow to drain, hard to dig through, and make a muddy mess during the rainy season. On the upside, however, clay shines in its ability to bind loose substrates like sand, stone, or straw into a solid mass once it dries. The trick with building using clay, in the long run, is to be certain to keep it dry.

So for all of the cabins we design and build, clay will be a major component as it comes right from beneath our feet. The most common ways to build with clay are by creating:

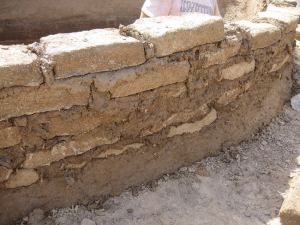
Cob_wall_mud_construction
Cob: Mixing 1-part clay with 3-parts sand and adding scattered straw to hold it together.
Mudbrick-wall-bound-with-mortar-and-in-the-process-of-being-covered-with-mud-plaster (1)
Clay brick: Compress to shape and either air drying or kiln-fire to harden.
Clay-slip straw: Coating straw in a clay slurry, then ramming it between forms to create solid walls)

To decide which method would work best in our situation, we assessed the overall goals for the structure. It had to:

    • Last for a very long time
    • Have a high R value (good insulating qualities)
    • Have the majority of materials used be locally/sustainably sourced
    • Withstand our humid climate and slow-draining soils

We compared our options. Solid clay has the tendency to crack since it expands and contracts according to moisture conditions. If we were to create a structure from clay brick, the humidity present in the air here would likely damage the clay unless the bricks were fired in a kiln.

What about cob? Unfortunately, it has a very low R-value. A 1-foot thick wall of cob has an R-value of approximately 3. (for comparison, your average house walls are rated R13-23.)

A 1-foot clay-slip wall, however, is rated R18-24 since it is predominantly straw which is a good insulator as it traps air. The low ratio of clay also reduces the likelihood of cracking. Using straw as a primary building material was also advantageous since compared to sand it is very lightweight and relatively easy to work with. Plus, we could source it locally from a farm just 6 miles down the road.
So we settled on clay-slip straw and started to dig the foundation.

Rubble Trench

We used the rubble trench method to minimize concrete usage. Why? Concrete is a mixture of cement (the grey powdery stuff), gravel, sand, and water. To make the cement, limestone powder is baked in ovens until it reaches almost 2700 degrees (F) which requires a tremendous amount of energy to get those high temps. The less cement/concrete we use, the less energy we consume.

As mentioned earlier, clay is very hard to dig through!

After 2.5 days of digging by hand, we rented a backhoe to speed things up in preparation for the arrival of the frame builders.
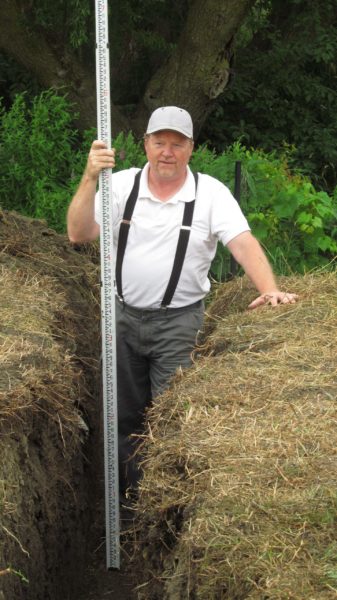
Bill standing in the completed trench making sure the bottom of it always sloped downward towards daylight.
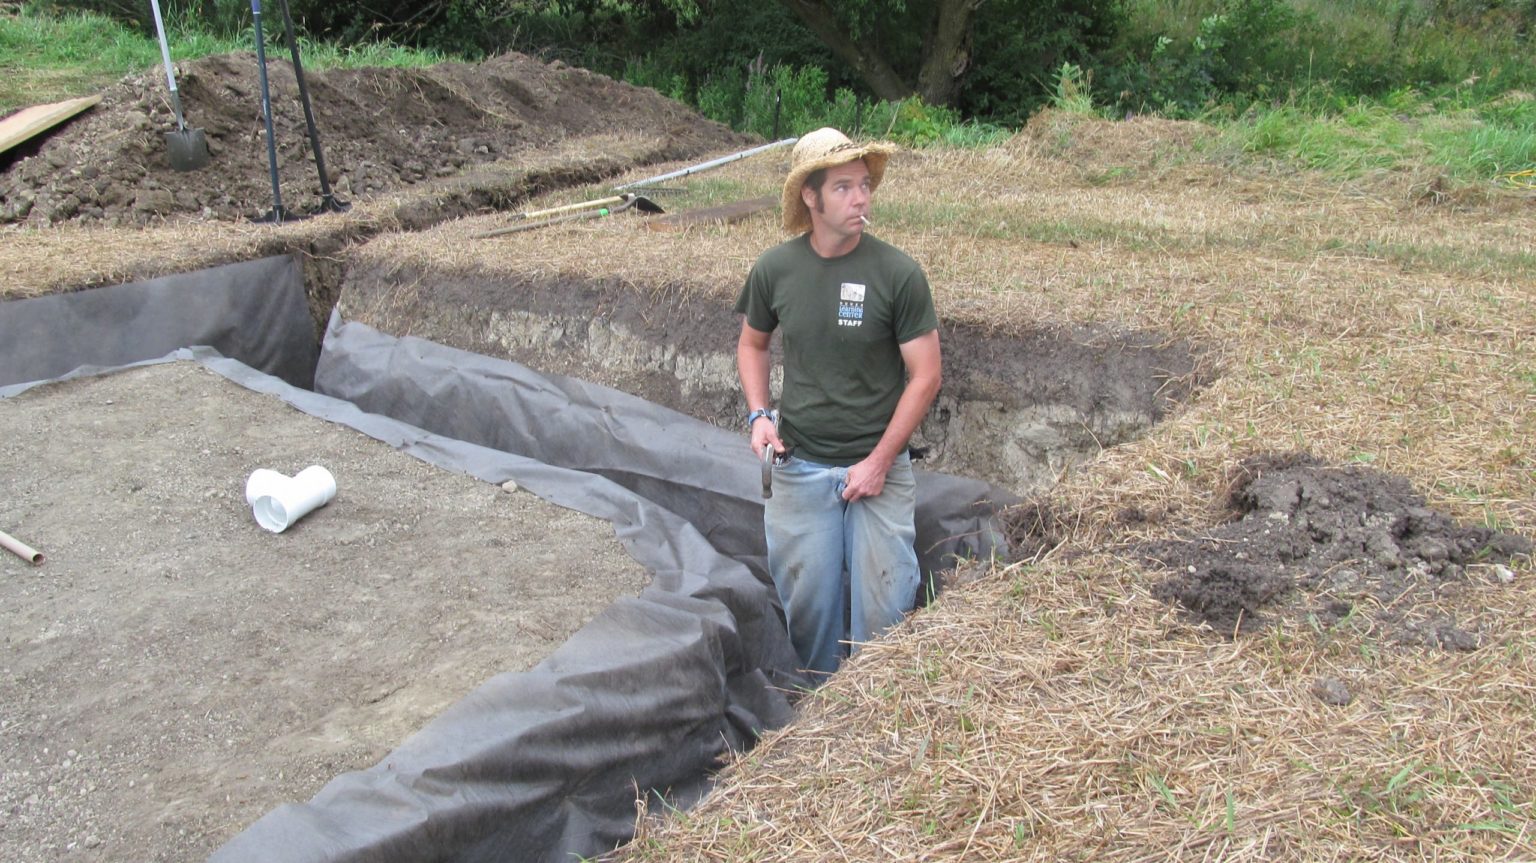
We then lined the trench with landscaping fabric to prevent silt from filling in the pores around the gravel which allows water to drain out of the trench freely, reducing the risk of frost heaving in winter.

Rubble Trench with a 4" Perforated Drain Tile

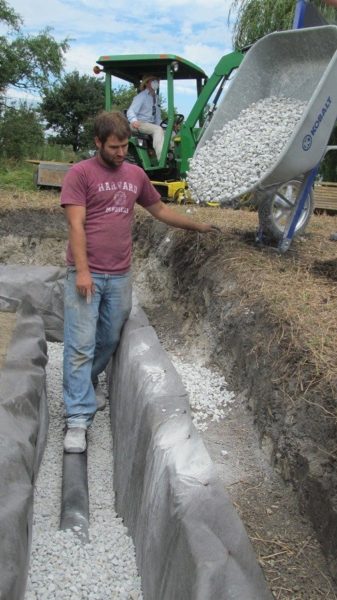
As we started to fill the trench with gravel we added a 4″ drain tile around the bottom, providing a channel for water to exit. The drain tile exits the foundation underground, always flowing slightly downhill, to where it finally exits above the creek. This is referred to as ‘draining to daylight’. We’ll never need a pump to get water out of the foundation. The end of the tube is covered in mesh to prevent small animals from entering.
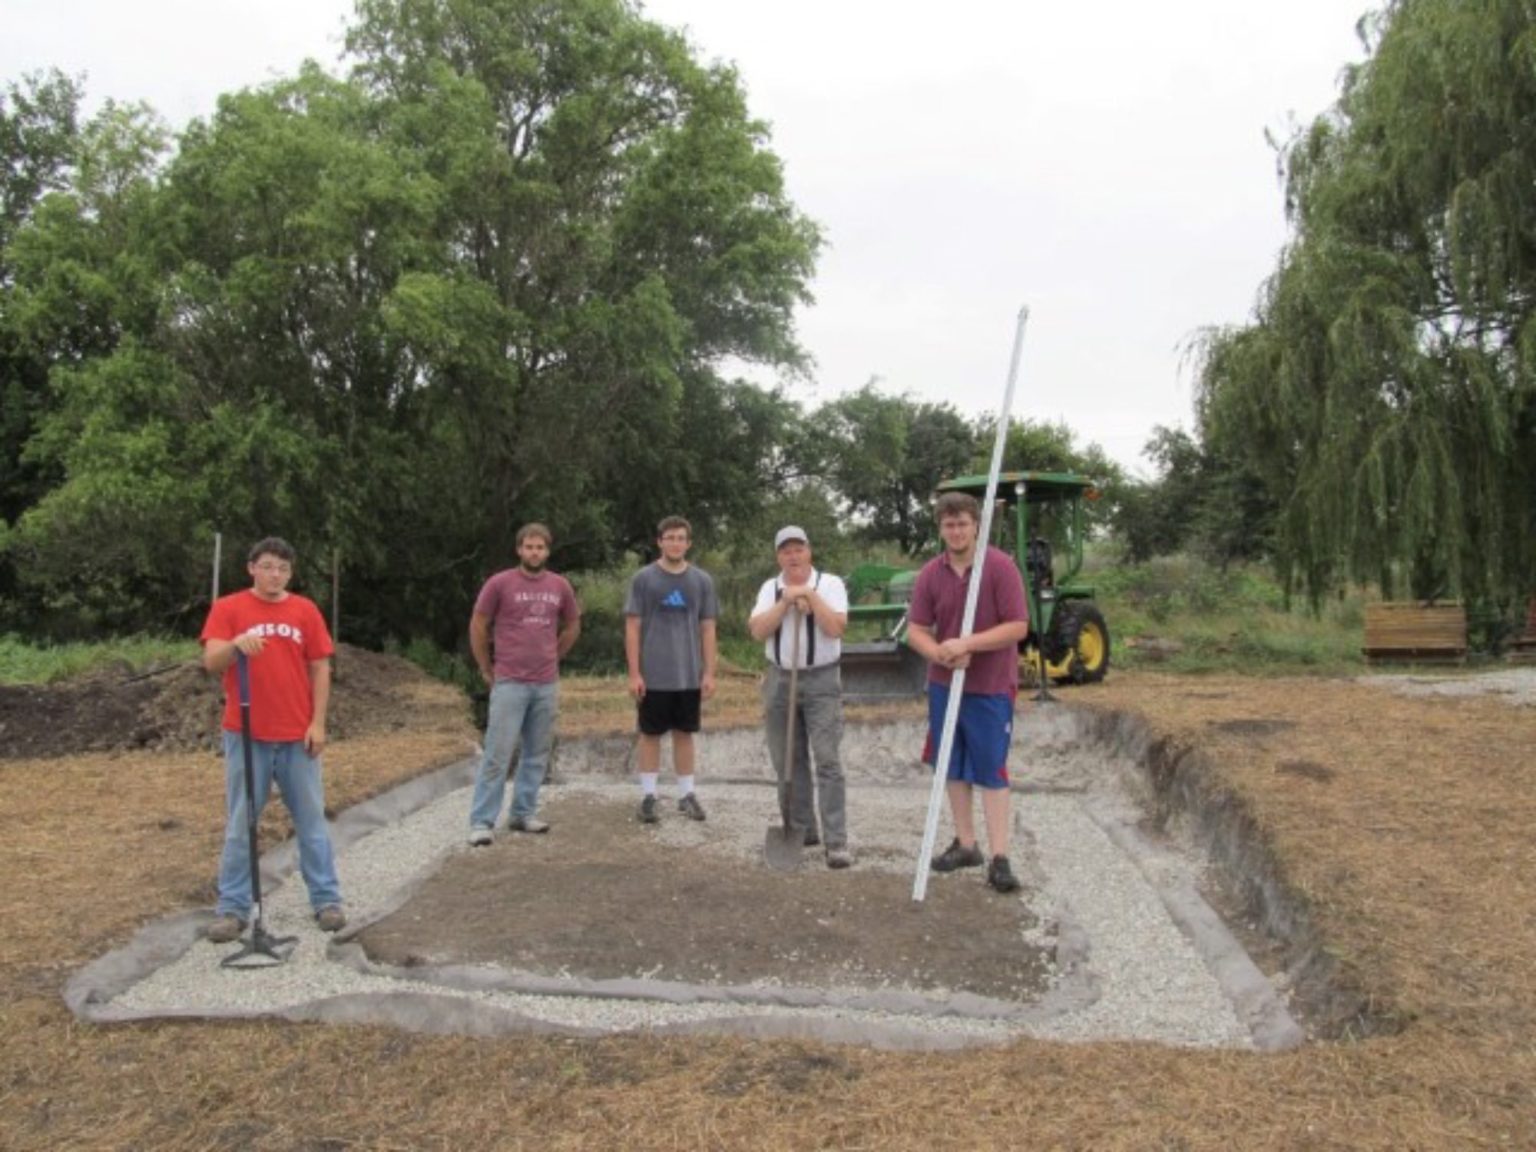
We filled the trench layer by layer and tamped down the gravel, making a solid base for the foundation. Any water that gets to the cabin foundation gets wicked away. Our foundation team (L-R); Zach, Dan, Andrew, Bill, and Connor.

Bond Beam

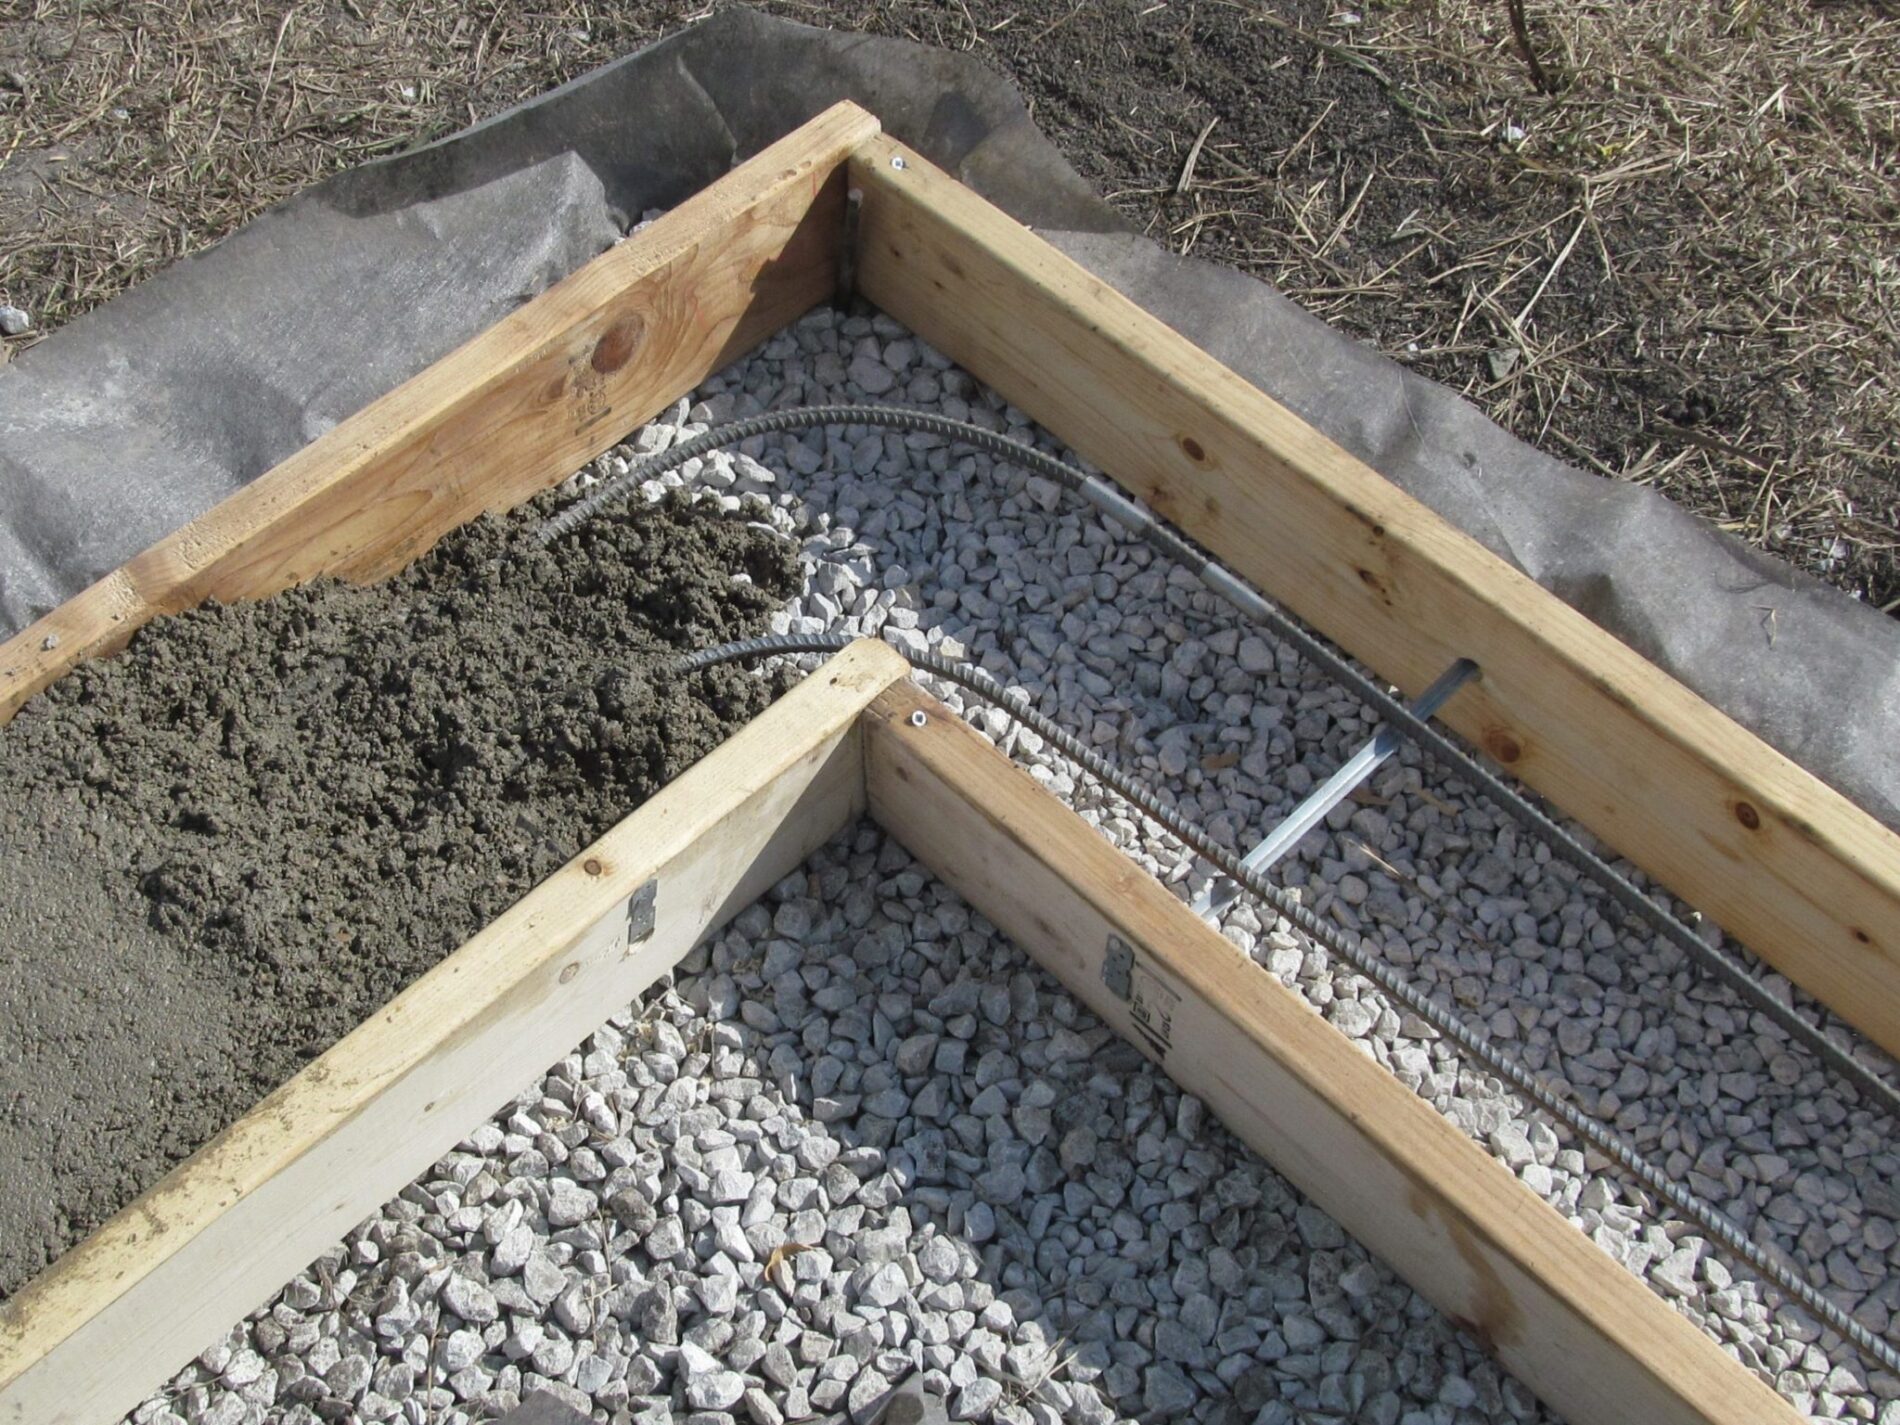
The bond beam was reinforced with rebar to prevent cracking.

Post and Beam Frame

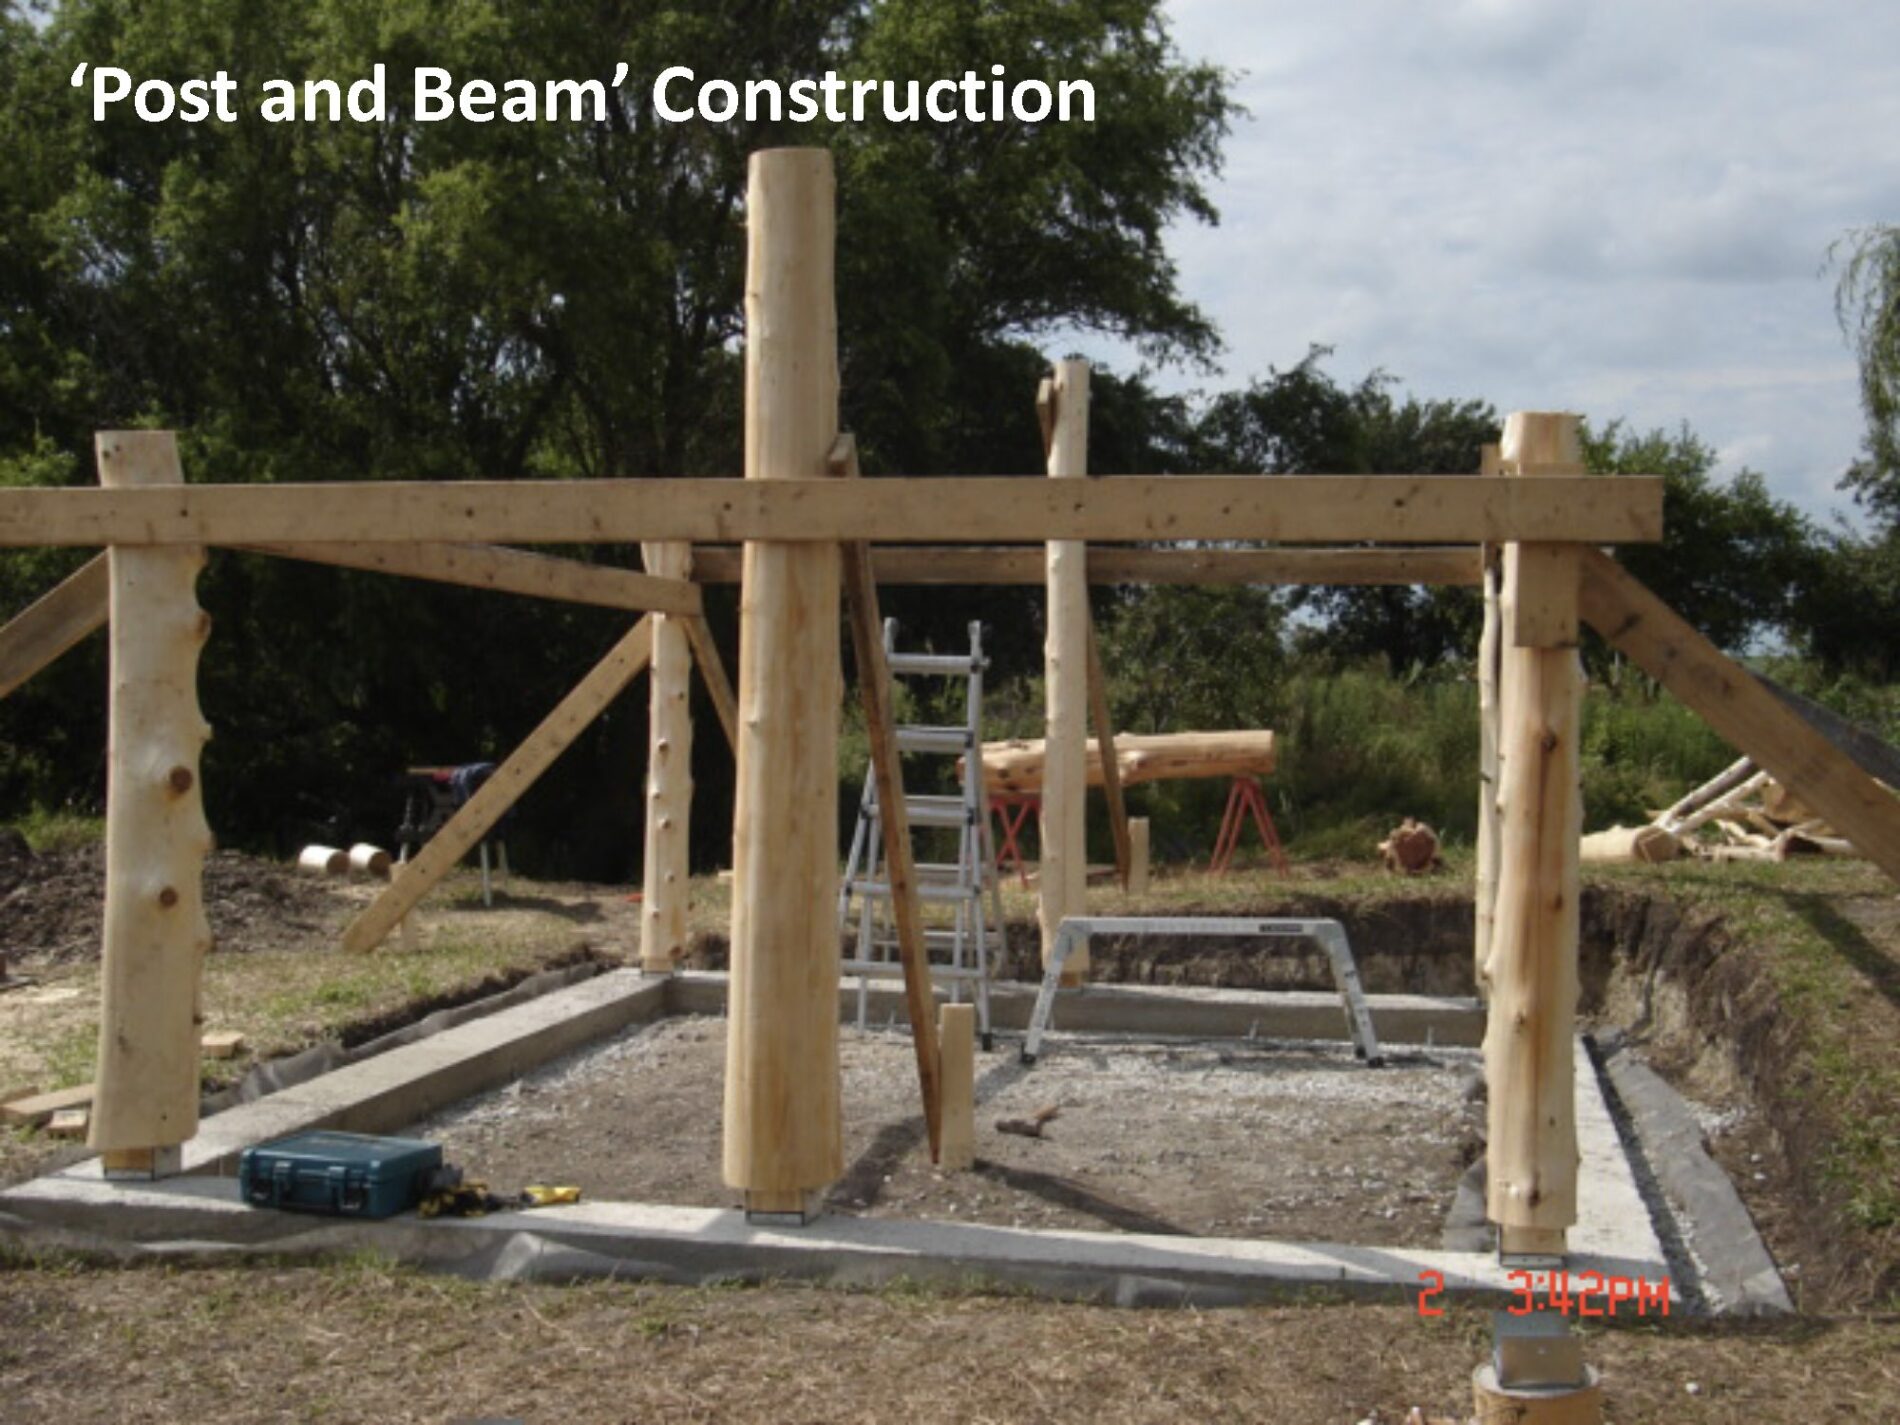
We started by attaching posts to the bond beam via the bolts we had set in the concrete.
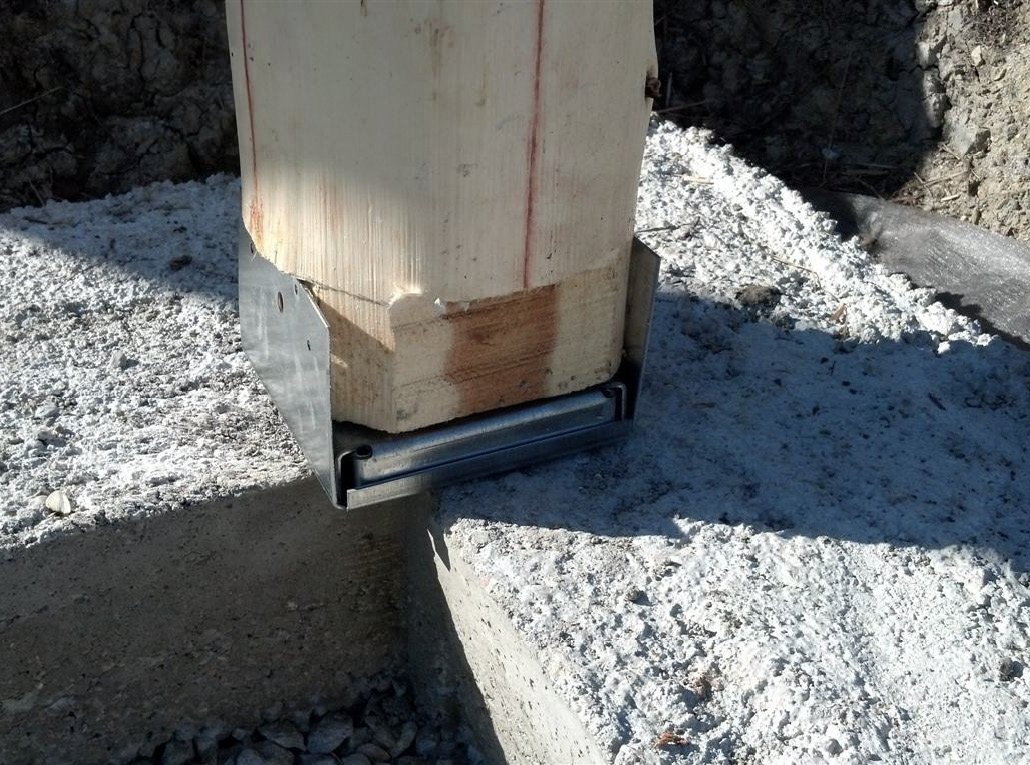
The posts were shaped to be seated into metal brackets that hold the beam up off the concrete. This is important so that moisture will not wick up into the wood over the decades and centuries ahead.
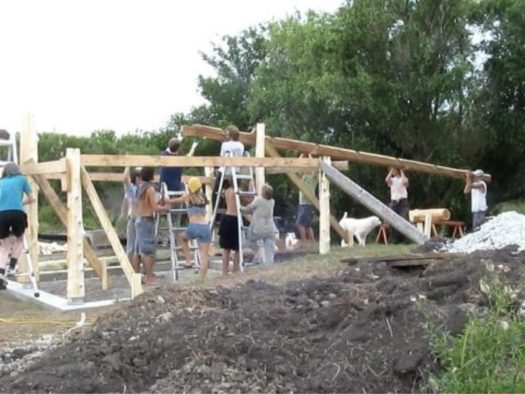
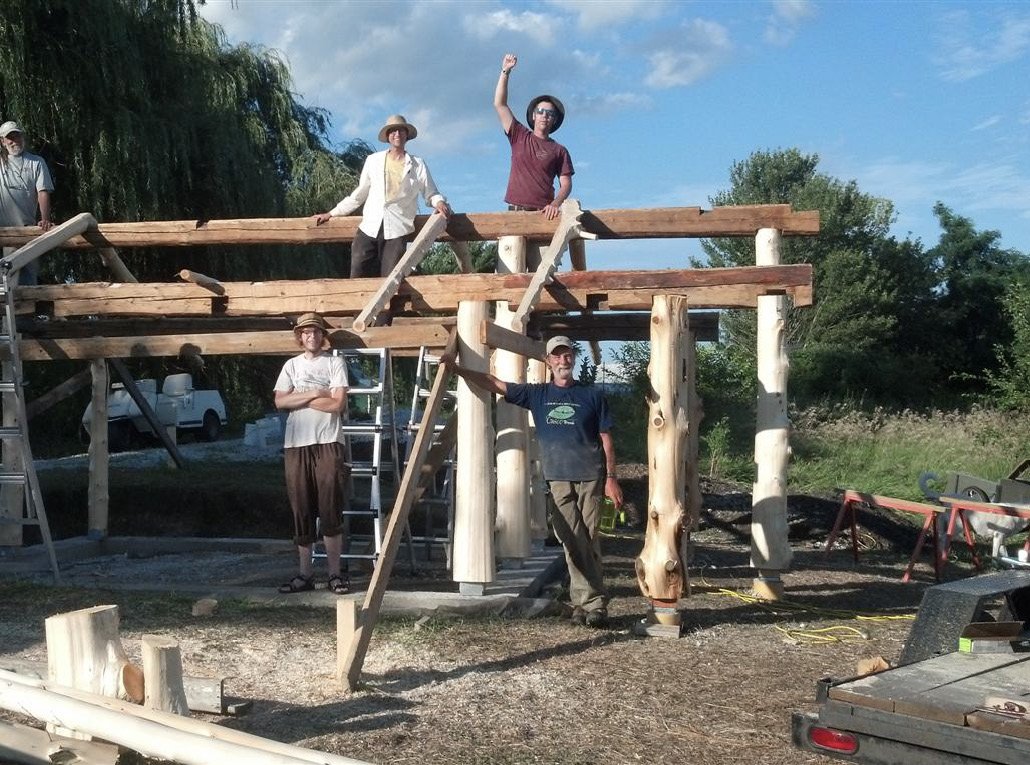
A team of students from one of our PDC courses raised the ridge beam onto the frame.
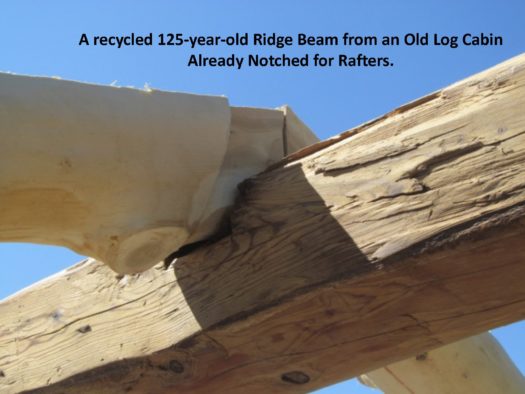
Three 125-year-old hand-hewn, solid-oak beams hold up the roof of this cabin. They were brought to us by our timber framing builders.
Then the rafters were hewn to fit the existing notches in the ridge beam and installed.
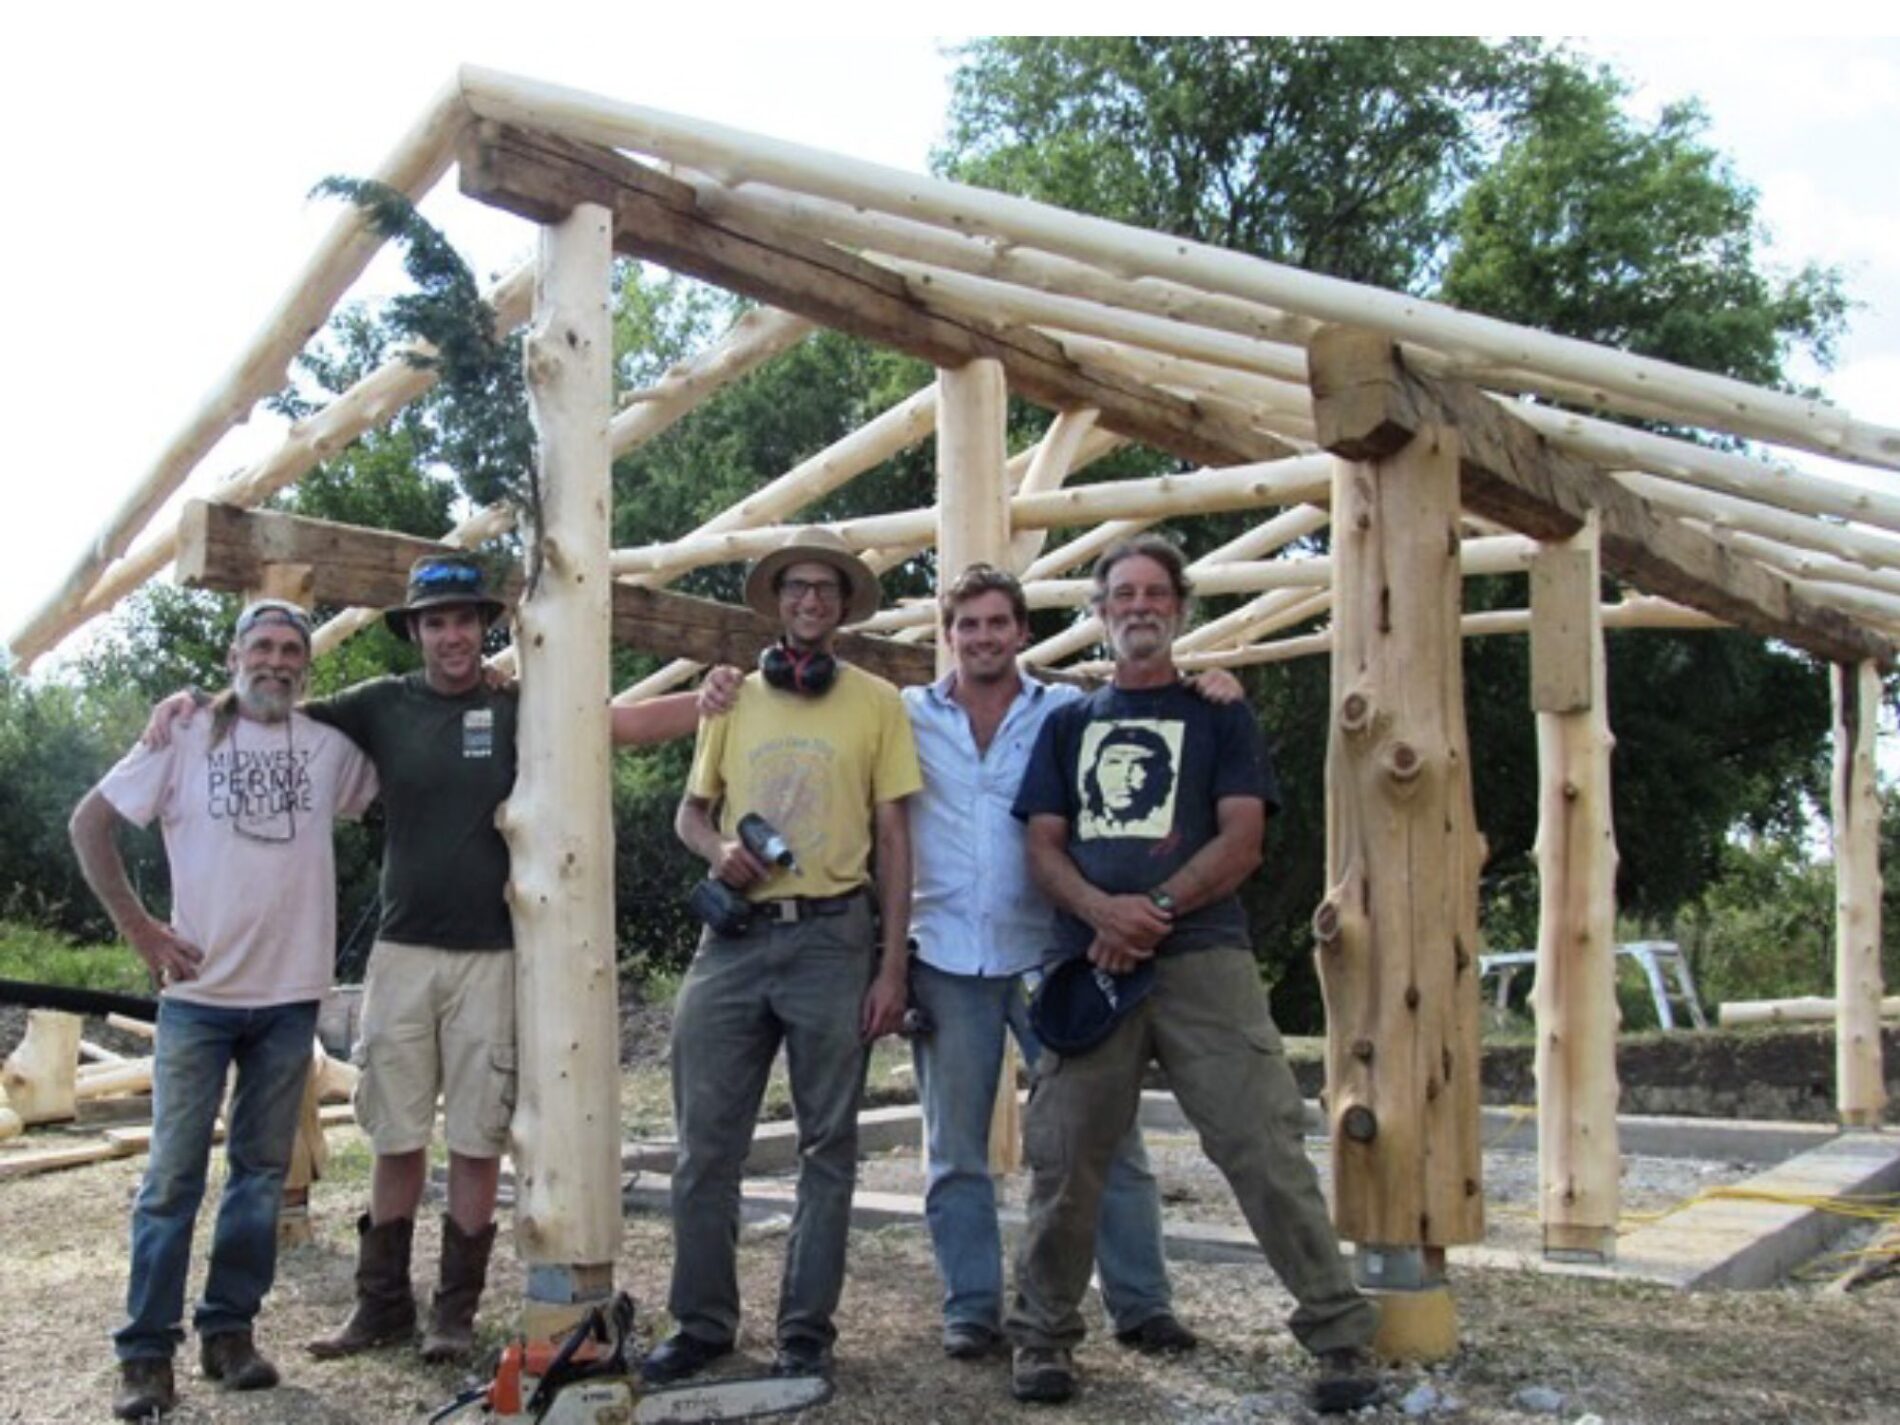
This was our finishing crew for the post and beam work. Dudley (far left) and Tim (far right), both from Wisconsin, are the timber frame builders that led this part of the project. What a joy working with these kind men and skilled craftsmen!  Our local team of Ernest, Randall, and Hayden (L-R) now have a good understanding of how to do this work as well.

Insulated/Steel Roof

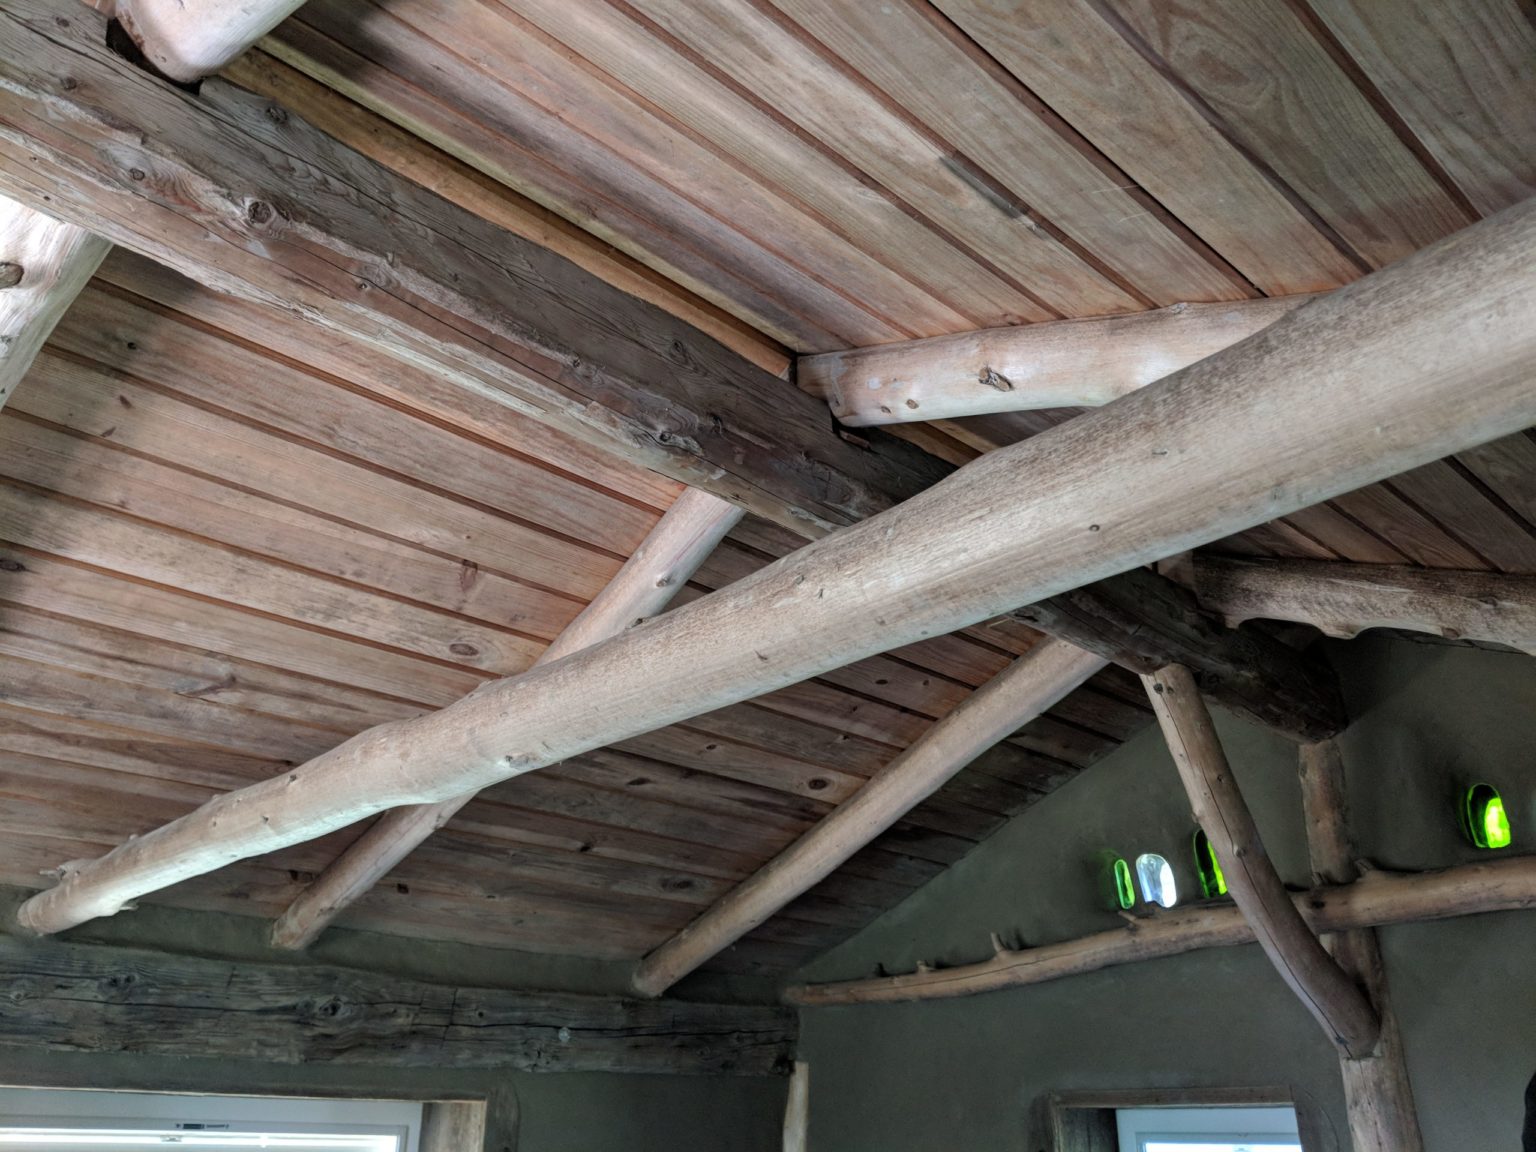
A look at the ceiling from inside.
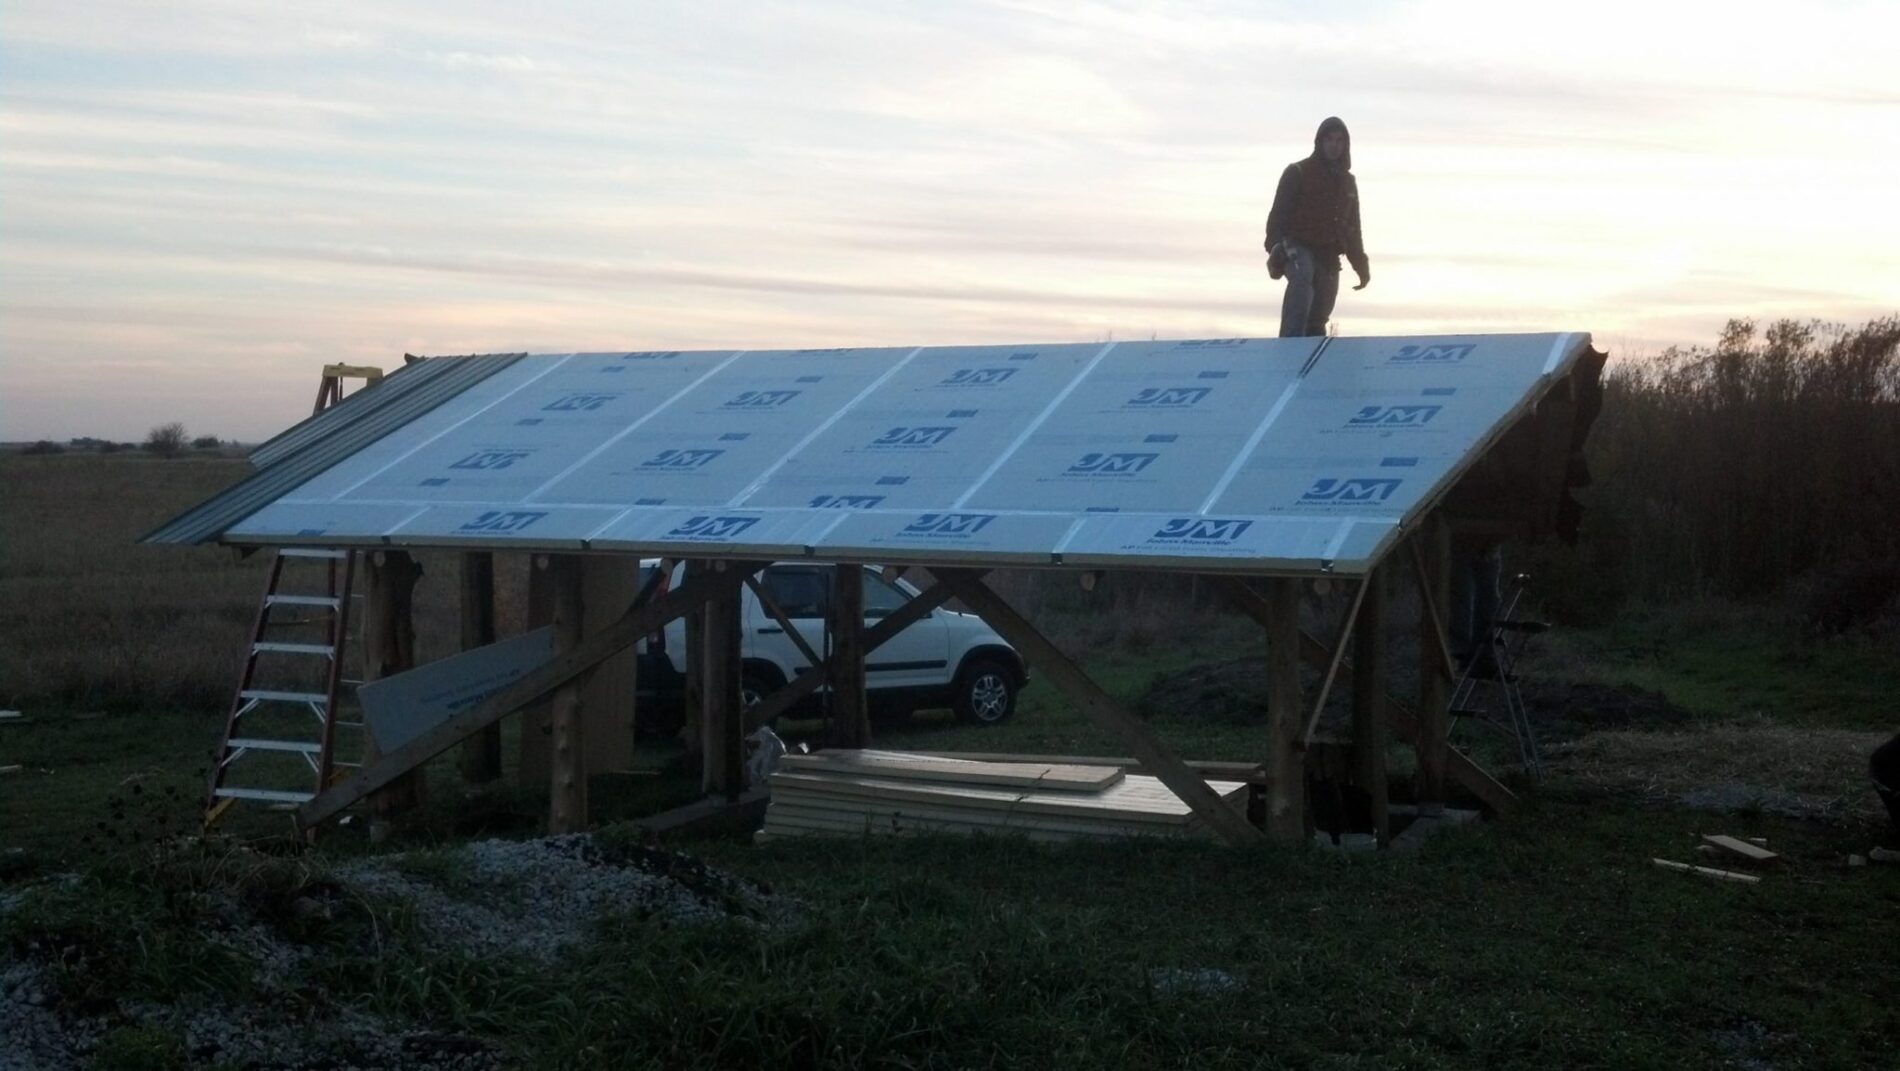
On top of the boards, a 2" layer of environmentally produced hardboard insulation was tacked in place. The insulation not only helps to hold temperatures steady in the cabin but it also reduces the noise of rain hitting the metal roof.
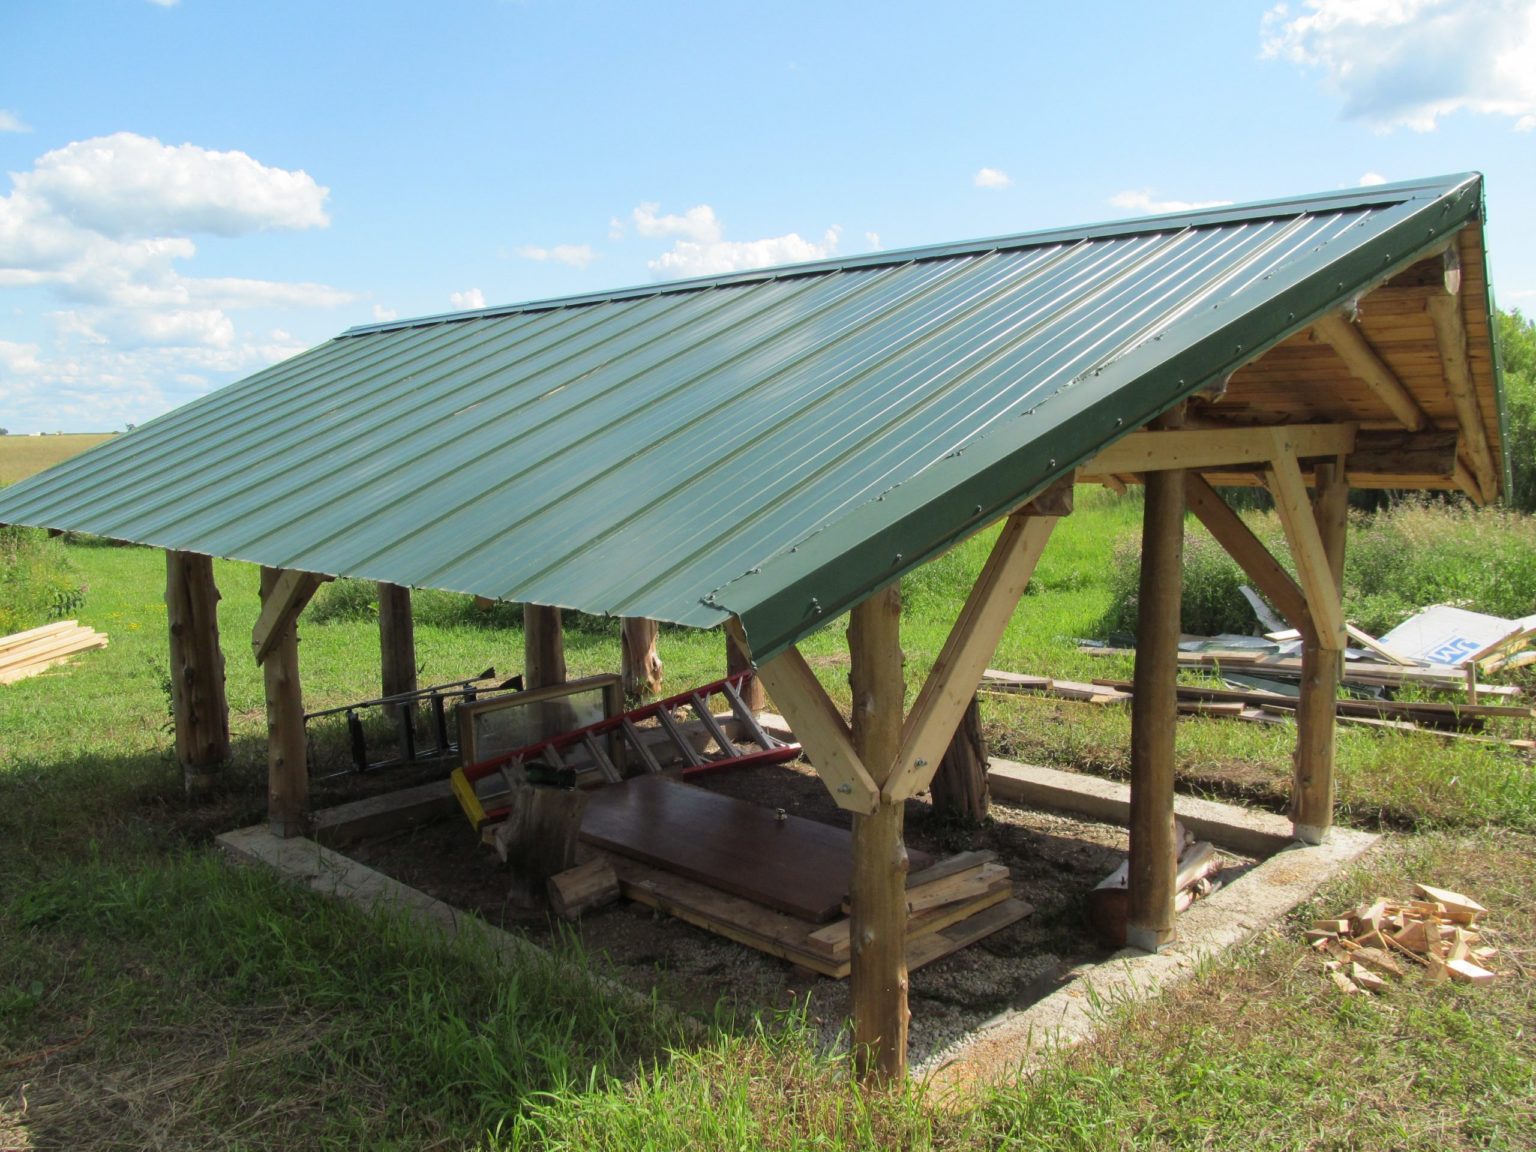
We chose a high-quality metal roofing material because it is extremely durable. It's not made from local materials but it is one of the tradeoffs we made for a simple, durable, and low-maintenance roofing solution.

Why such a large overhang on the roof?

Since we are building with biodegradable materials (straw and wood) it is essential that everything is protected from rain and excess moisture. The common phrase used in designing such a building is to always have a “big hat and dry feet.”

Stem Wall

The stem wall is the next precautionary building technique to raise the natural building materials that are sensitive to water up higher off the ground.
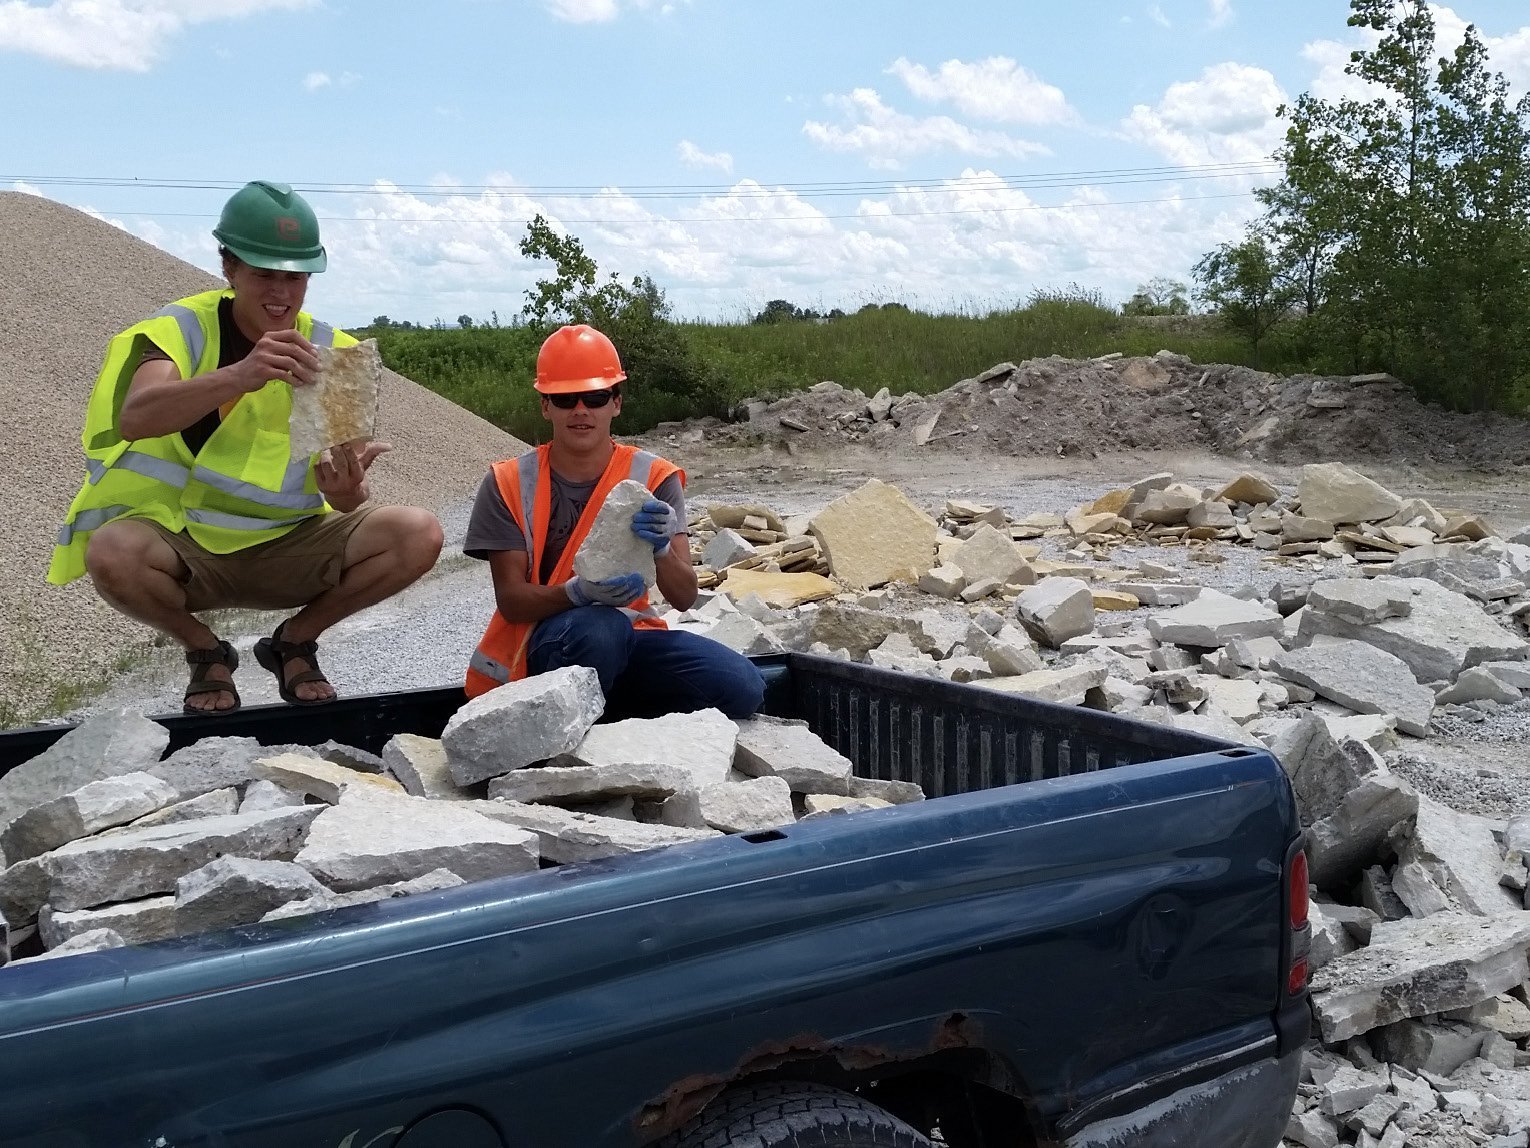
The flagstone we used was obtained from a quarry just six miles down the road which we loaded up ourselves. Here is one of our instructors, Erik Peterson (L) being assisted by Marcus Littlewolf, a student and apprentice of ours from summer 2017.
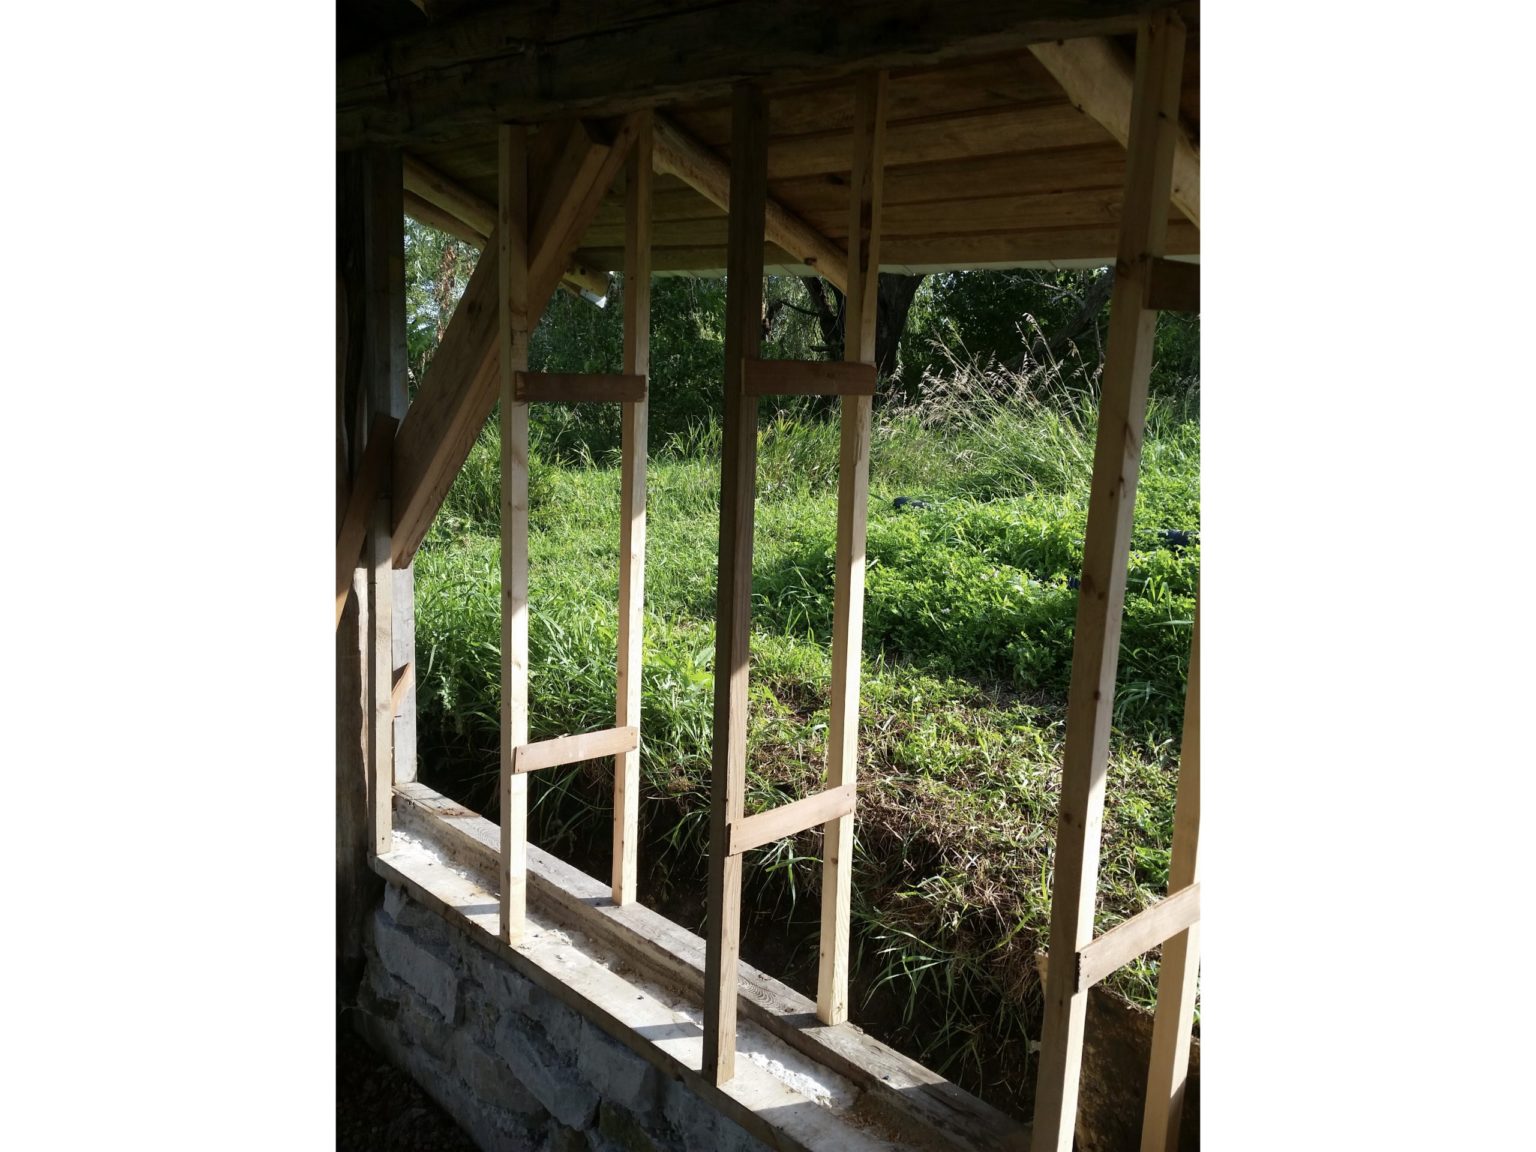
Once the stem wall of limestone and mortar was completed we built the wooden wall frames on which we would secure forms for clay slip packing.

Clay-Slip Straw

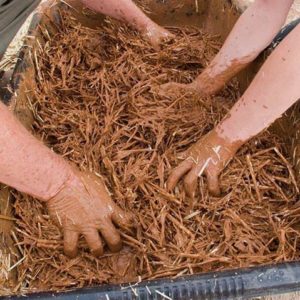
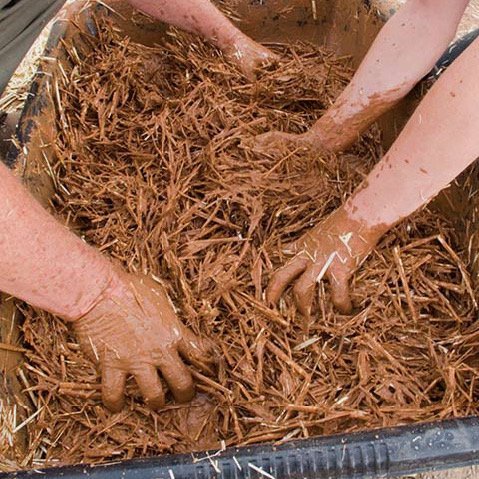
The clay-slip method got its name from the process itself. The first step is to take the clay soil and keep adding and mixing water until it becomes the consistency of a chocolate milkshake. This is the slip or what is also called a slurry. It is in this you dip loose straw until it is fully coated (only takes 30 seconds). The clay-covered straw is now dropped in between two forms where it is packed in tight. The cutoff end of a 2x4 does this job just perfectly.
Bulding the earth shelter cabin - second layer of slip
Here are the forms in action. They were screwed to either side of the wooden frame and clay-slip straw was tapped down into them. Once the wall dried a bit we moved the forms upwards, repeating the process in layers until we reached the top. Ian Williams (L) and Jim Penrod (R) started as students at MWP but became designers and teachers with us over time and have assisted on multiple projects and courses we've had.

Hassan Hall  is our builder supreme. Other than the foundation, timber framing, and roof, he guided the building of every other aspect of the cabin. It is his experience and skill that made this cabin the high-quality gem that it is. THANK YOU HASSAN!
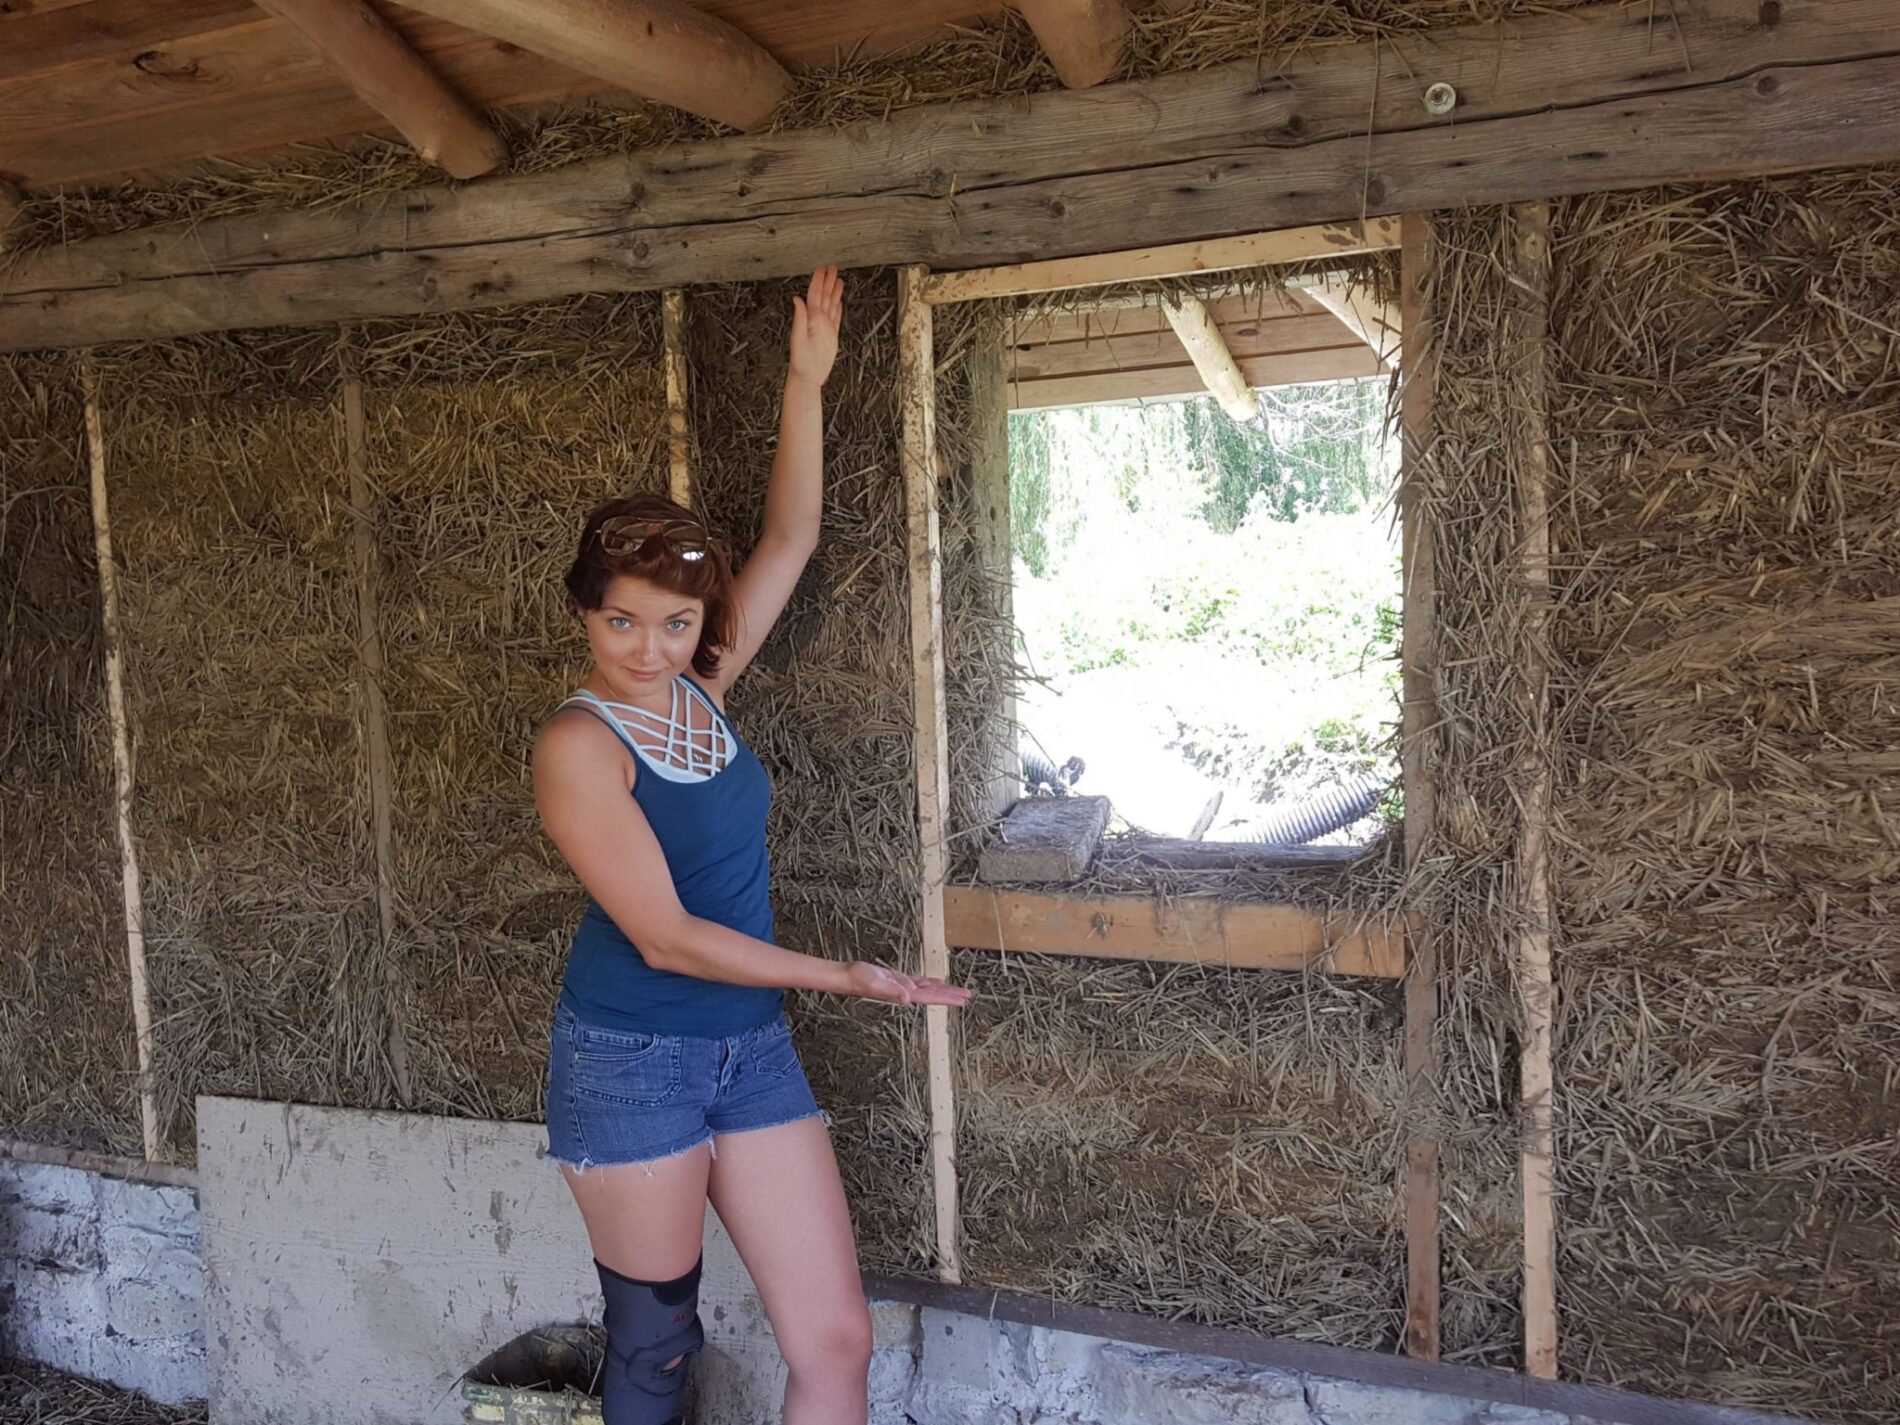
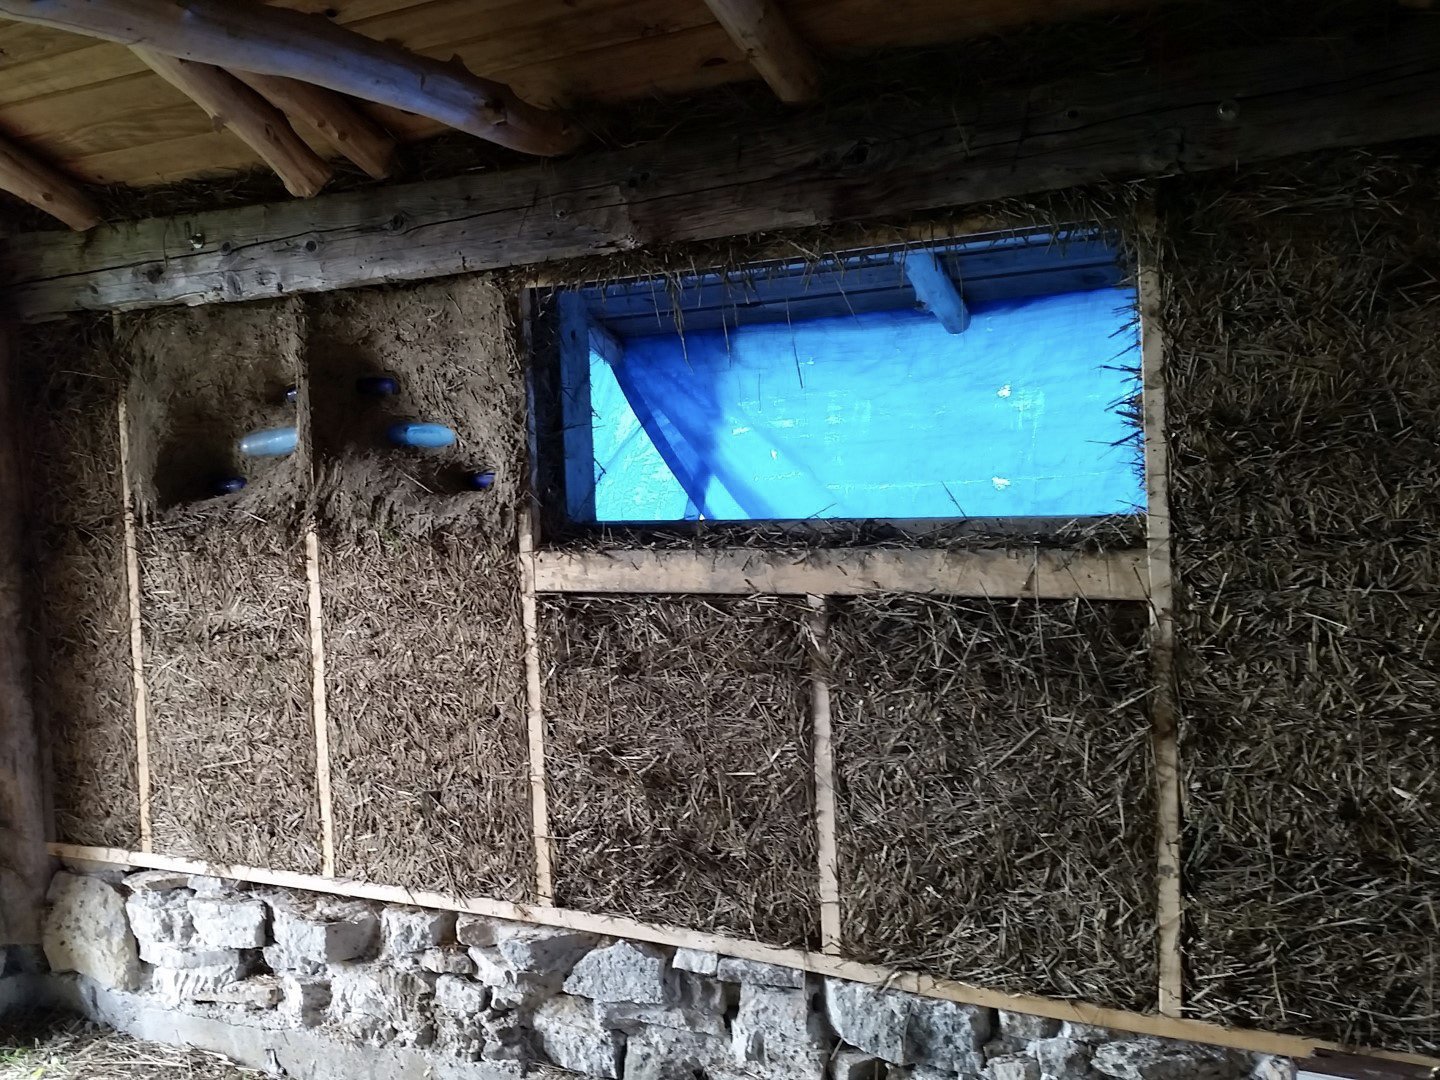
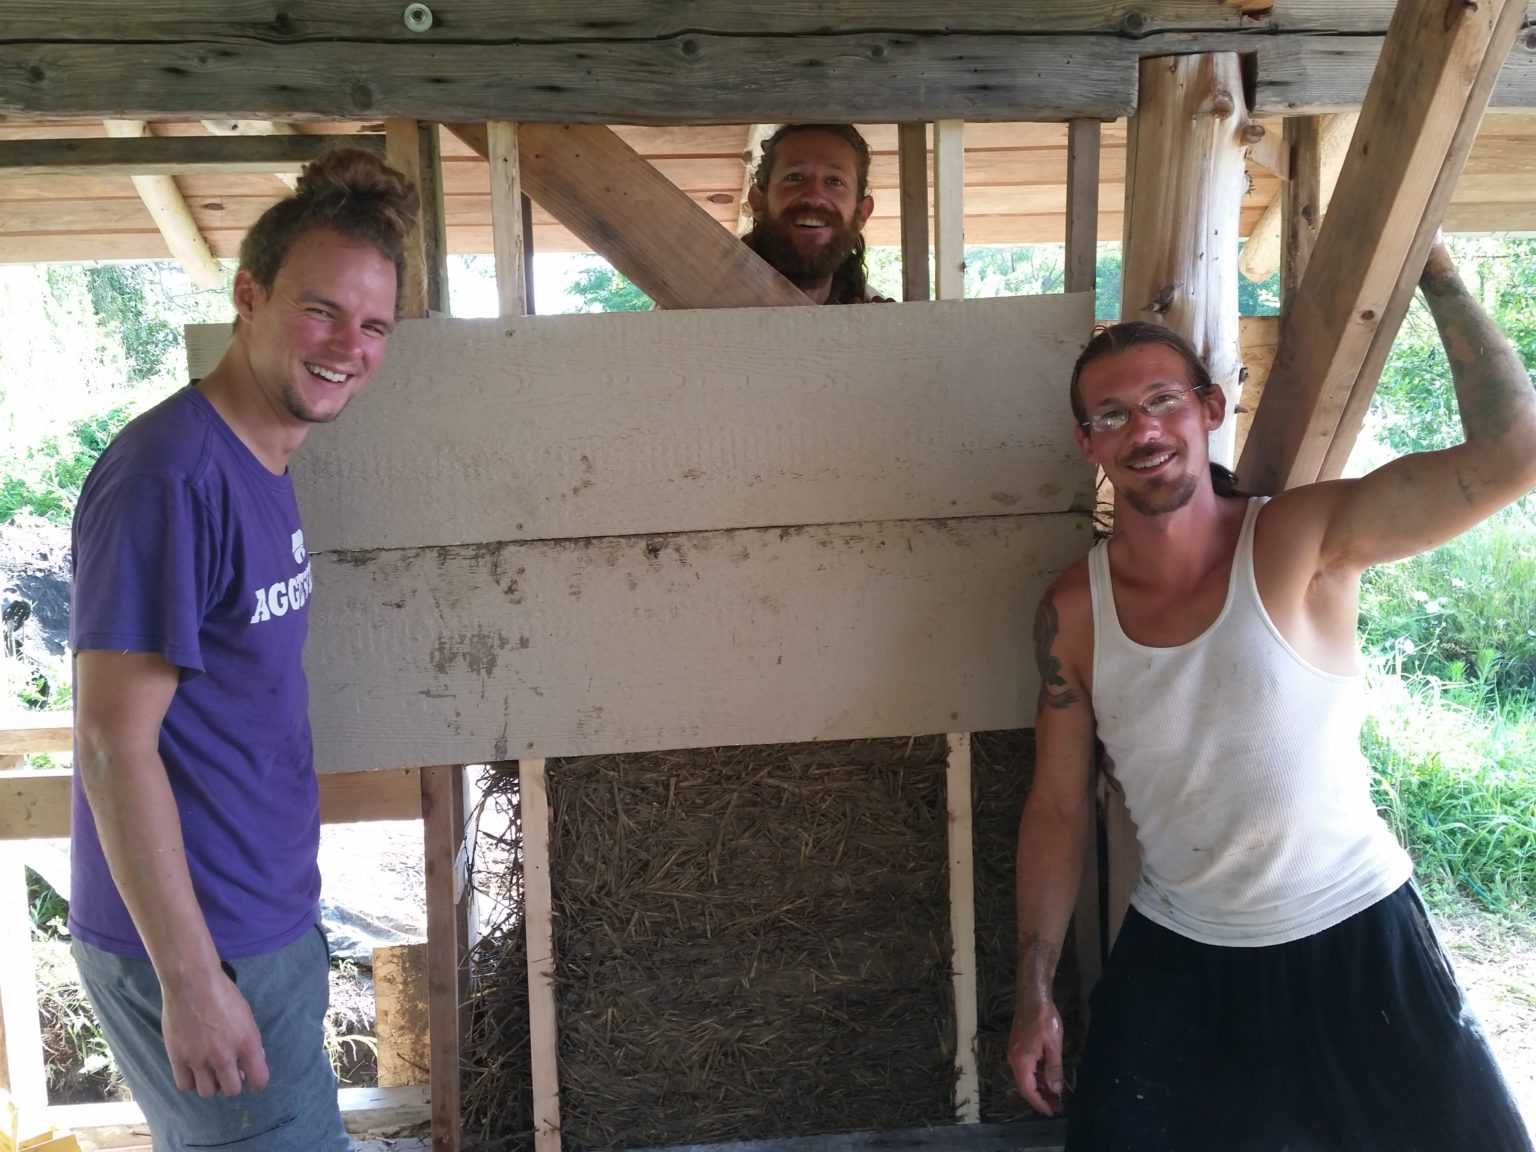
Bethany Wilson (Becky and Bill's daughter-in-law) showing off a completed straw-packed wall before the earth-plaster finishing coats were added. These walls are not very pretty at this stage but they sure have an excellent performance when it comes to holding temperatures steady within in summer and winter. The walls are about 20% clay and 80% straw.
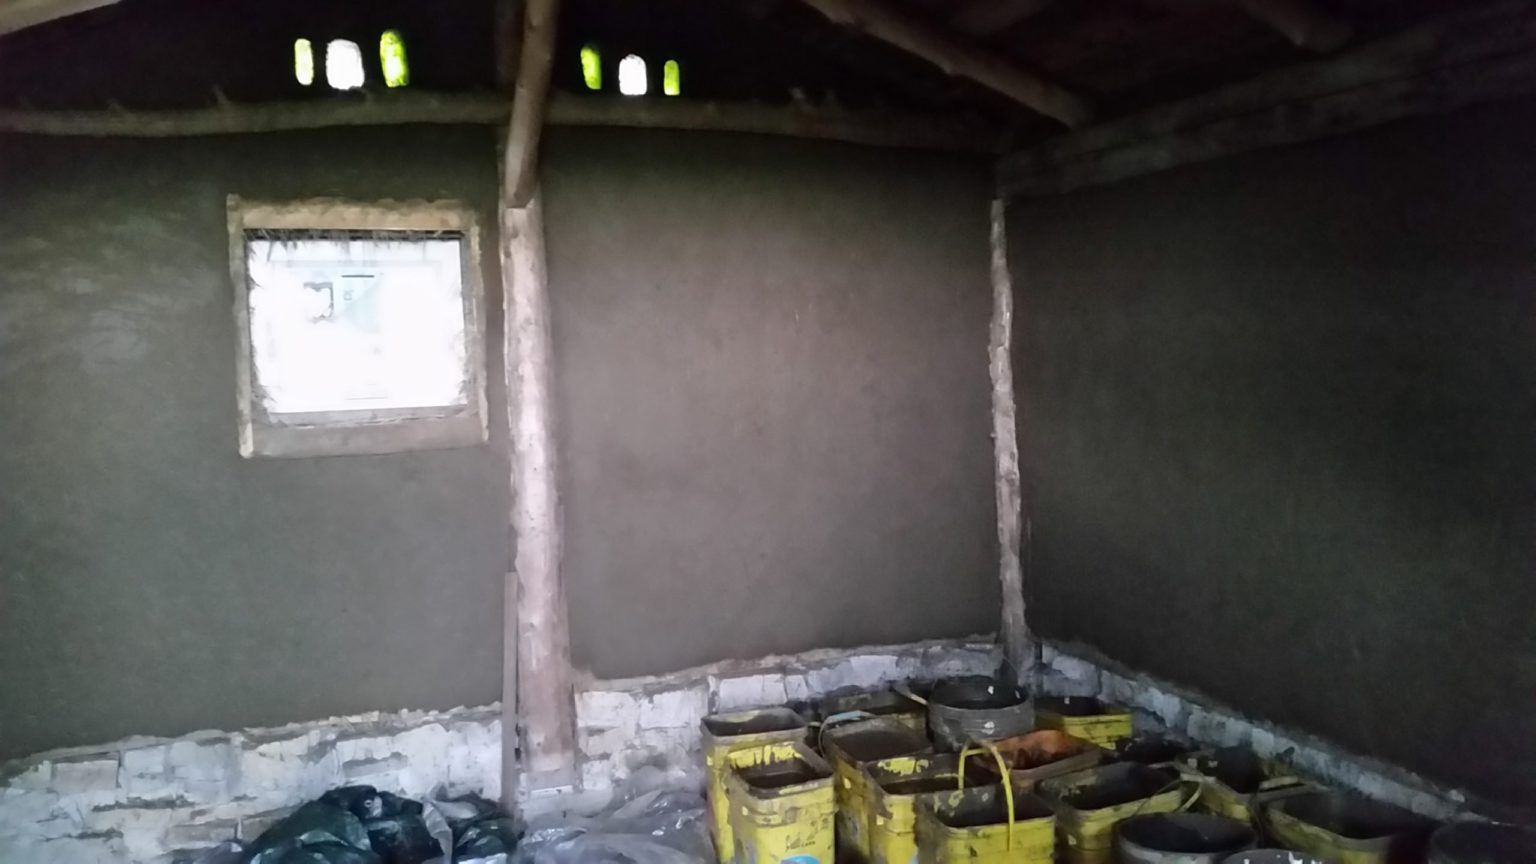
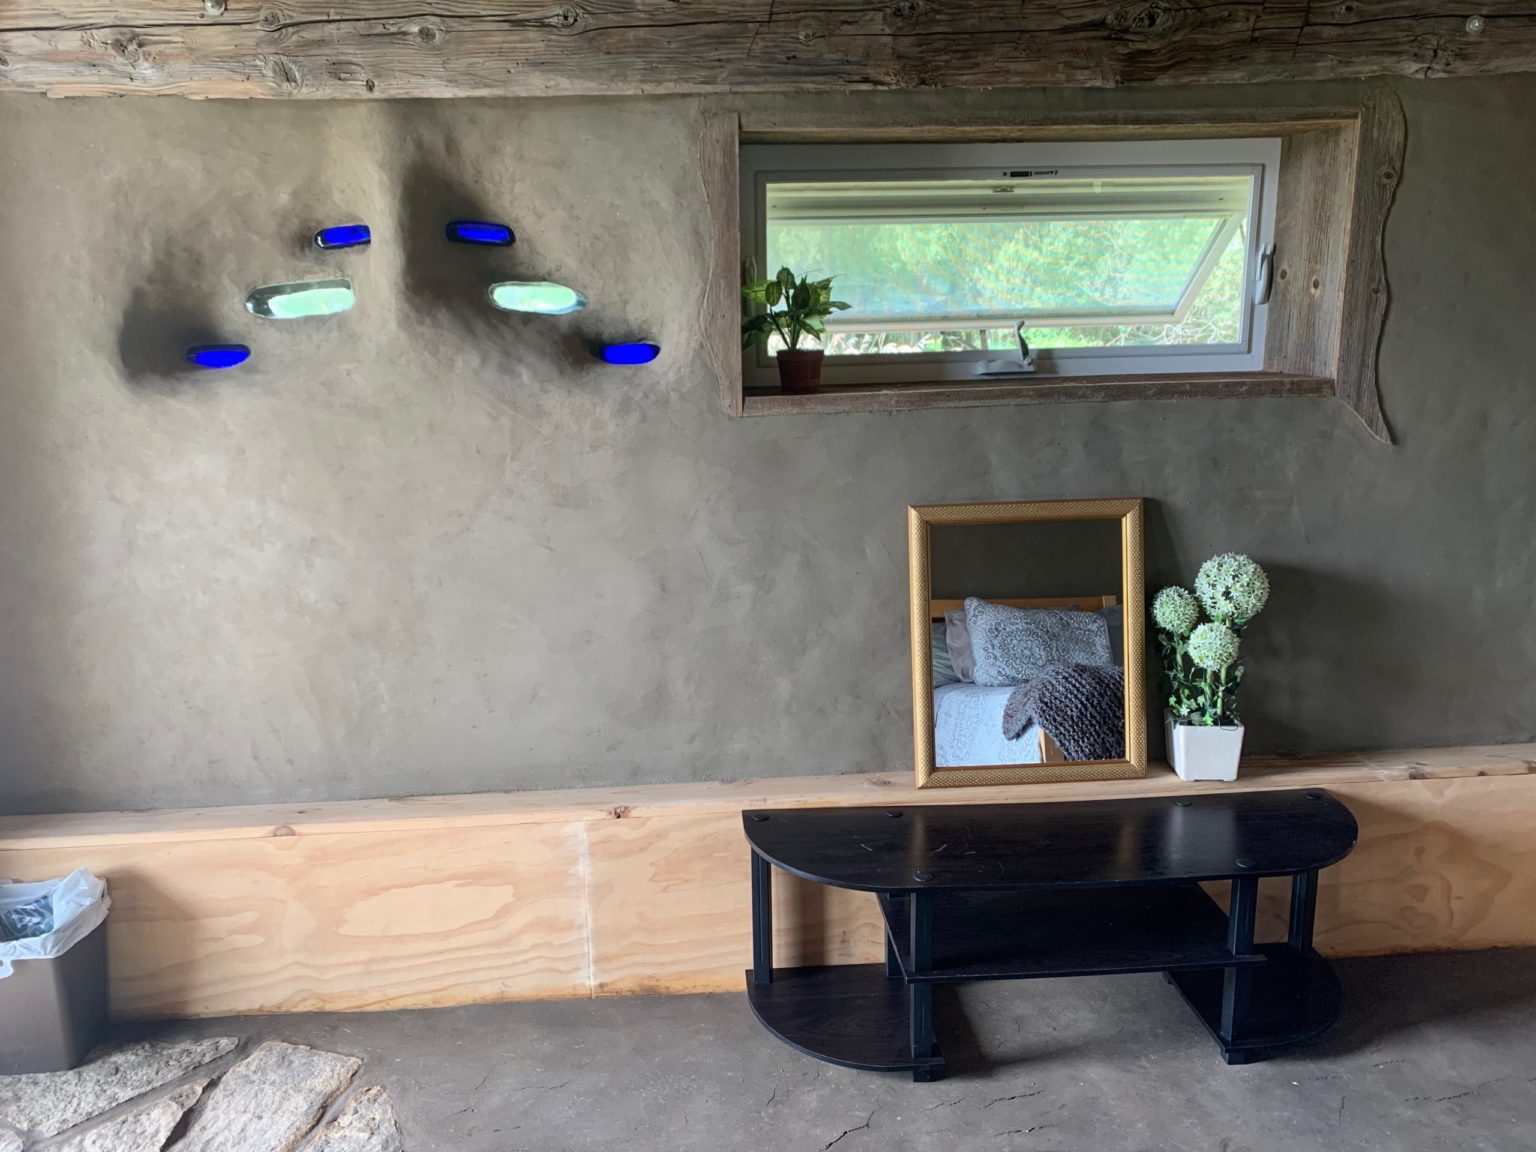
We did install new windows since we wanted them to last a long time and be well insulated. But we also added glass-bottle accent windows to add character. It's the little details that bring the design together and give the cabin a sense of finished beauty.

Earth/Clay Plaster Wall & Floor Finishes
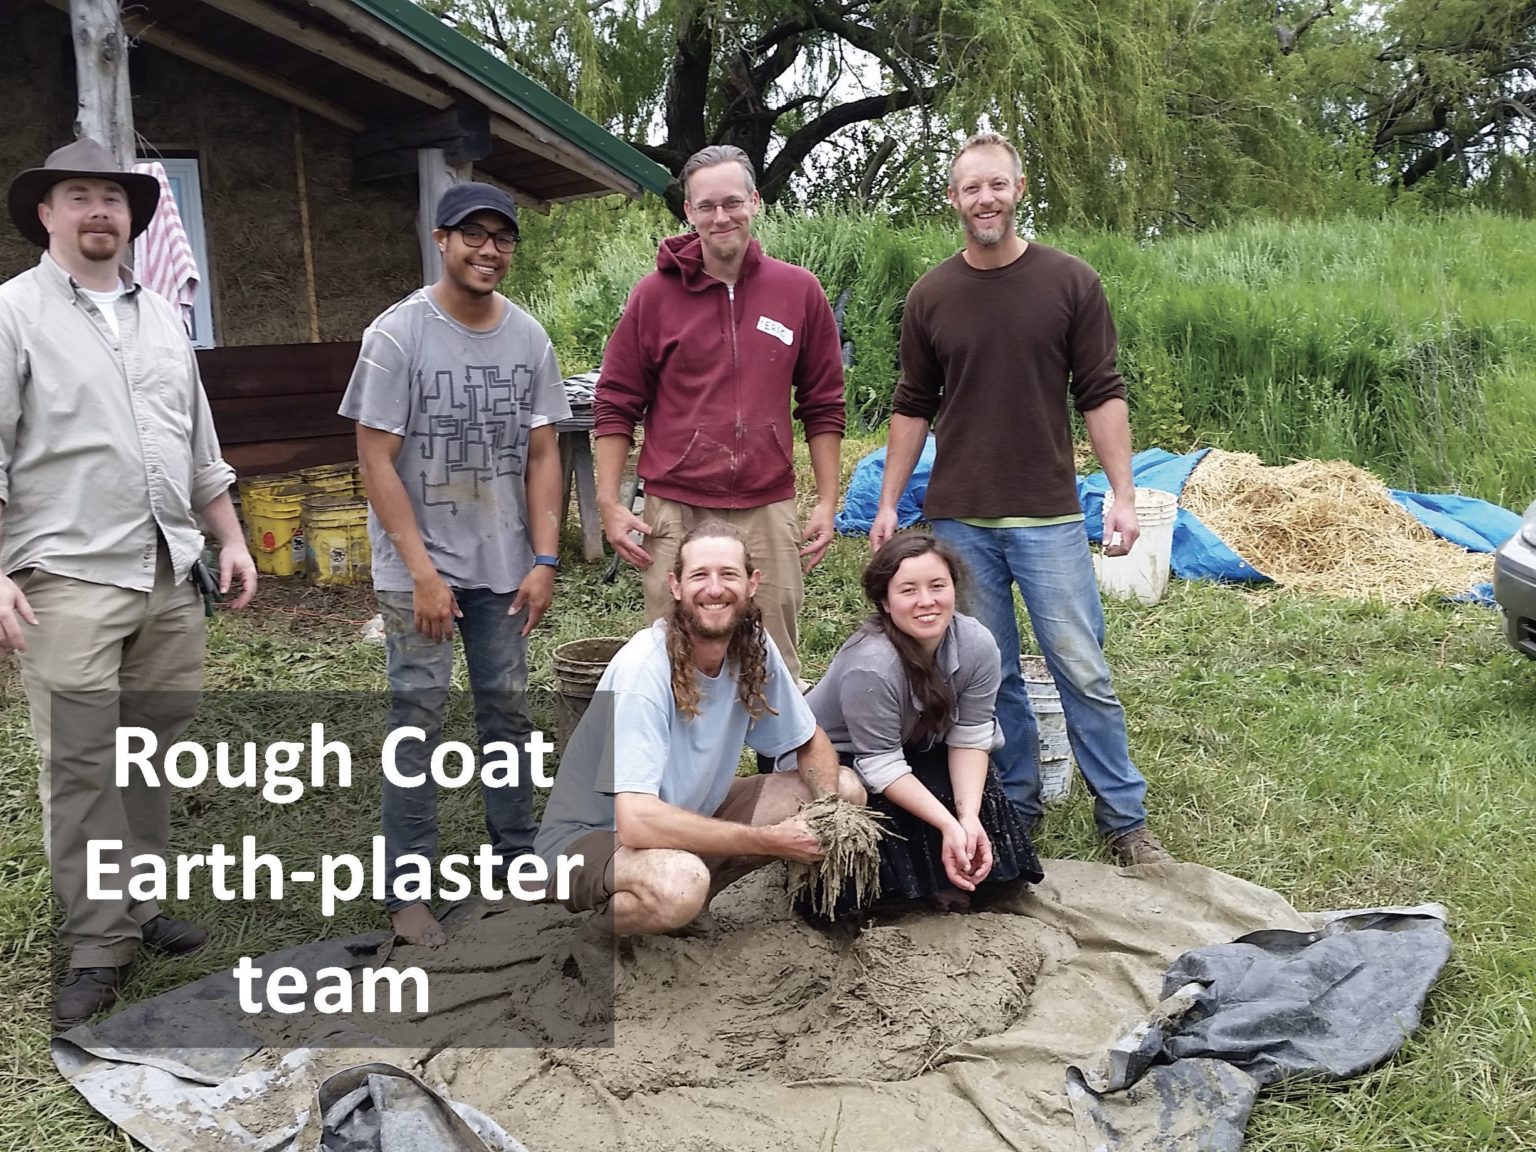
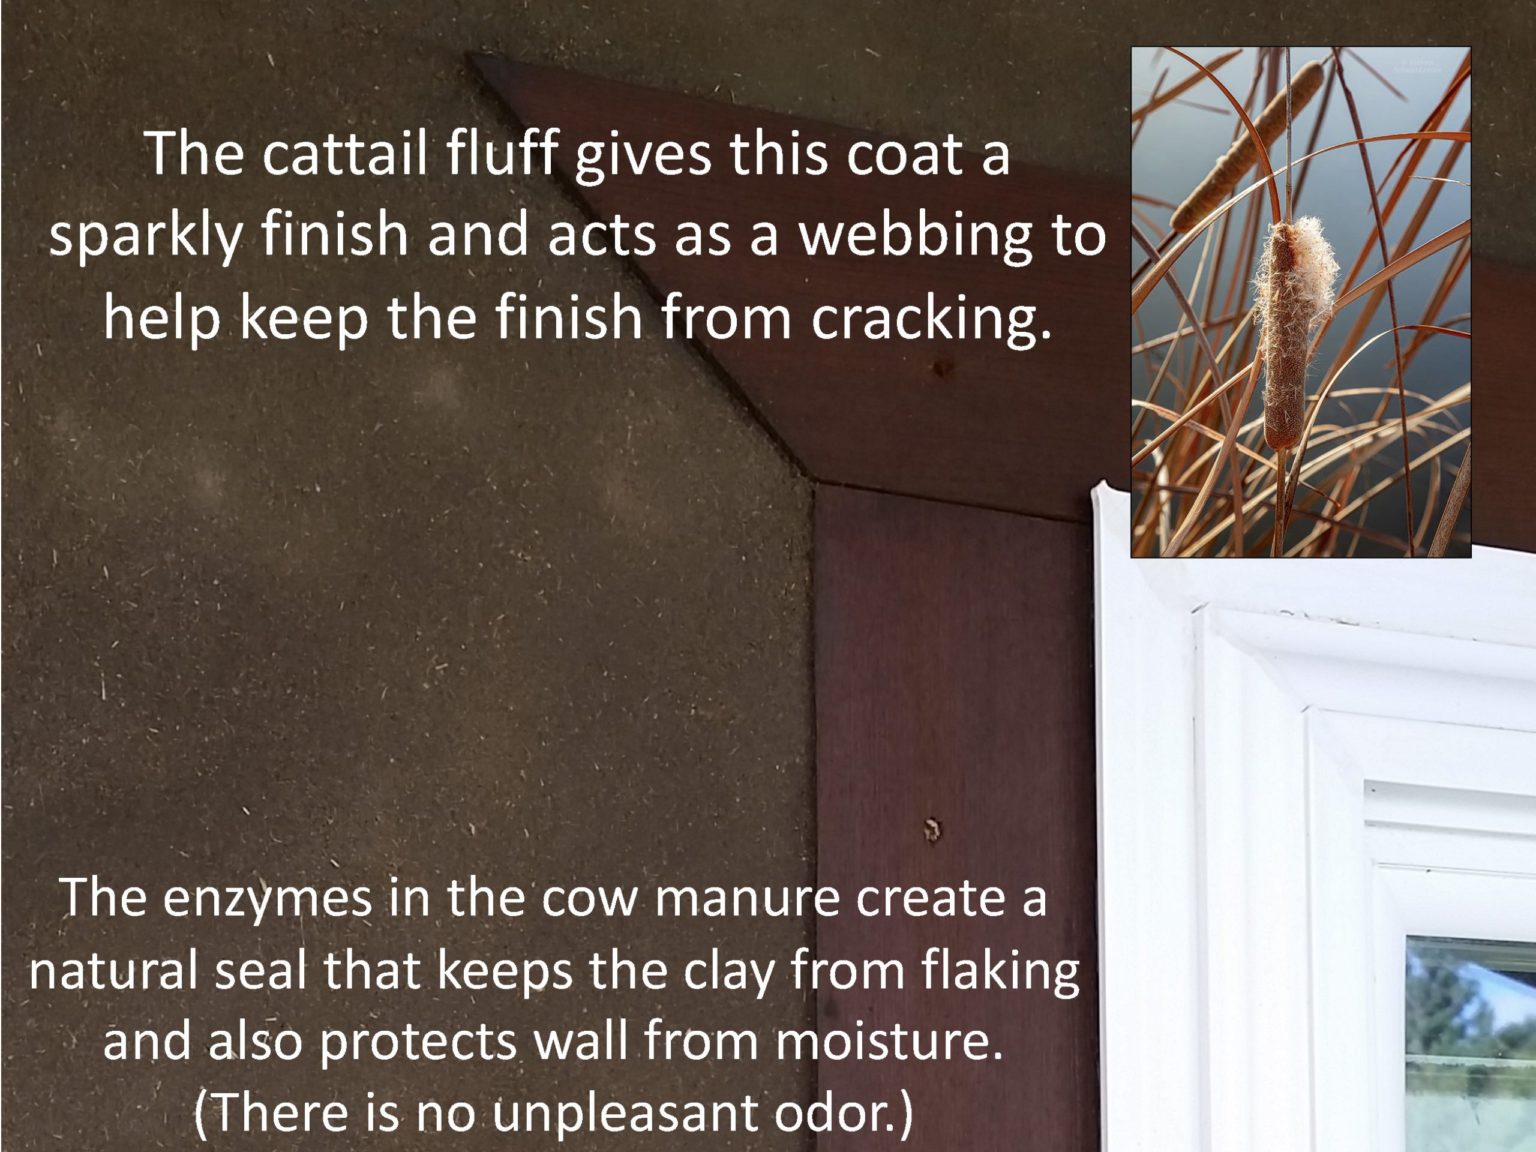
The wall with the topcoat applied. It takes buckets and buckets of material to do this work.

Then we applied the finish coat.
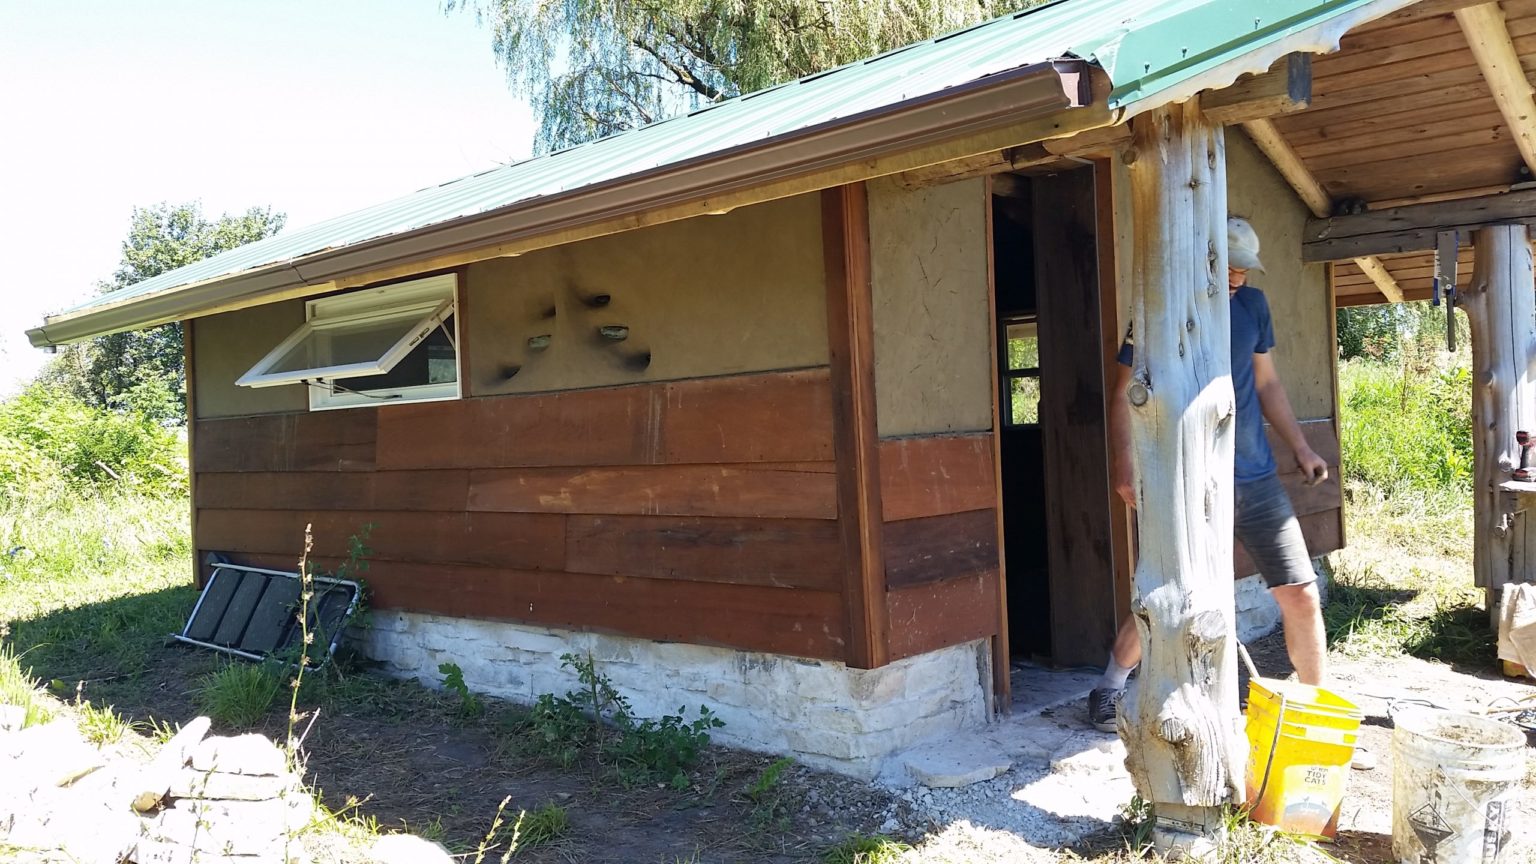
As we were finishing the walls, one of our neighbors was re-siding their home and discarding the 12″ redwood boards they removed. Hassan said it would be ideal as extra protection against rain splatter on the lower half of the cabin and we thought it added a nice touch to the look of the building as well. We love it when serendipity occurs.
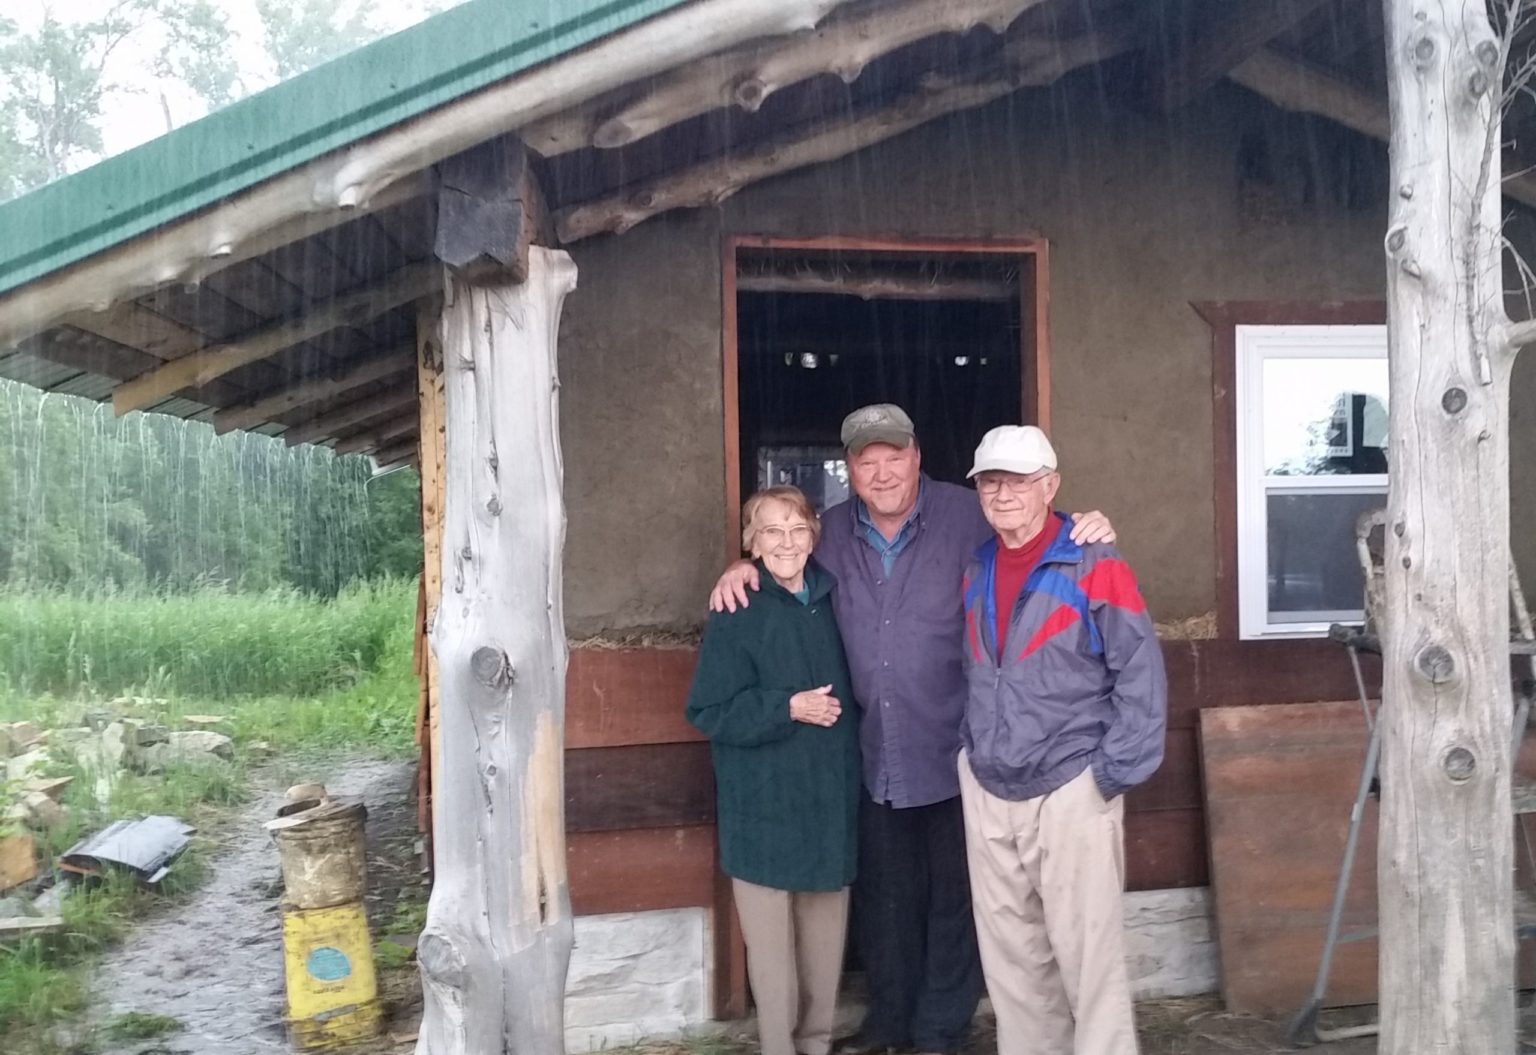
Bill showing his parents the cabin during a rainstorm. They smiled politely as Bill shared his enthusiasm for the project.
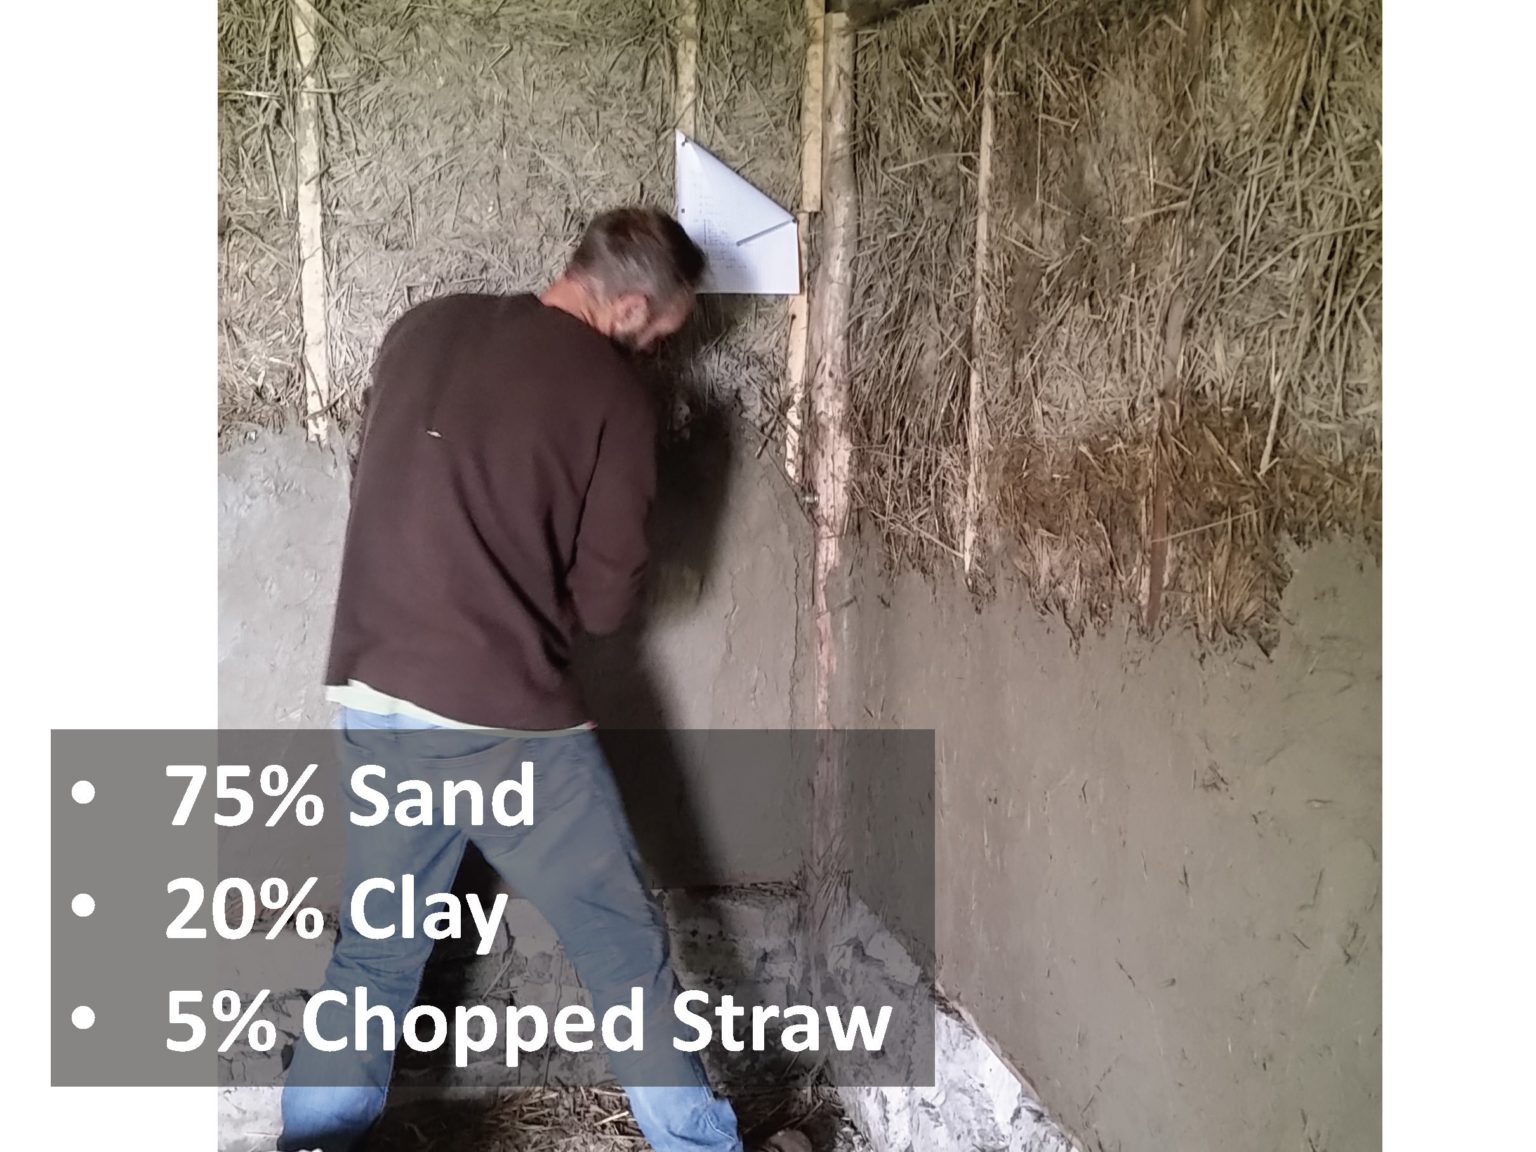
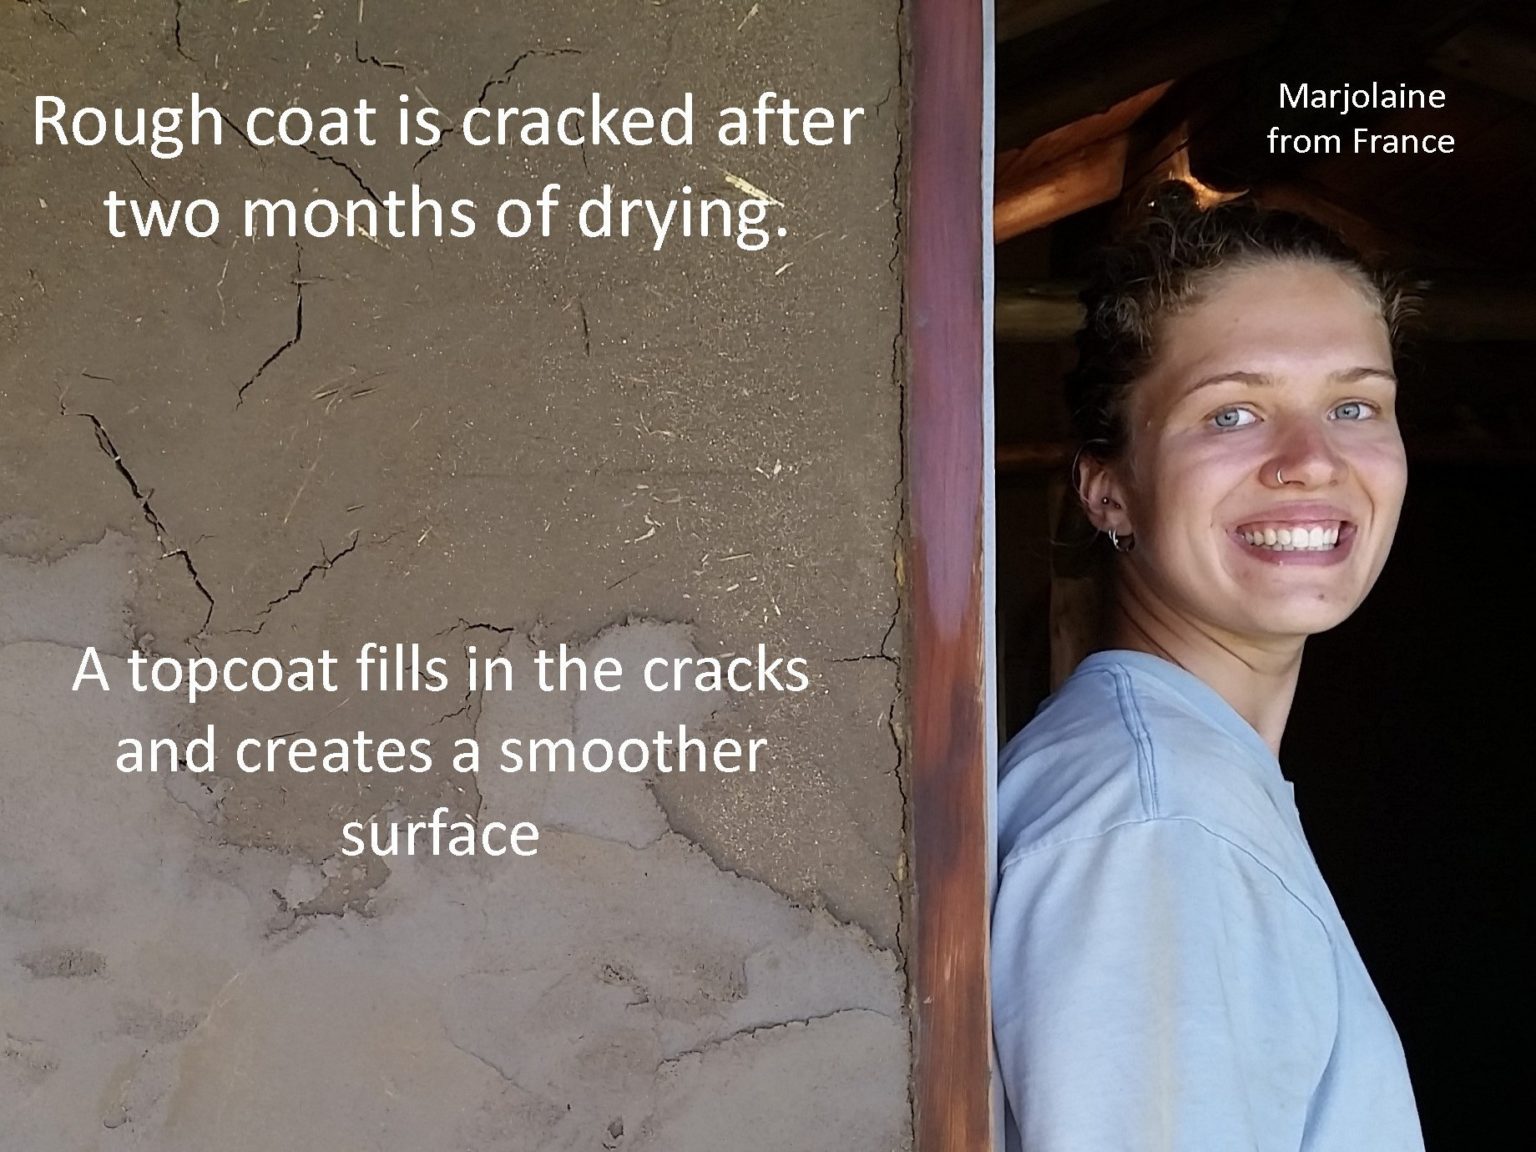
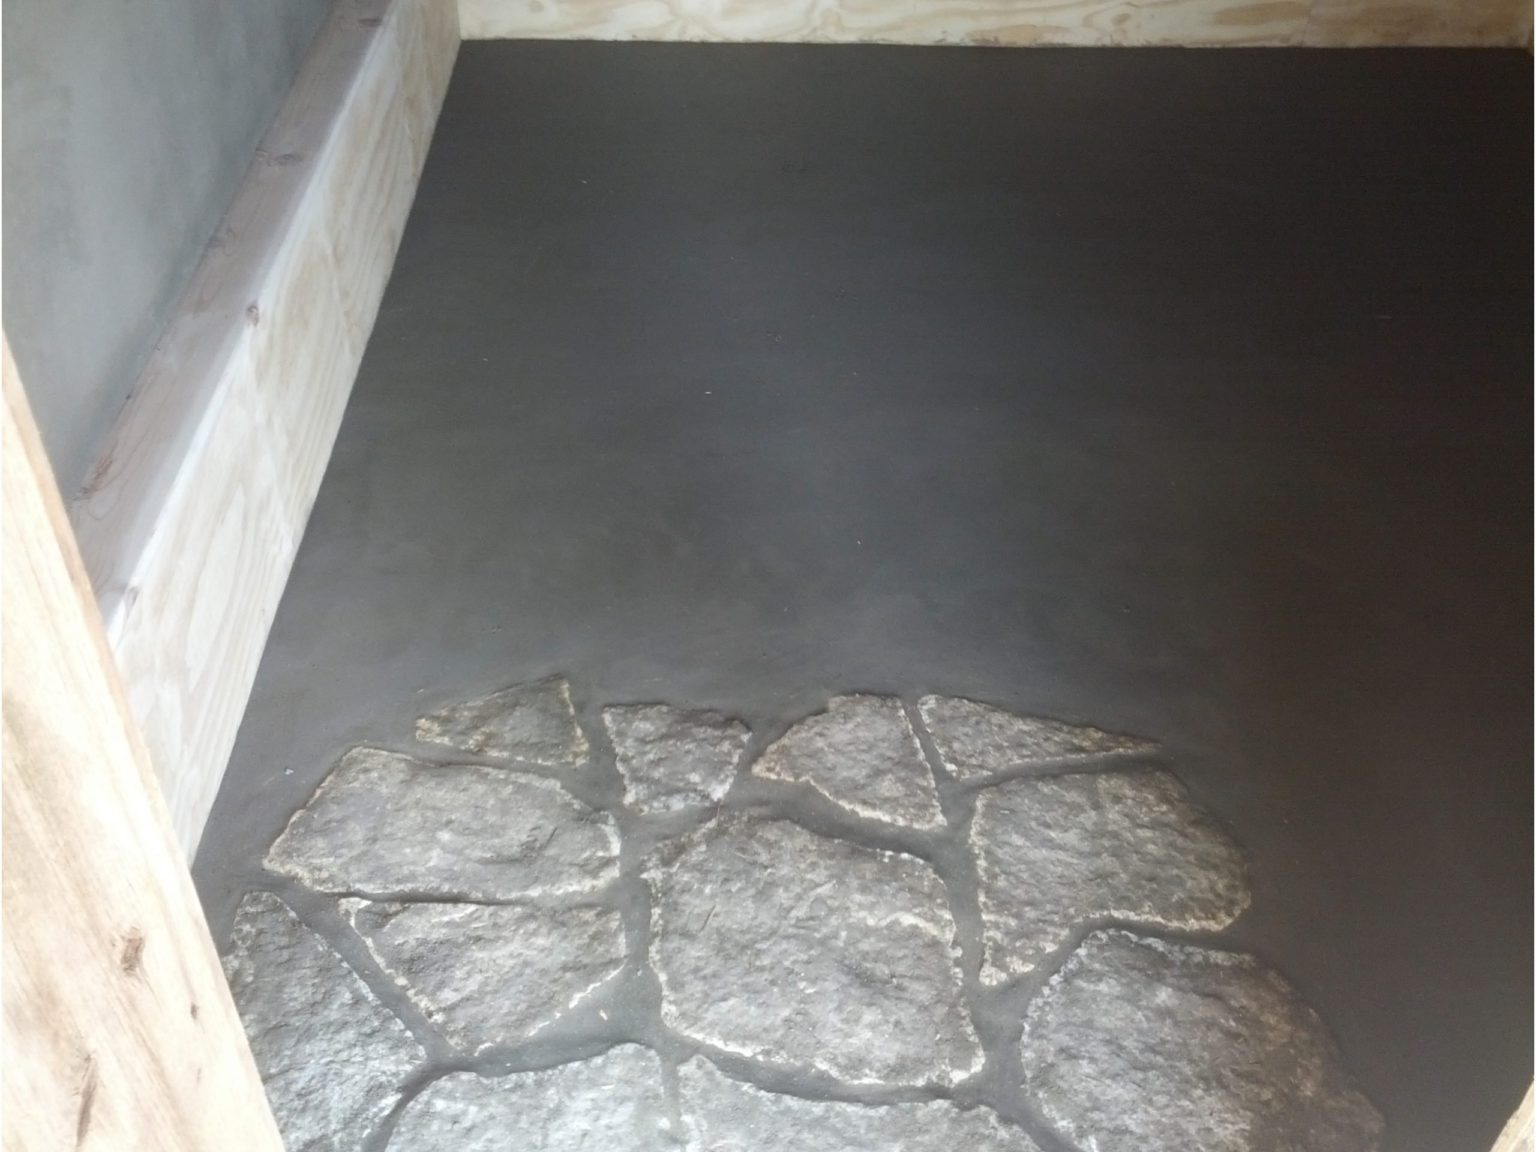
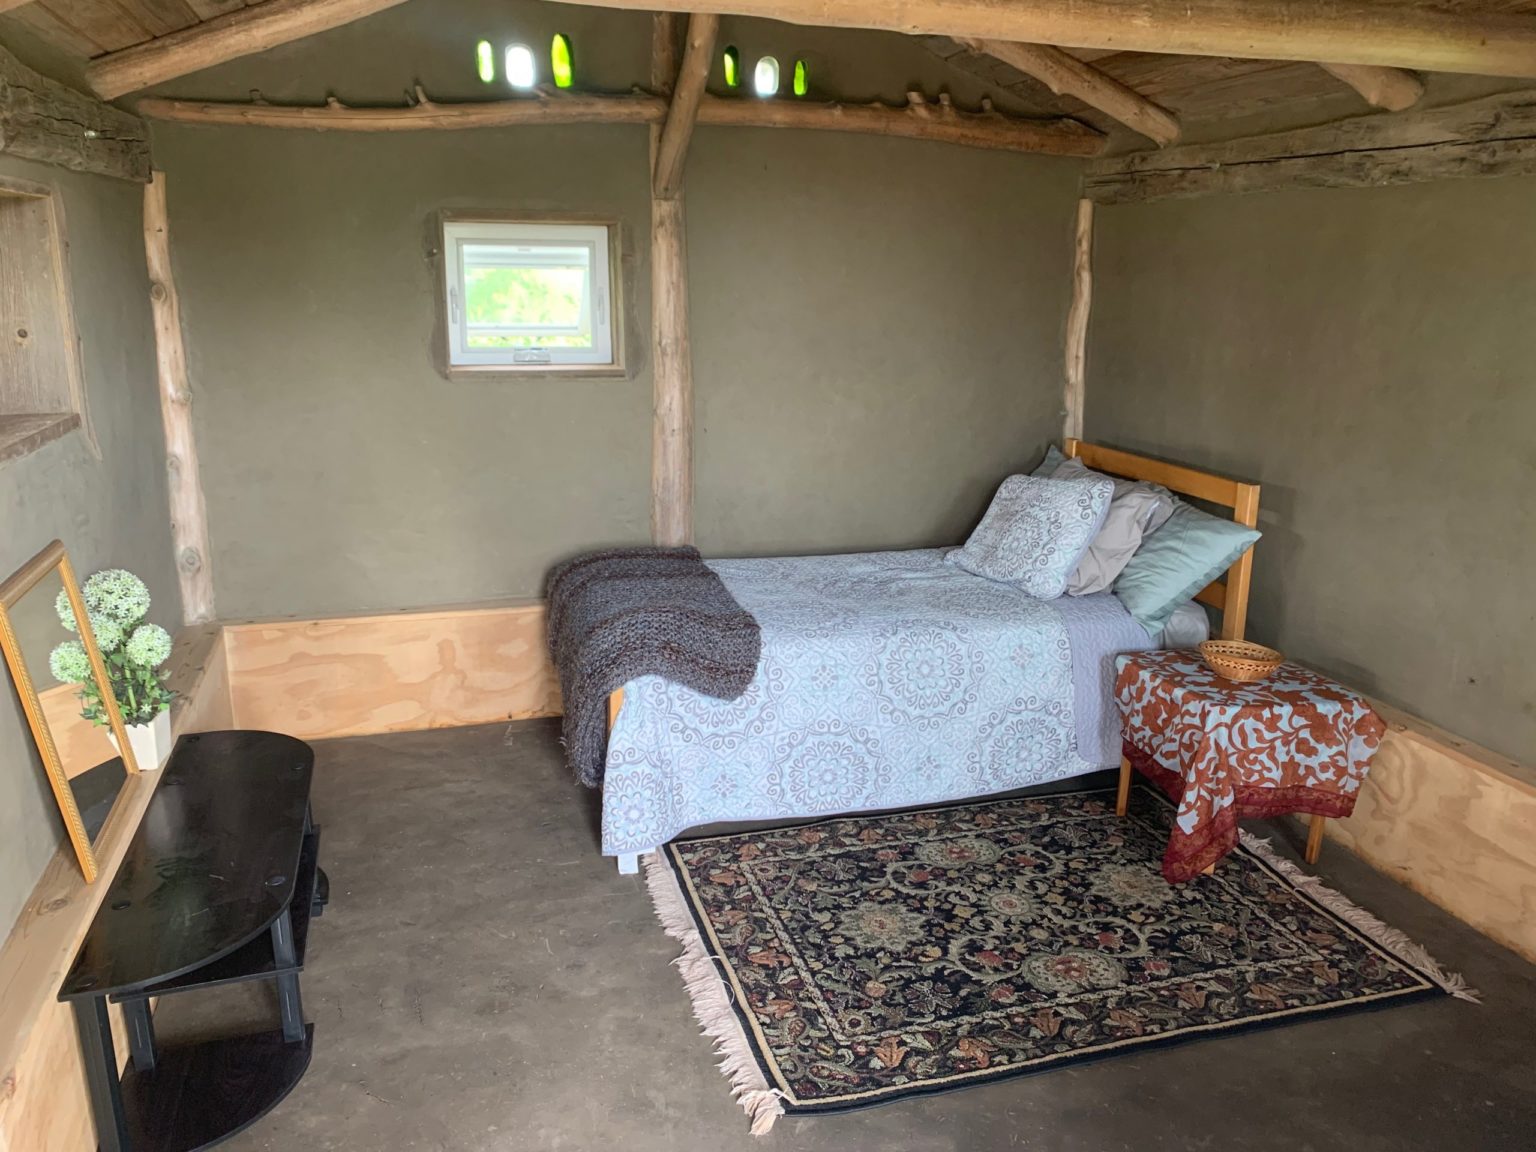
Then we enclosed the interior side of the stem wall with insulation and a plywood cap and face. The subfloor began with packed gravel to create a hard-level surface. On top of that, we spread a two-inch layer of cob (75%%sand, 20% clay, 5% straw) and let that dry for almost two months in the summer, allowing the floor to dry slowly and reveal some cracking. Finally, a finish coat similar to what was applied on the walls was applied that filled the cracks and left a smooth natural finish. The floor feels wonderful to walk barefoot on. Once this was fully dry we applied multiple coats of linseed oil to protect the floor from water. We don’t want the floor to turn back into clay when someone spills a drink.
Hassan designed the limestone entryway. Being a continuation of the front patio, it gives the impression of blurring the line between in and outside, an effect that really shines in this design. It also protects the floor at its most vulnerable point.

Flagstone Patio

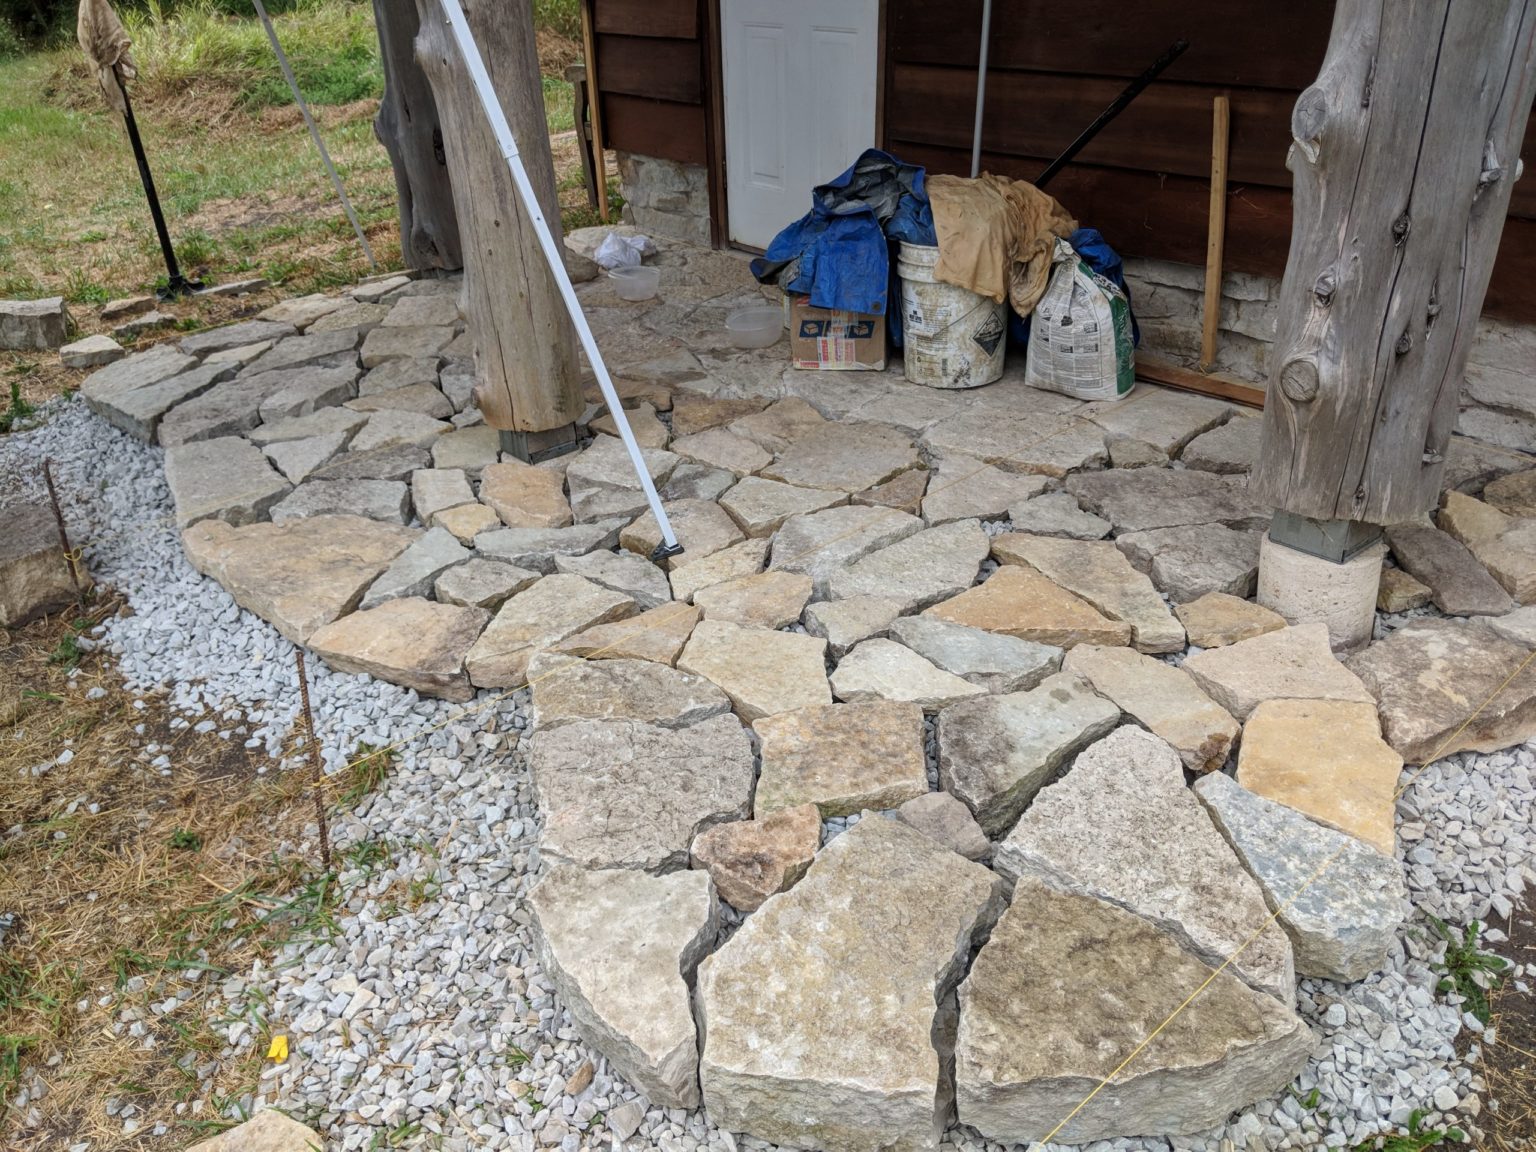
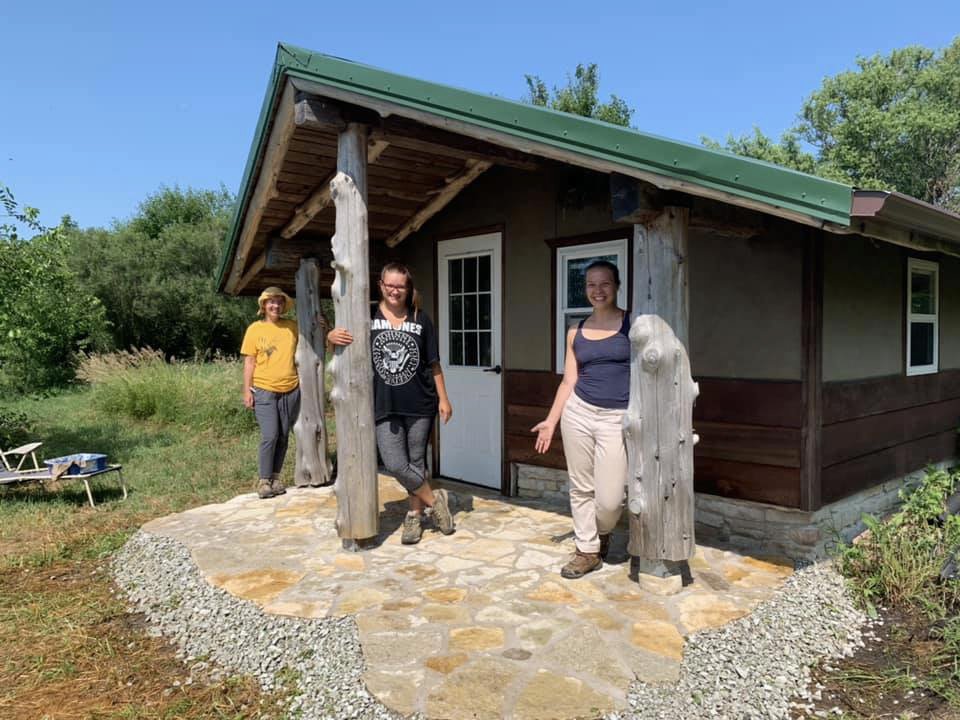
We arranged the flagstone patio on a layer of compacted gravel. Being set underneath the large roof overhang, the patio becomes a functional and beautiful space to set up chairs and relax.
Our patio finishing team, consisting of our 2019 summer internship core of Sky, Meghan, and Embry (L-R), completed the job!

The Finished Cabin

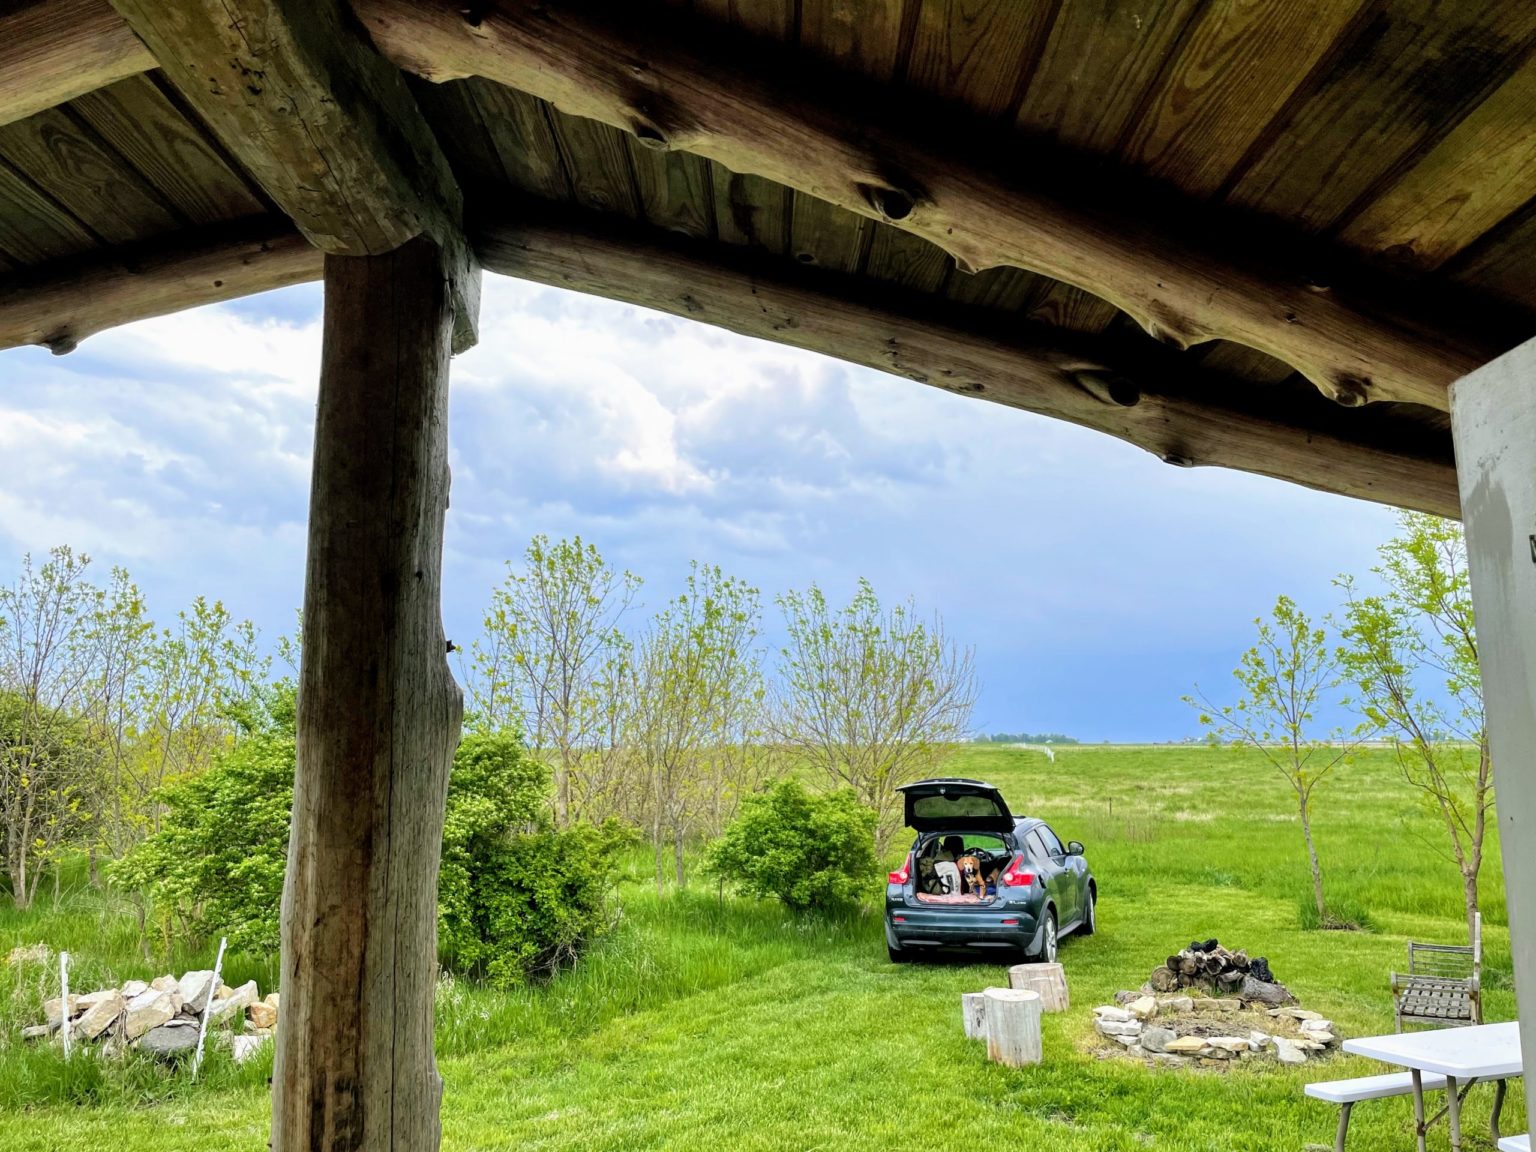
The view from the front porch, overlooking the prairie.

We are grateful to Hassan Hall of Dancing Rabbit Ecovillage, for taking on the role of technical designer for this project. His expertise made this building process a real joy. His talent in understanding not only the technicalities, but the overall aesthetic and feel of natural building design is on full display everywhere you look in this cabin. Thank you again, Hassan. His website is here.
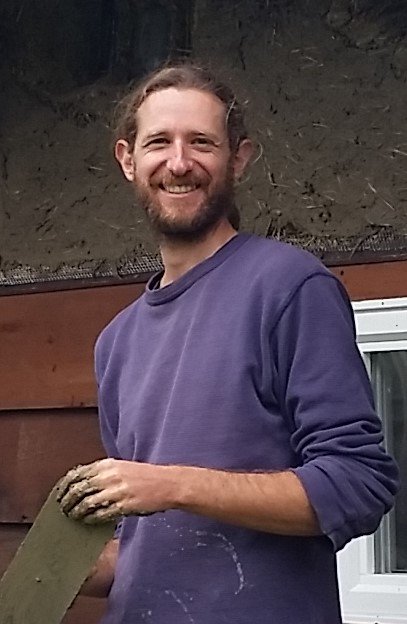
Hassan Hall of Dancing Rabbit Ecovillage (Missouri)

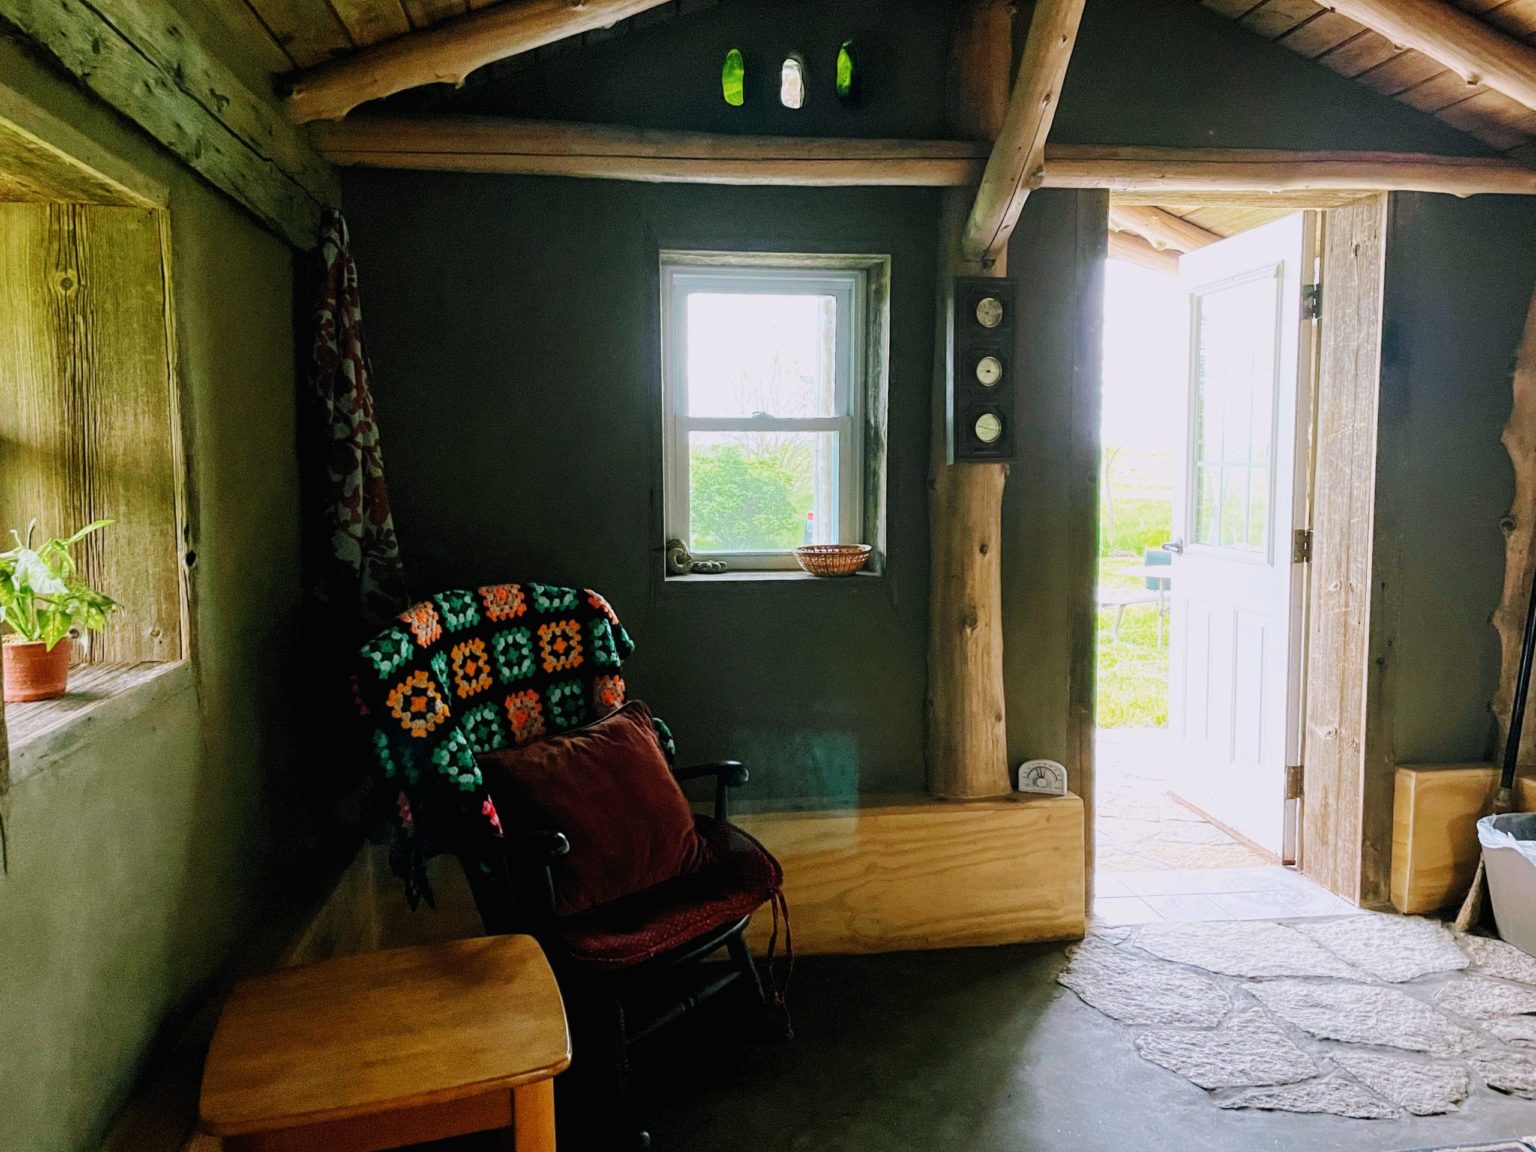
Now that it’s finished, The Earth Shelter Cabin is available to book through Hipcamp. Come and stay to experience what it’s like to spend time in an off-grid, naturally-built shelter. While here, if you’d like to learn more about our larger permaculture project, a short tour can be arranged. See our Hipcamp listing for more info.
We hope you gained some useful and even encouraging information through this post.

Cheers…
Bill Wilson – Lead Designer/Teacher at MWP
Megan Christian – Key Design/Teaching/Communications Support
August 2021
Updated September 2024

Leave a Comment

Your email address will not be published. Required fields are marked *

6 thoughts on “Building of Permaculture Earth-Shelter Cabin”

  1. What a beautiful cabin. Well done. I am working on a hybrid greenhouse and found your incredible, well articulated, easy to read timeline of your process. It is so helpful! I am considering a bond beam on the rubble trench, after a lot of thoughts about steering away from concrete. It has made me feel like it could be an environmentally friendly, yet cost effective way to make the building feel more secure and add a good base to frame off of. I can’t say thank you enough for the great photos. I’m sure this will be very helpful.
    Cheers!

  2. Great project, Bill. Kristi and I are midway through the construction of our new house. Straw-clay walls are complete, and earthen floor will finish it off next spring. Green roof completion after that. Be sure to contact us if you get up this way.

  3. Thank, lots of interesting and creative concepts here. there is a lot of labor with these materials, but you are substituting labor for more expensive building materials. We should not turn our backs completely on modern materials — glad you used a metal roof.

    Does the house have electricity? Solar panels? An inside root cellar / tornado shelter might be a good addition.

    Thanks for the blog.

  4. Thanks for sharing the design/build pics! Very instructive as Julie and I will be constructing something similar in Hot Springs one day.