Chickens for the Orchard (Part 1)

Part 3:    8-13 Weeks of Age (As Adventurers)
Part 2:    4-8 Weeks of Age (As Kids)
Part 1:    0-4 Weeks of Age (As Chicks)   

Objective: Raise some chickens for food and to also help with insect, grass and weed control in our 2-acre organic community orchard…!!!

As most of you know, in permaculture design we attempt to:

  1. garner the greatest amount or number of yields
  2. from the minimum amount of work 
  3. while creating no waste (at least minimal)
  4. and restoring the environment.

Let’s see what additional benefits we can obtain from this project other than just the insect, grass and weed-removal help from 100 chickens.  This will be our chicken saga as it reveals itself in real time.   We’re always learning too and raising this many chickens at once, and in this way, is stretching us some.  

We will take the experience we do have, plus apply permaculture design principles, while adding in good-ole common sense (with help from some great books, friends  and the internet) to work creatively and see what we might come up with.
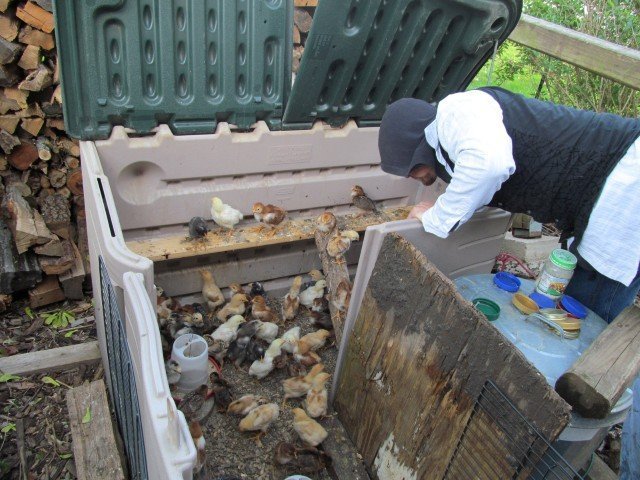
It all starts with an order of 100 chicks (multi-heritage breeds from McMurry) that Hayden and Cameron (our two work/study intern students) selected.  All were delivered through the U.S. mail.  All survived!  Hayden created a safe and warm habitat from a yard-storage container, a heat lamp, and some old boards and fencing.  This structure lasted almost 2 weeks before they outgrew it.  During this time we worked on a more permanent home/coop.


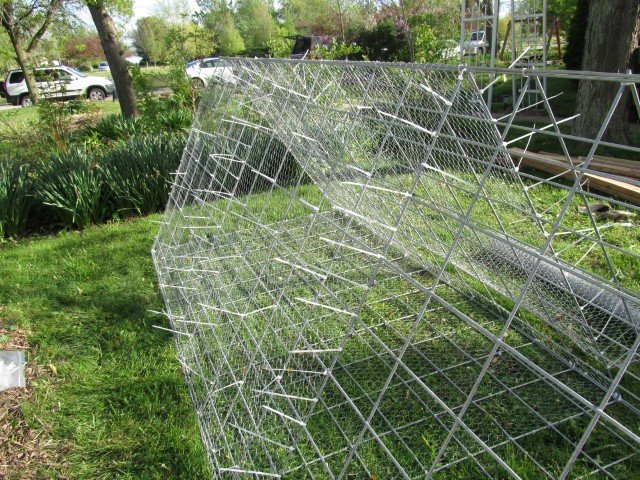
We had several design objectives for the chicken coop that would house our chickens in the orchard.  The coop had to be varmint proof, relatively inexpensive to build, sturdy to last a long time, relatively easy to move (not every day…this is not a chicken tractor – that’s a different thing), protect the birds from wind and rain, and have a floor that would allow their droppings to sift through.  After several designs, Hayden and I came up with a 16 foot long, triangular coop, made from livestock panels.  These are available from most Farm and Fleet type outlets and cost $28 each and are 52 inches wide.  We then purchased some chicken wire ($26) and a large bag of zip-ties (500 for $14 – we used them all).  Total cost: About $125.


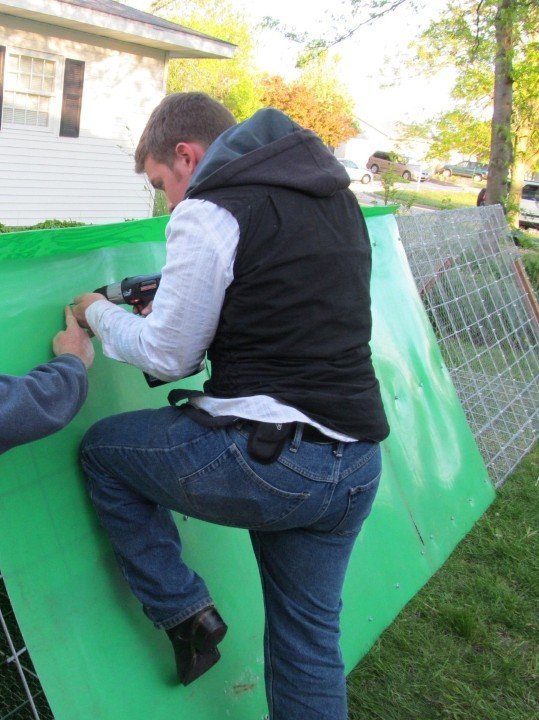
The chicken wire is wrapped all the way around up the first half, and then just across the floor on the second half.  We had a heavy plastic swimming pool frame that we saved from Hayden’s backyard swimming days 12 years ago.  (Becky knew there was a good reason that we never threw this thing away.)   We cut it into sections and screwed it on by placing some old 2×4’s on the inside.  This will block any wind or rain and even help hold in a bit of heat.   We plan on using woodchips as bedding material to absorb their wastes.   Why?  We’ll explain later.


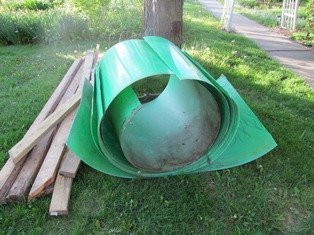
The scrap lumber and the old swimming pool plastic frame or wall – already cut into pieces.


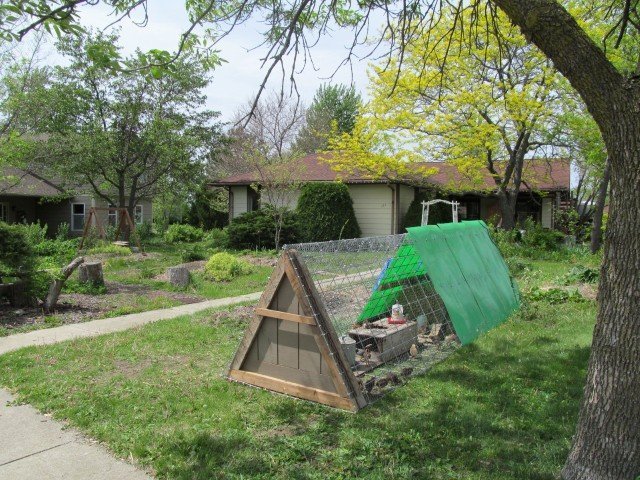
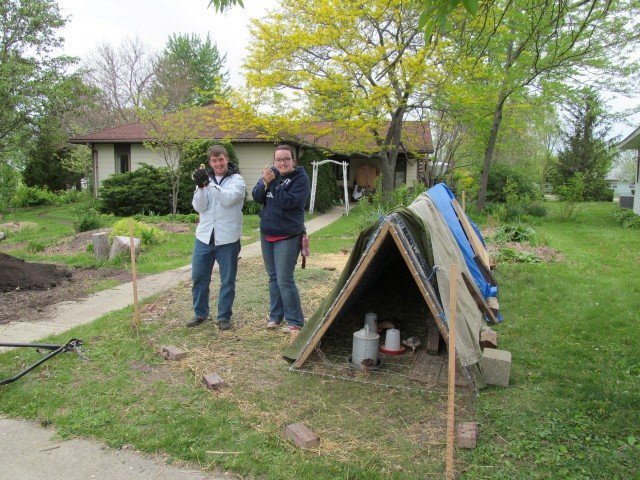
Here it is, all complete and in our front yard for just a few days as we work out the kinks before taking it to the orchard.  Most of our neighbors enjoyed seeing it but some admitted that they would not want to see it there all of the time.  We appreciated their concerns and their honesty.  These little chicks won most folks over however.  They are such fun to watch that I  even pulled out a lawn chair at one point to just sit and observe them for awhile.  The heavy wooden doors on each end (waste wood again) pop in and out and will help give the fencing structural support while also keeping out larger animals such as full grown raccoons and dogs.


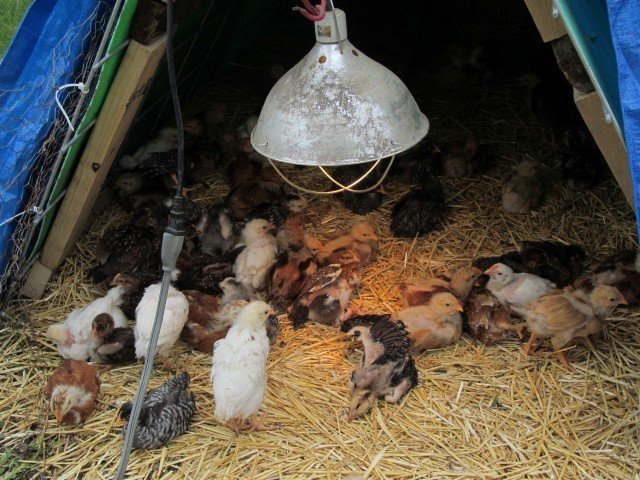
Here we took the door off the enclosed end so that you can see how they favor the heatlamp on a cool day.


We hit some very cold nights at one point so Hayden and Cameron covered the open end with a couple of tarps to help hold in the heat.  Everyone made it through the nights in fine shape.  We attached a 2-foot tall chicken wire fence next to the coop so that the ‘kids’ (as our interns call them) could run around during the day and begin to get familiar with eating bugs, worms and grass.  They took to this immediately.


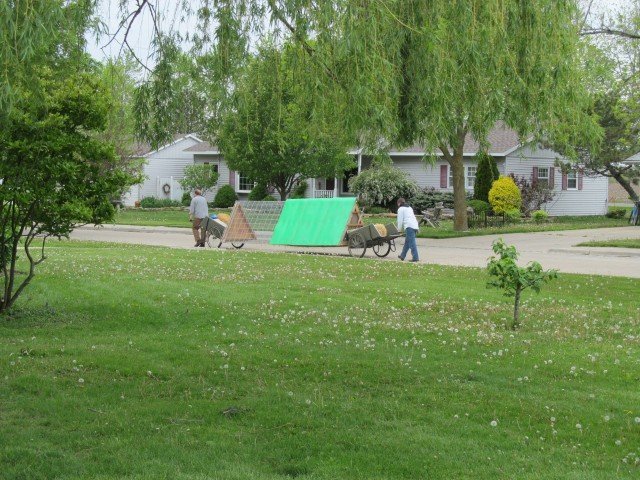
Part of the design objective was to make the coop relatively easy to move.  With a couple of garden carts from our tool co-op and some come-along straps, we were able to lift it on both ends and roll it all the way down to the orchard (about 1/3 mile).  Word of caution… one of the garden carts was older and more worn out.  It did come apart at one corner and we’ll need to repair it now.  In the future, we will not be moving this with the doors on it or the chickens in it so it will be lighter and we’ll be sure that the carts are in good repair.


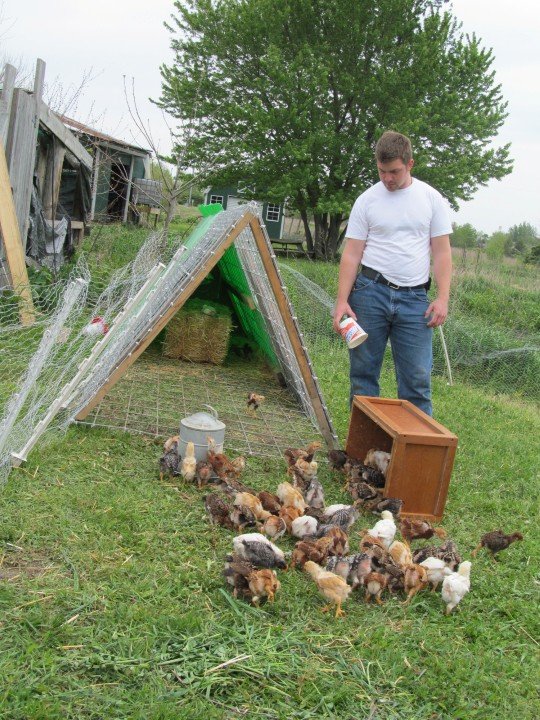
As soon as we got the coop in place and another fence set up, Hayden let the chicks out to experience their new home.  To be clear, these are all male chickens that we are raising to be harvested for meat.  We have a separate group of hens for our co-op egg consumption.  The life of a typical ‘broiler’  is one of living in a cage or pen with many other birds and being feed grain and drugs for 8 weeks.  Our chickens will live and feed off the orchard floor and be harvested at about 12 weeks of age.


The fenced in area is just up for the time being. Once they get used to eating from the grass, we’ll move the coop further into the orchard and allow our chickens to get 80% of their food from the orchard itself.  We are feeding them while they are small but the objective is to wean them from ‘processed feed’ (even if it is organic) to real food (bugs, worms, grass, weeds) thus minimizing the cost to feed them.  At the same time, we hope that the chickens will help us with insect damage to the apples and trees.  Check out this quick video from Geoff Lawton on how this might/should work.

 We’ll add some more pictures and summaries as our chicken journey continues…  All for now… Bill

Loading comments...