Pictures From May 2011 “Hands-on Training” Week
- Bill Wilson
| May 2011 Hands-on Training Week At Midwest Permaculture — Stelle, IL For those interested, here are some pictures from our “Hands-on” work week. It turned out to be a great time dispite the fact that it rained on most days. The pictures are from student John Berton and myself, Bill Wilson. The narration is mine as well. You can learn more about our 6-Day course here. |
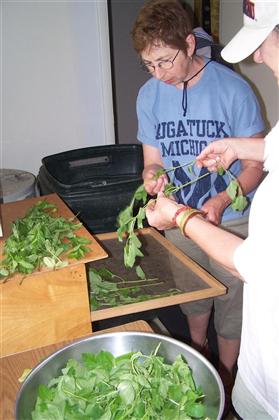 |
| Herb Drying – Lemon balm and spearment |
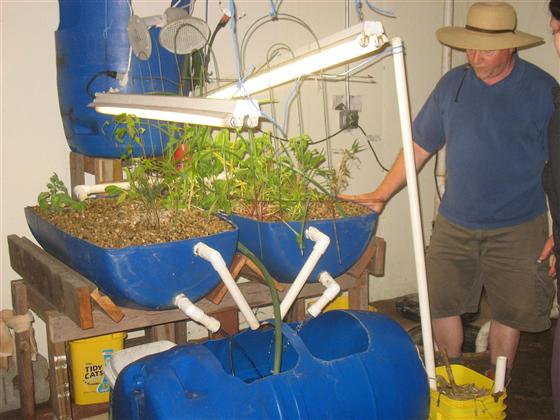 |
| Our Aquaponics system after 7 months of winter growing in a basement. We ate some swiss chard all winter and our 6 little goldfish look healthy and plumper. It cost about $4 a month in electricity to run the system and I only checked on it twice a week. It ran flawlessly. |
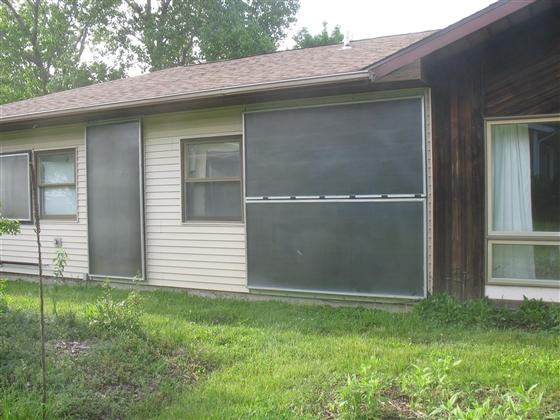 |
| Our neighbor’s hot air solar panels. |
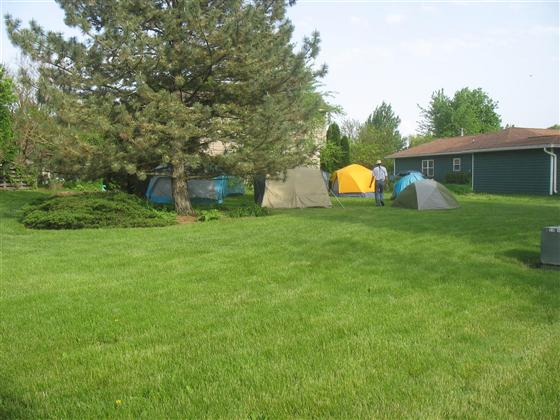 |
| Student’s Tenting Area |
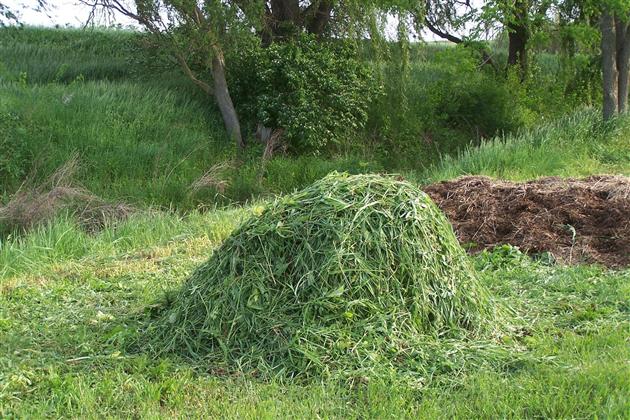 |
| Our Student’s Hot Compost Pile – Was reading 140 degrees with 6 days. |
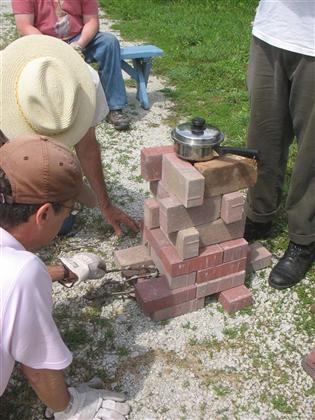 |
| Milton Dixon and I demonstrate how to build and use a rocket stove. |
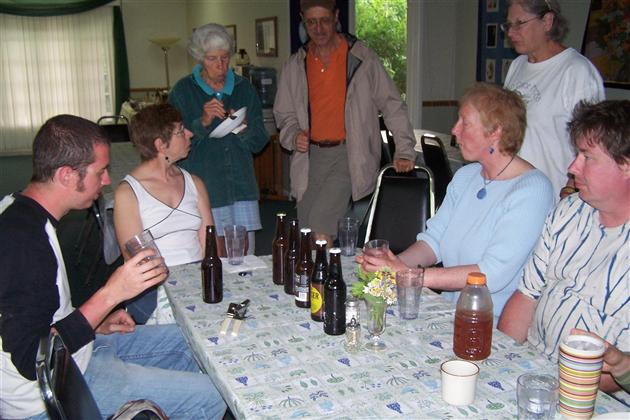 |
| Milton sharing some of his home brewed wines and meads. Students made a 1-gallon bottle of mugwort mead which I will keep an eye on for the next few months as it ferments. Students at the next scheduled training in August will probably get to sample it. |
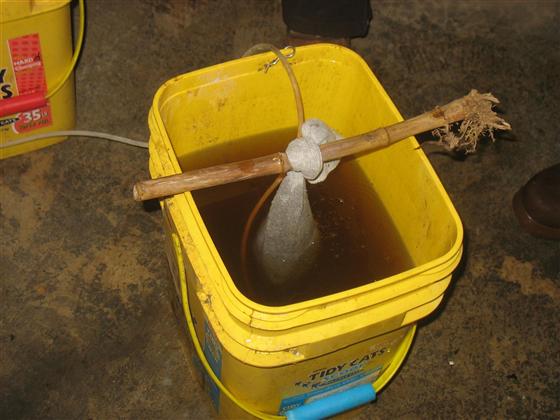 |
| Compost Tea Anyone? It’s for plants, not people. The sock contains worm castings and compost. In the water we put a table spoon of molasses and an aquarium bubbler. Two days later we have compost tea. |
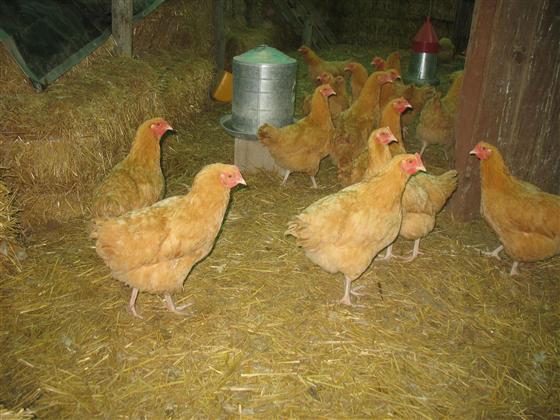 |
| We are moving these lovely ladies out from the chicken house (where we feed them daily while harvesting their eggs) and into the orchard where they will fend mostly for themselves, eating bugs and weeds. We needed to build a portable chicken coop so our students assisted with this. |
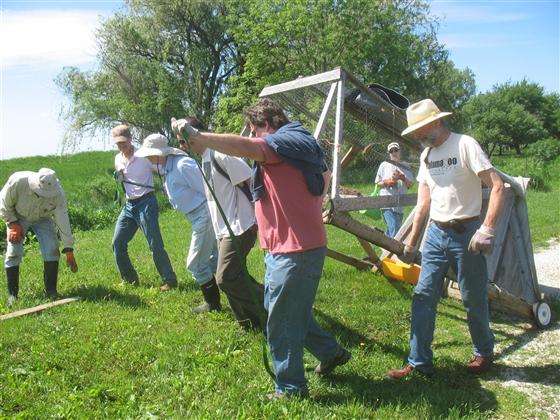 |
| Moving the Old Chicken Tractor |
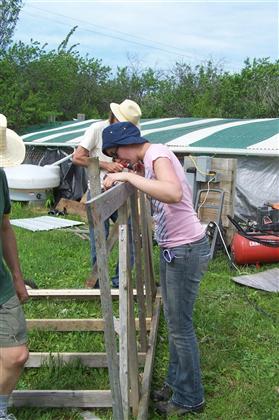 |
| Disassembling the Old One |
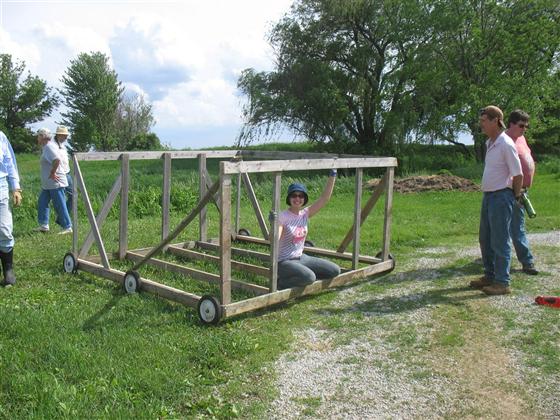 |
| Rebuilding the New One |
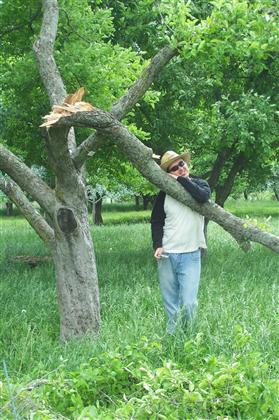 |
| One of the storms that came through, took down a substantial branch from this apple tree in our orchard. |
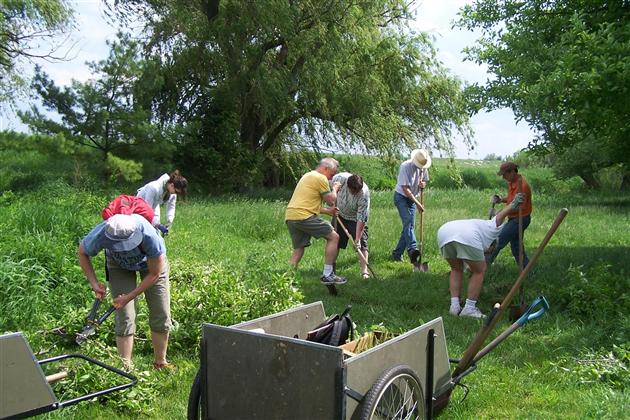 |
| Why not take this wood and build a hugelkultur bed right next to the tree it came from and put in a plant guild that will support the long-term growth and production of the tree? |
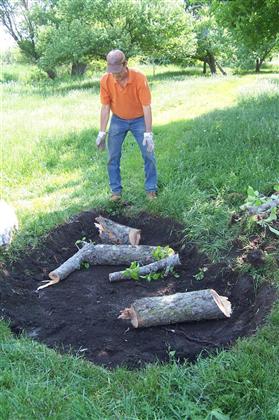 |
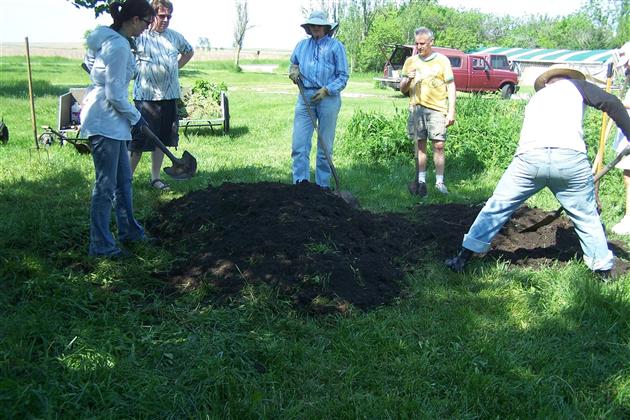
| So students dug an 8-inch hole putting the sod on one side and the dirt on the other, then threw in the big chunks of wood… |
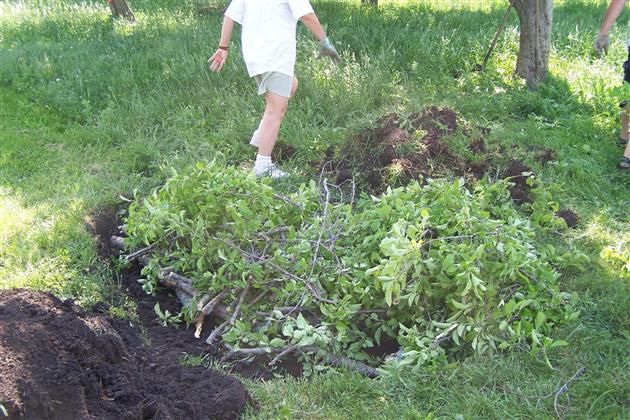 |
| …followed by all of the branches… |
 |
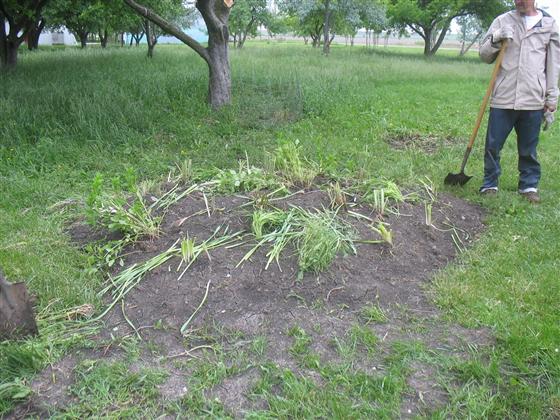
| …then all of the sod… and topped off with the clean soil. |
 |
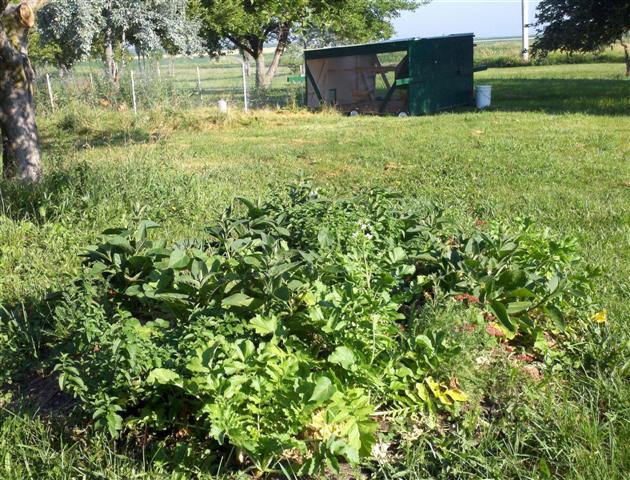
| The plants in the guild all came from cuttings or root stock we harvested from plants around our home or in the community that needed some division or thinning. We spent nothing on plants. In an month this will be a lush bed containing comfrey, lemon balm, spearmint, garlic chives, daisies, with the overstory consisting of currents. A few daikon radish seeds were sown in to attract beneficial insects, build fertility, and for eating. |
 |
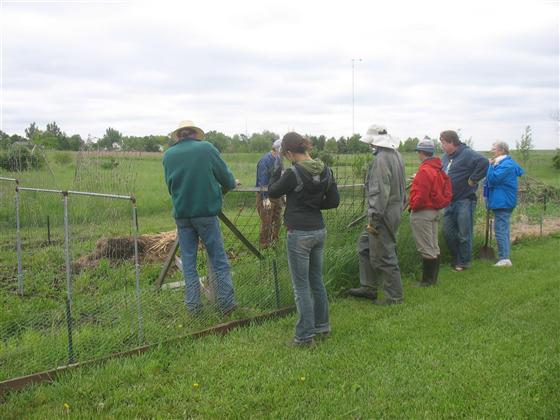
| Here is what the guild looked like 7 weeks later. The completed chicken coop is in the background. |
 |
| On another day we took a very weedy and grassy area of the community garden and without any digging, turned it into a prime growing area. |
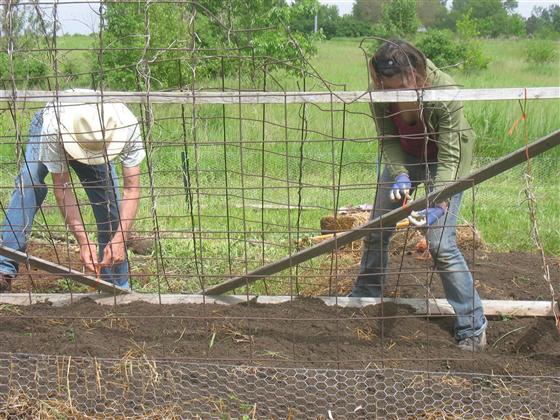 |
| We used Toby Hemenway”s “bomb-proof sheet-mulching method” (as explained in his book Gaia’s Garden) and finished up with this great bed, ready to plant peas and beans. |
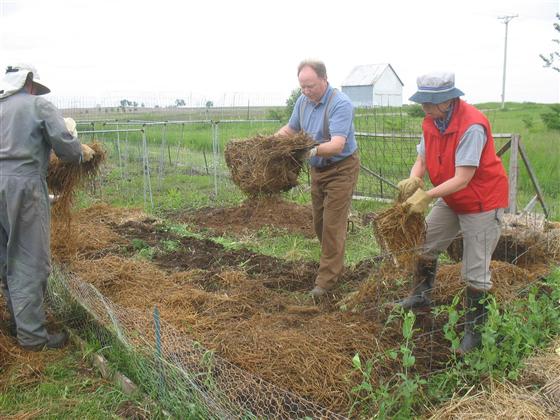 |
| The secret is applying layer upon layer of materials includeing newspaper, cardboard, manure, straw, green grass or weeds, and compost. The results… no digging, no tilling, no weeding, ready to plant, and great long-term fertility. |
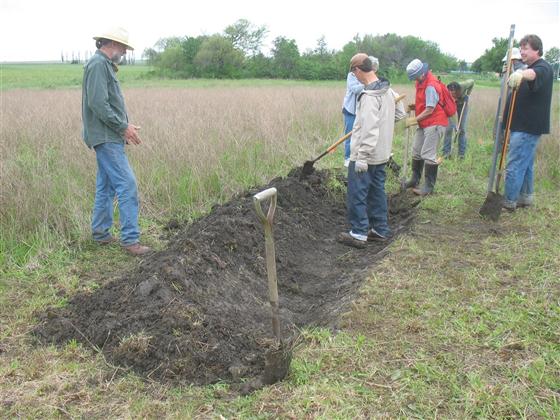 |
| On our final day the ground was just dry enough to layout and dig a swale. |
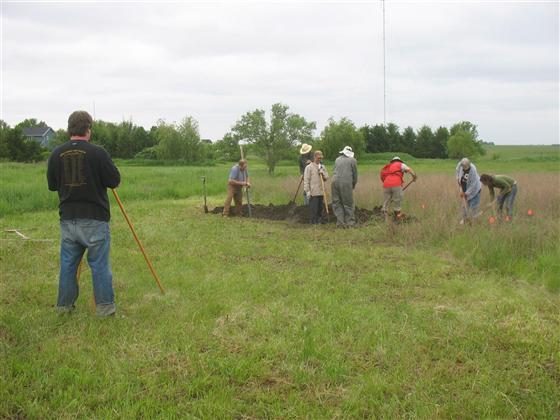 |
| We used an A-frame and a transit to mark off where to dig and to keep the bottom of the swale level or on contour.
|
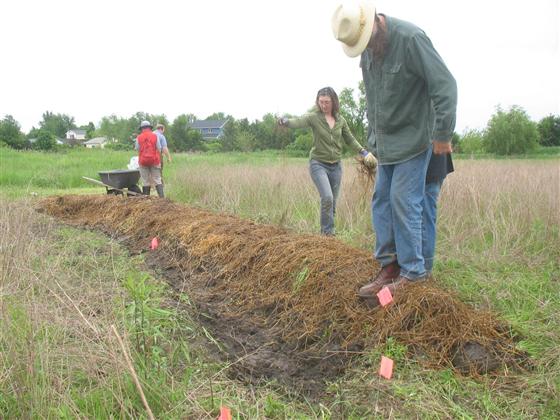 |
| After digging, students covered the berm with loose straw and planted white clover seed to help hold the soil in place while also fixing nitrogen. |
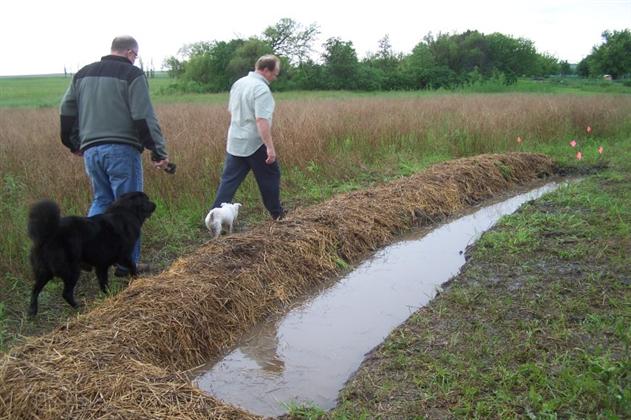 |
| Two days later we received another good rain and I was able to capture this picture of the swale doing the very work it was designed to do. All of this water would have ended up in the creek and eventually the Mississippi river if it was not caught by this swale. This water will now soak into the ground slowly and anything we plant near to it will receive the advantage of additional water. |
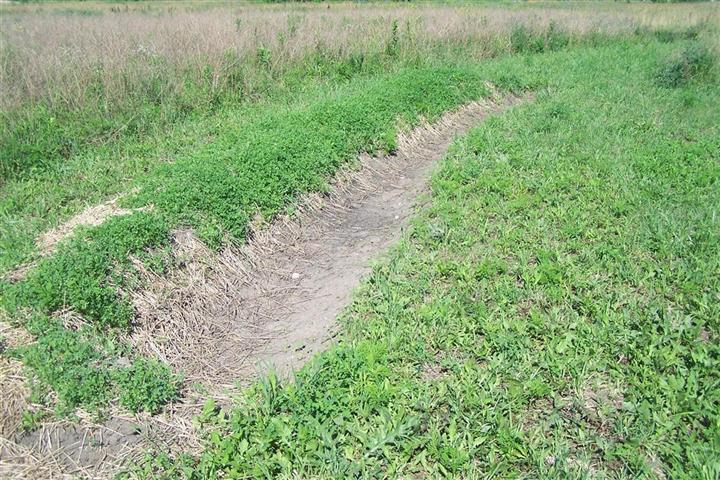 |
| Here is the swale 5 weeks later. |
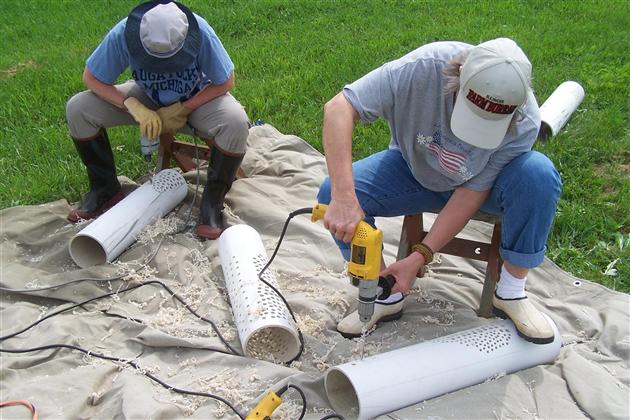 |
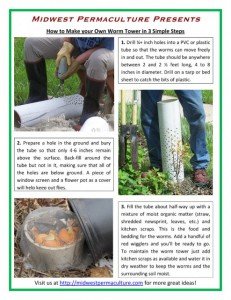
| Inspired by our last month’s email, our students wanted to try their hand at making their own worm towers. It starts with drilling holes into a 2.5 foot tube of PVC. It’s a lot of holes…!!! Next time we’ll use a 1/2 inch bit. |
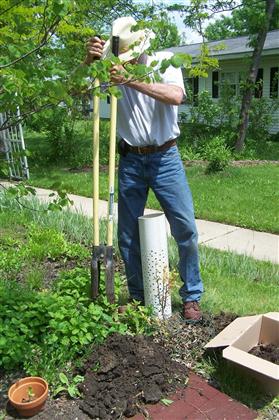 |
| Then we took a post hole digger and dug down two feet into a bed that is close to the house and growing lots of edible plants. We want to make it convenient to take our kitchen scraps out and turn them quickly into rich worm-castings. |
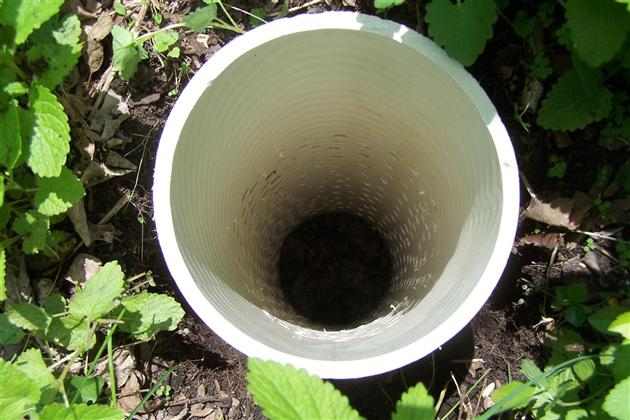 |
| Then the pipe is inserted into the hole with the last 6 inches (where there are no holes) sticking out. |
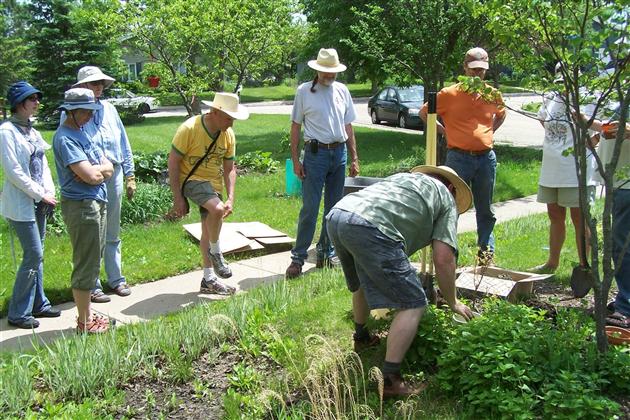 |
|
We back-filled the hole 1/4 the way with some wet straw, a handful of red wigglers, a bit of topsoil and a handful of kitchen scraps. We cap the tube with a piece of screen and a flower pot to keep the flies out. The little guys are in heaven now and we keep adding kitchen scraps in the following days until it fills. Once full, we give it a week to 10 days when the contents will have dropped down. Now it’s time to top it off with fresh kitchen scraps again. |
|
The worms burrowed-down deep for the winter and in the spring we pulled out a small bucket of worm castings from the bottom before adding a bit more straw and the kitchen scraps again for another year.
Here is a one page printout we made for you of How To Make a Worm Tower in 3 Easy Steps.
Can you join us for a training? If you come to one of our trainings hosted here at Midwest Permaculture in Stelle you can put your arm down this very worm tower to see for yourself how a column of gooey kitchen scraps turns into beautiful worm castings.
Our Next Hands-on Permaculture Training
Click Here for Full Schedule
Learn from Home |
|
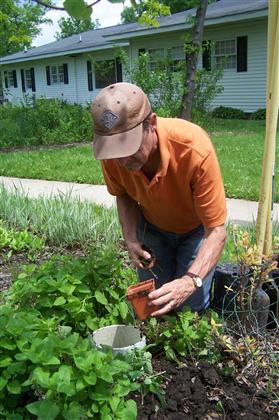
Summary: During the week we tackled over a dozen projects and our students received a good portion of the Permaculture Design Certification Course curriculum during our classroom time. They may now choose to continue on with their education to earn their PDC Certificate or may simply take all of the great skills and information they learned this week and begin applying them into their own lives. And you don’t have to have a piece of land or a house lot to apply this sort of training. The final picture above is Larry, of Chicago, who lives on the 10th floor of an apartment building in the city. Permaculture is about design and conscious living. I matters not where you live. Thanks for reading this far. Bill Wilson
|

15 thoughts on “Pictures From May 2011 “Hands-on Training” Week”
Would it work to use the green drainage pvc pipe that already has holes it it, or do the holes need to be this small and clusted together to work well? Also, do I need to introduce purchased worms or will the ones already in our ground do? We live in the Mississippi/Illinois river valley of Illinois. I’m interested in beginning to garden to feed a family of 4 and have plenty of space. I’m gathering all the good ideas I can get.
I don’t know how many holes the green pipe has so it’s hard to say if it will work as is. I don’t think they have to be the same size and clustered but there needs to be enough so that the worms can access the soil. It might be worth trying as is. The worst case is that you need to scoop the vermicompost out yourself rather than the worms depositing it in the bed for you. The worms are red wigglers, Eisenia fetida, different than what is in your soil. They usually live in the decomposing layer above the soil itself. You can often get them as live bait, or extra worms from a friend.
I tried the worm tower. Mine has holes all the way to the top. I had read that air circulation was important. Does it make a difference?
Hi Kathy, it probably doesn’t make much difference. Of course, we haven’t tried it on our towers but if your worms seem happy then they’re probably fine.
Awesome narrative, thank you for the photos. My question is, what course or college degree is this part of? I love these ideas, the out doors, and the hands on approach, I would be interested in learning more.
Thank you
Hi Ted…. there are just a few colleges/universities that have included permaculture in a curriculum or for a degree. Oregon State….University of Mass… Gaia University… and the Maharishi Univ. of Mgnt. are some. The rest will catch on someday possibility.
Our Hands-on Training is part of our own course series. That and our completion course are equivalent to a PDC, which is the standard course unit for permaculture.
Referring to the worm towers, will the worms live through a northern Illinois winter or do they have to be replenished in the spring?
Last winter was too mild to judge. We kept a backup wormbin just in case we needed to restart it in the spring. We’ll see what happens this winter!
O.K. I’d be interested in knowing the outcome thank you.
vivi
Good to hear from you Larry…. We just finished our 2011 PDC course season. Becky and returned home on Friday and begin our hibernation winter of planning out our next year. Sure, there will be lost of new things coming up. We should have a newsletter out in a few days…and a good portion of our training schedule posted too….
Thanks for asking Larry… we’ll keep ya posted… Best… Bill
Hello Bill, it looks like the winter season is almost upon us.
Anything new with Midwest Permaculture?
Keep us posted.
terrific narrative and photos–looks like a fun week (next time . . .)
I am wondering if you & Milton (and maybe Wayne) will cook up a similar thing for apartment dwellers–that would be awesome!
Judy
Way to go Larry.
Sometimes, NOT having a plot of land frees you up to explore what others are doing. I am looking forward to you sharing your experiences. See you at Kloempken soon.
Lynora
Love the photos!
L