
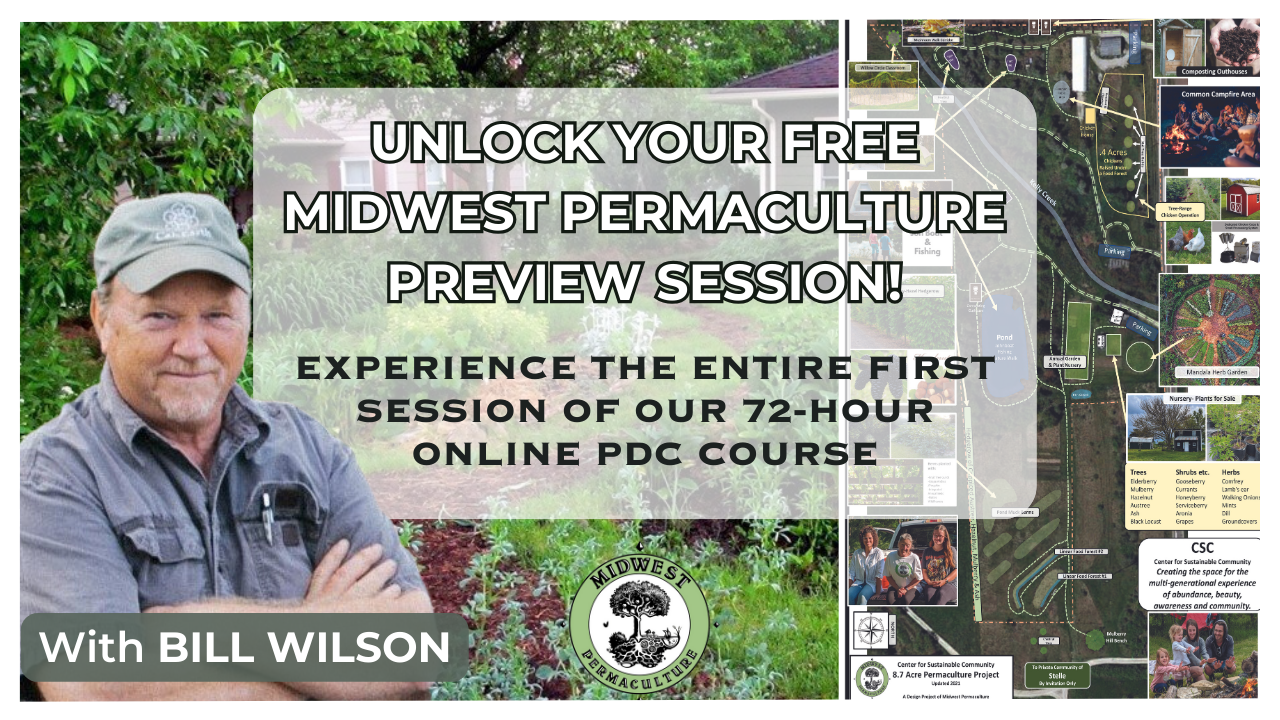
This free 2-hour session offers a profound and impactful introduction to permaculture and a glimpse of how we deliver the Permaculture Design Certificate (PDC) course. With almost 20-years of experience and a determination to create more effective methods of teaching, we have developed one of the most meaningful and results-oriented permaculture learning experiences available anywhere in the world. Our goal is to make this course not just informative and enjoyable, but also easy to navigate and revisit.
Enter your email address to receive access. By signing up, you'll receive occasional email newsletters with valuable permaculture insights and updates on our courses. We respect your privacy and won't send spam. You can unsubscribe at any time.