|
Why Season Extenders are part of This Permaculture Design For those of us who garden in a temperate climate (freezes in winter), we know only too well the disappointment when, for example, our indeterminate tomato plants are full of tomatoes in the fall, they are producing wonderfully, and then the first frost hits. The tomato season is now over and the plants were producing so well for the last 4 weeks. Now, suppose we created a very simple cold frame or low tunnel to start our tomato plants earlier in the spring so that they had a 4-week earlier start. That would mean that we would now get 8 weeks of tomatoes by the time the fall frost came calling. We just doubled our production from 4 to 8 weeks with a little protection in the spring. But what if we constructed some kind of added protection in the fall as well, before the frost hit, and ended up getting yet another 4 weeks of production? We just tripled our yield with a little help from our season extenders. Our Objective: |
 |
|
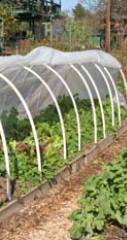
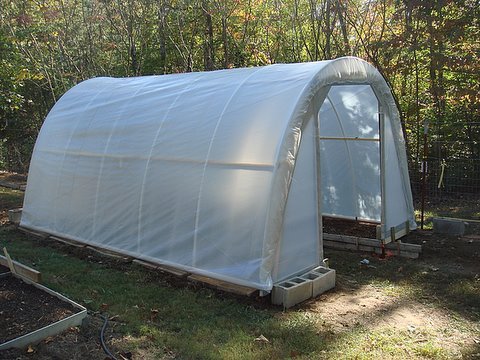
Season Extenders Explained Here is an introduction to various options–some traditional, some creative. 1) Common Seasonal Hoop House
What are the materials for a traditional plastic-cover hoop house?
Recycle…! Using plastic gives many of us pause when we consider the environmental effects of this material both in manufacturing and is disposal, but on the positive side, the plastic cover can be put in to the recycling bin an turned into other useful items.
Here are some great step-by-step photo instructions on how to build the hoop house/greenhouse below for less than $100. This article is by David LaFerney and was featured in Birds and Blooms Magazine. This is just one of the many online how-to guides on DIY hoop houses out there. He also provides an extensive material list, and helpful step by step photos. Thank you very much David for this great idea and wonderful pictured instructions.
Remember that with every additional layer of plastic it is about the equivalent of moving 250 miles further south, increasing your planting zone significantly!
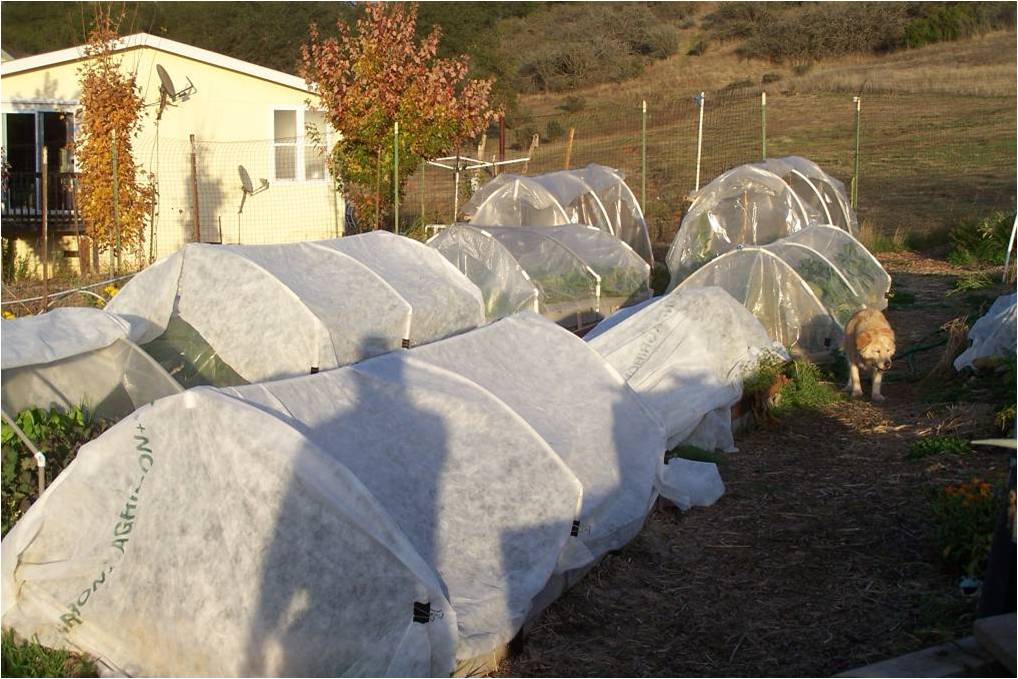
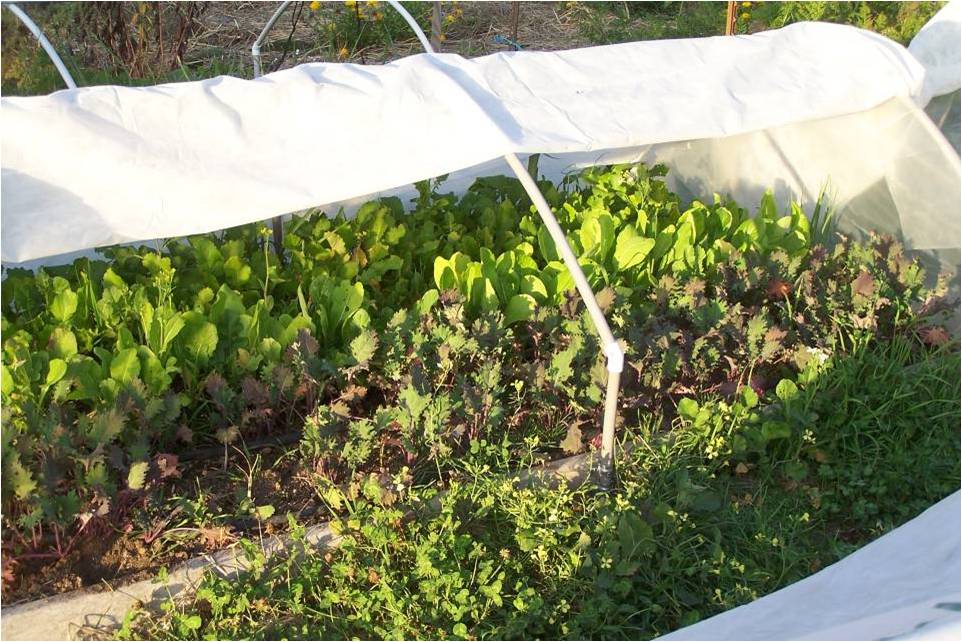
2) Low Tunnel Quick Hoop Houses Low tunnels are exactly what their name implies; a low to the ground variation on a hoop house and then tend to be rather long. These low tunnels are much easier to design and put up than a greenhouse. Check out this Mother Earth News article to read about farmer Eliot Coleman who created Quick Hoop Houses using electrical conduit for the round hoop frame, and secured it with sandbags, allowing for quick location changes and easy access to produce. 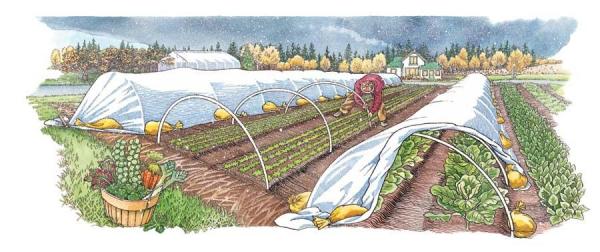 Illustration by Kristin Hurlin
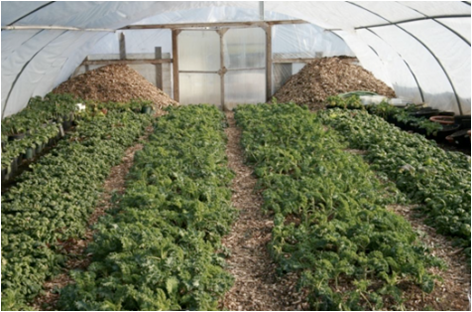
3) Store your compost piles IN your hoop house or greenhouse  Will Allen at Growing Power has introduced many to a brilliant idea.
As the piles heat up, that heat is held in the greenhouse, effectively keeping it above freezing all winter long. The piles also give off Co2 which the plants love. When the really subzero weather arrives, a quick stirring of the pile releases extra heat. And when spring arrives, and the compost piles cool down, there is ready-made compost to spread on to the beds for the growing season. One activity (the making the compost piles) produces 3 very helpful yields. Now that’s permaculture. Will Allen and his staff at Growing Power and doing amazing urban permaculture work (though they don’t call it permaculture). As Bill Mollison, the co-founder of the permaculture movement says, “it does not matter what we call it, we just want to do the work of caring for people and for the natural world that sustains us.” Learn more about Will and his project at http://www.growingpower.org/.
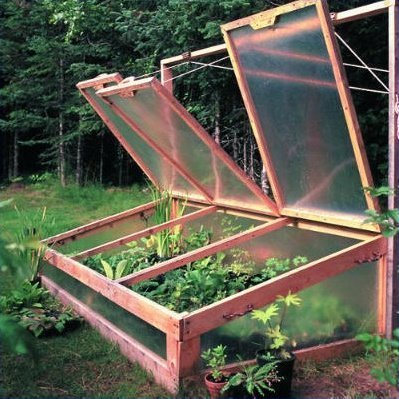
4) Cold Frames, Hot Beds and Hot Caps Cold frames, hot beds and hot caps use solar heat naturally to create a mini greenhouse for early starts or late harvest. They are easy to put together, low-cost and are often made with re-purposed materials. See more information at the Virginia Cooperative Extension , on the ins and outs of all three. Cold frames are an especially good model for reusing old glass windows. It’s important to remember a few key things when building. These include:
Another quick how-to on cold frames is found here at www.sunset.com, and features this design below.
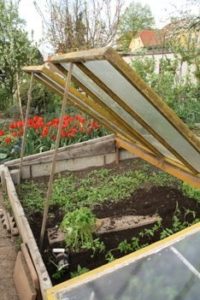
Hot Beds – A low-energy solution to creating a hot bed is to bury the cold frame in a foot and a half of broken down manure, and add 6 inches of fine soil on top. This design is featured by Reef and McDaniel of the Virginia Cooperative Extension here. Basically, a hot bed is a cold frame with an additional heat component.  Another great article on how to build your own hot beds and cold frames is found here at Mother Earth News. It covers both manure and electrically heated hot beds, and gives extensive information on building material, location, and seed testing.
What else can serve as a cold frame? 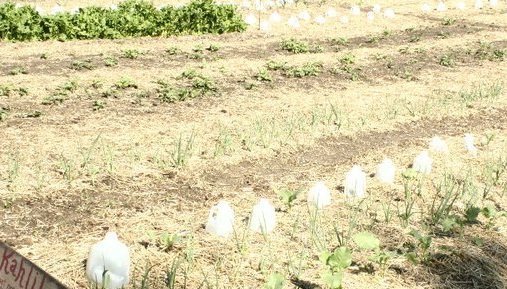
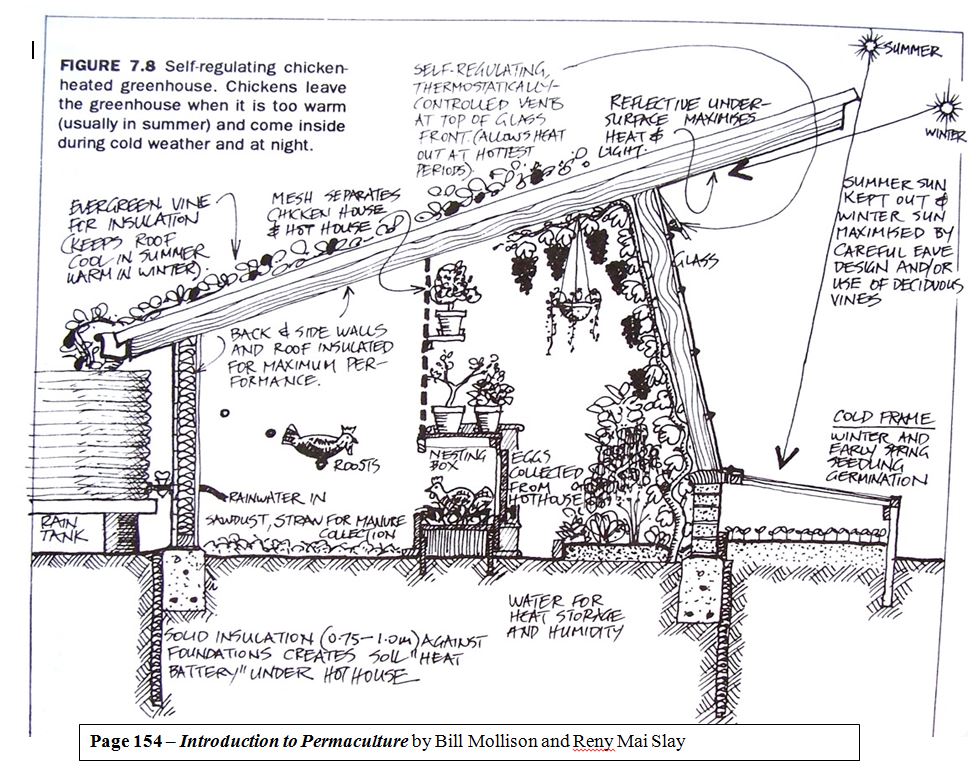
5) Chickens and other small livestock in design Many folks have tried a variety of approaches to integrating livestock with their season extenders and greenhouses that proven to be quite successful! Cold frame and chicken roost combinations, sectioned goat pens with a small greenhouse, a hatchery in a greenhouse, all provide additional heat to the whole system. There are some fantastic designs out there. That said, don’t rush out and purchase those laying hens just yet. This approach does require some design science and careful monitoring. We must craft space for the livestock in our permaculture design that also compliments the creatures themselves. If you’ve never cared for chickens before, there are tons of resources out there to help you get started.
<–Click on the image to view in larger size. Notice that the roof is slanted so the sun comes in during the winter, but not as much in the summer. It also captures rain that feeds into an automatic watering system for the chicken and is available for watering the plants too. It’s very well insulated, and there is a wire mess wall separating the north end of the greenhouse (where the chickens and other small livestock reside) from the southern exposure, protecting the sun-loving plants from being eaten by the chickens in the greenhouse. Because of the good insulation, the greenhouse holds-in some of the heat from the livestock keeping the unit above freezing on cold nights. The addition of Co2 from the animals is a plus as well. Notice the cold frame addition in the front as well. Perfect placement. You can Click Here to watch our video on the Industrial Egg vs. the Permaculture egg, which features this design. Of course, Mollison’s design can be modified dozens of ways to meet particular needs and wants. One idea would be to fashion lighter materials for the walls and beams (perhaps a hard-foam insulation?) and plexiglass for the roof to make the pen mobile. This way, in the summer months when the greenhouse isn’t in full swing, it converts into a “mobile chicken tractor” providing extra manure and natural pest control to your garden area. The cold frame could be detachable. What other ways are there of incorporating livestock in greenhouse design? |
|
Elizabeth Schallart works for On Earth Peace, a nonprofit that provides peace education, social change and conflict transformation across the country. She is also a permaculture practitioner with a love for melding trauma healing and earth care. She earned her PDC from Midwest Permaculture in 2013. |

Bill Wilson is a permaculture teacher, designer, and the co-founder of Midwest Permaculture. |

[contentblock id=10 img=gcb.png]
1 thought on “Season Extenders”
Mosel river (Moezel) in Germany has vineyards that produce grape for famous Mosel vines; When traveling along river I asked friend how came those vineyards look like drawn with black marker – I was told that ripening and sugar content in their grapes are helped by charcoal colored slate stones (used for roofing in the area as well). Stones around grapes prevent evaporation, reduce weed and since they heat up quickly they radiate heat through day and even during night; I told this my to mother and she collected some blackish stones that she would drag out in September and put around plants that needed a bit of help to ripe before cold weather kicks..and she absolutely loved the results; I believe that plastic 5l water bottles painted black and filled with water could also radiate a lot of heat in the veggie patch in September & October nights…