Download The 8-Steps to the Super-Clean Composting Toilet SystemA quick guide to our composting toilet system.
By signing up, you'll receive occasional email newsletters with valuable permaculture insights and updates on our courses. We respect your privacy and won't send spam. You can unsubscribe at any time.
Our primary goals in designing this system were to:
1. completely contain any harmful waste,
2. make it easy to clean and handle, and
3. be able to scale the system to different sizes for different applications.
We currently have our system set up in two ways; one using larger (26-gallon) bins that are transported with a small front-end loader when full, and the other, as illustrated above, using 5-gallon buckets that anyone can easily handle (with gloves).
The 26-gal. Tote System
We designed this larger system for the shower house at Bending Oak Permaculture Farm in Youngstown, OH. The last thing anyone wants is a stinky composting toilet in the same place you are showering, so it had to be bug-free and odorless.
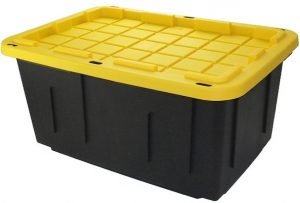
The bins we use are heavy-duty 26-gallon totes found at most box stores. They are the most robust containers we can easily find so that they can handle the weight of the contents when full and can also handle the weathering from 1-2 years of outside storage in the woods during the cold composting process. Do not use lightweight plastic bins. They will break and release the contents. Ugh.
![]() Behind the building is an easy access area where the waste bins slide easily in and out from under the toilets.
Behind the building is an easy access area where the waste bins slide easily in and out from under the toilets.
We made the toilets by cutting large cement culvert tubes to a comfortable sitting height. Since concrete is porous, it is vital to seal the interior of the tubes so that liquid/odors cannot permeate. We then affixed standard toilet seats and secured them over a hole we cut in the floor between two joists. Underneath here is where we slide in the totes. When you look down the toilet, you can see a bit of daylight (fresh air moving too) and the wood shavings covering everyone’s previous business.
 Visitors cover their waste after each use with a scoop of fresh carbon material (our woodchip blend) down the hole. All the toilet paper and human waste goes into the toilet but NOTHING ELSE. Other hygiene products go into a closed trash container.
Since the poop and woodchips tend to pile up a bit in the middle, the toilet paper rolls to the edges, so we periodically slide the bins out and turn the contents using a compost auger. This helps to evenly distribute the entire contents, including the toilet paper, poop, and urine that settles to the bottom of the container.
We really like the standard-length compost auger from Lotech Products for turning the contents of the totes and have purchased their 52″ auger for the 55-gallon drums. These augers are very well made, will never rust (made from stainless Steel), and should last a lifetime.
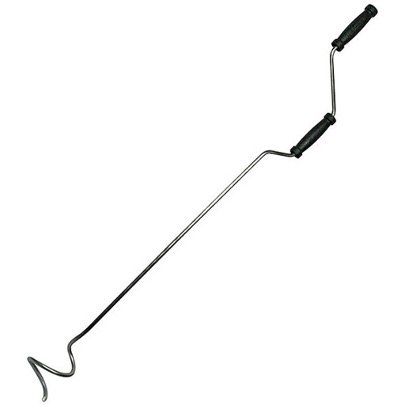
These long-handled tools keep us at a safe distance from the content of the buckets or bins to make the turning process more agreeable for ourselves. Before augering, we sometimes spritz the surrounding toilet paper with water to assist it in breaking it down if there is not already enough moisture in the container.
After turning, if the bin isn’t full, we cover the surface with a fresh layer of wood shavings and reposition it back under the building.
We know this seems like it would be an awful chore, but honestly, it’s kind of magical how it works.
It is remarkable how little odor this system has when appropriately used. The carbon material is the key here. As long as we add enough carbon to absorb the liquid and completely disperse the solid waste, the odor is kept to a minimum.
Keeping things adequately covered also prevents flies and pests from occupying our bins. Despite being open to the outside air, we do not have issues with insects.
Once full, we auger one last time and incorporate a mixture of beneficial bacteria and fungi into the water that we sprinkle over the mix. These inoculants, which are usually a dry powder, are available all over.
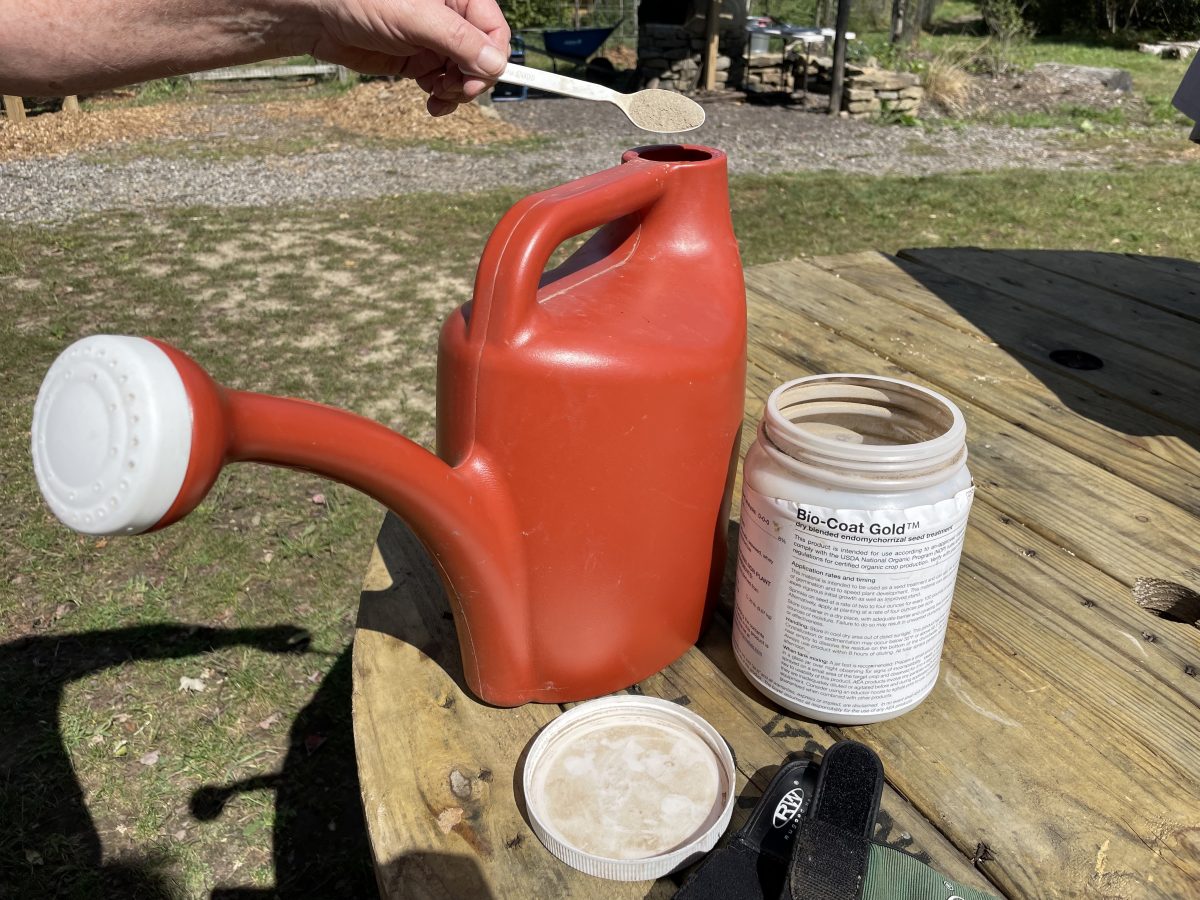 The added microbes kickstart the cold composting process and help ensure enough biological activity is present to break everything down.
Right under the lip of the bin, we drill a series of tiny holes to allow for air exchange at the surface to ensure our microbes have enough oxygen to do their work. No liquids ever leave the bin except for humidity. We then seal the totes with their lids, date them, and use our front-end loader to transfer them to their out-of-the-way resting place where they can cold compost undisturbed for 1-2 years.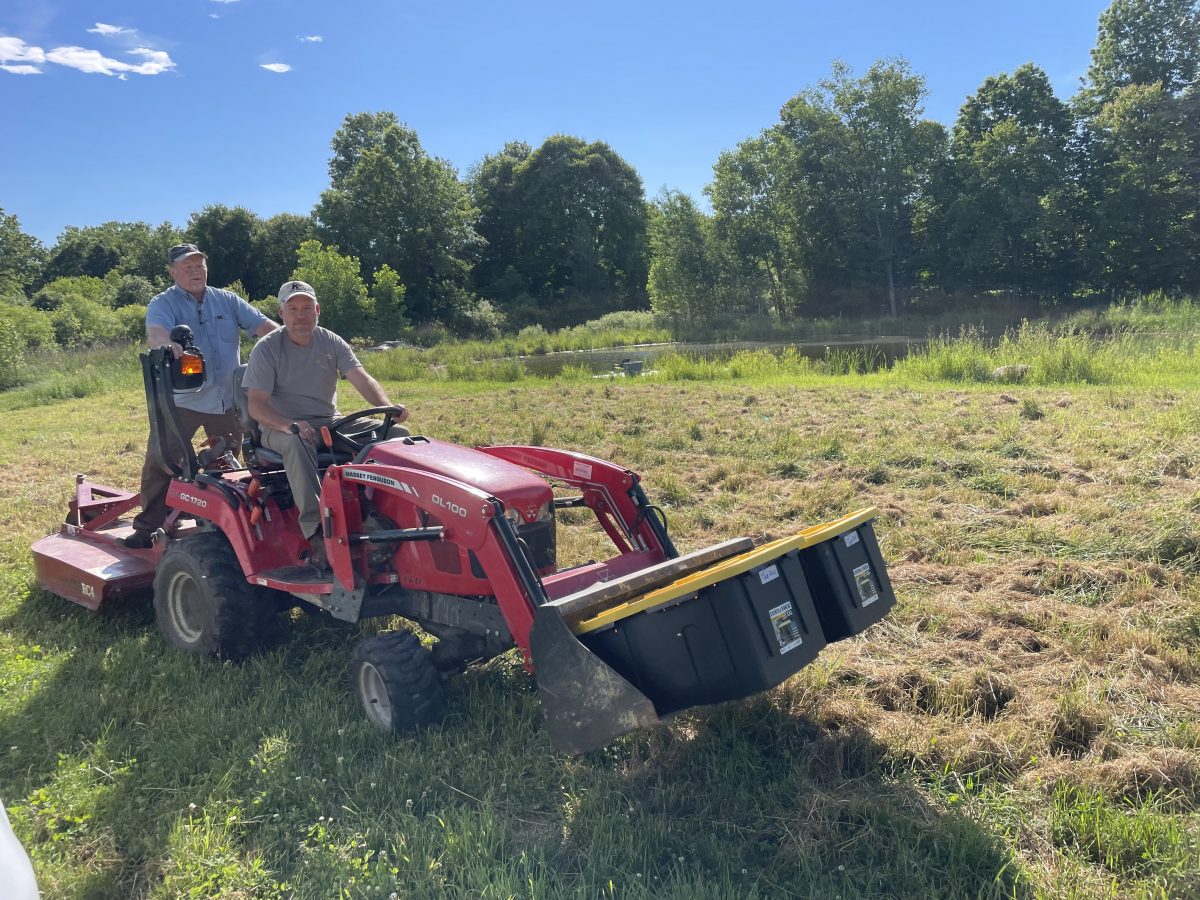
The oxygenated environment and beneficial microbes ensure that the human waste completely breaks down and harmful pathogens are eliminated by the end of this process.
What remains is crumbly, nutrient-rich humus with no unpleasant odor. We can then spread it on the forest floor to benefit our woodlot and breathe easy knowing that our waste is now feeding the soil, as it was always meant to do.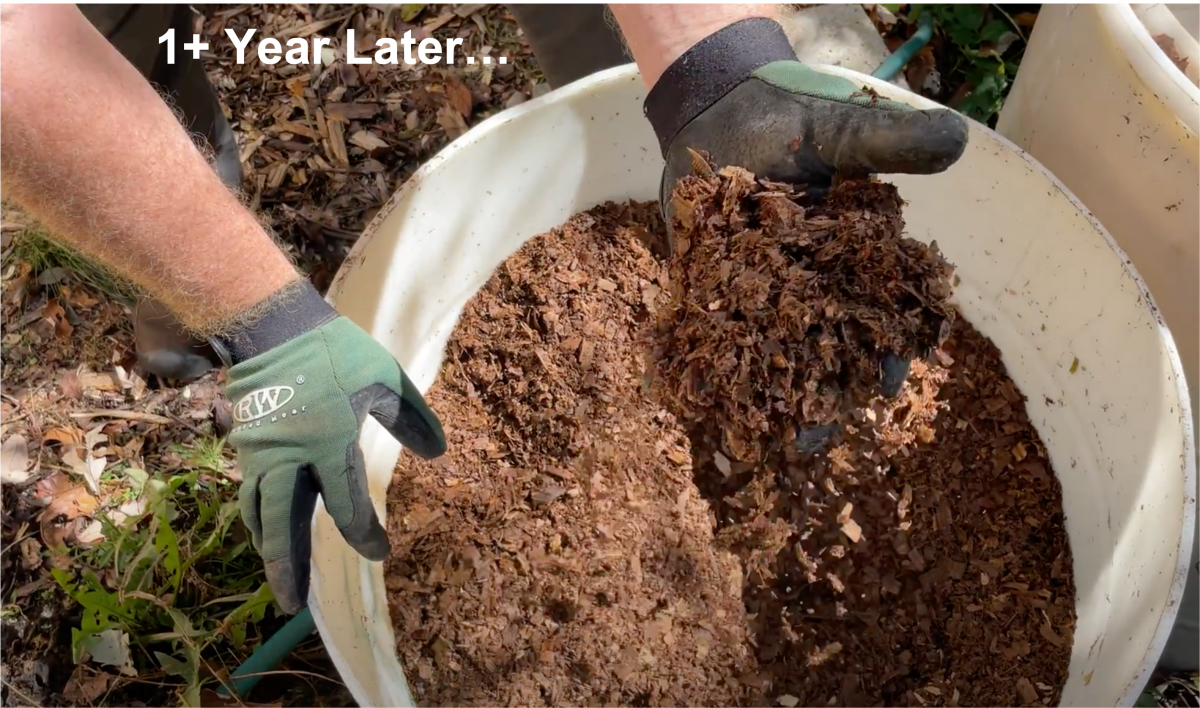
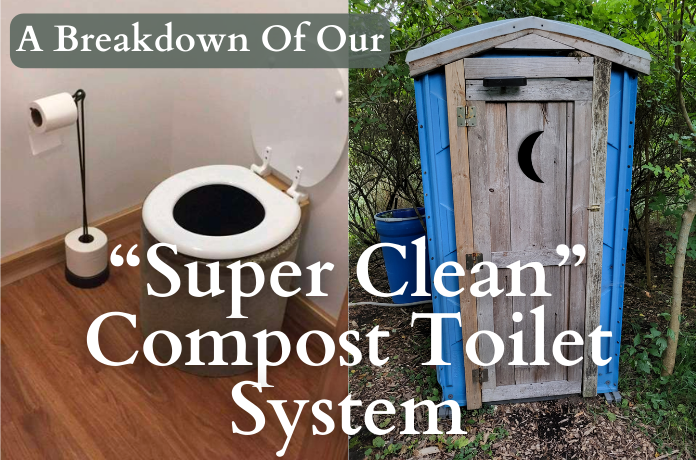
Here are some Additional Details on the Five-gallon Bucket System
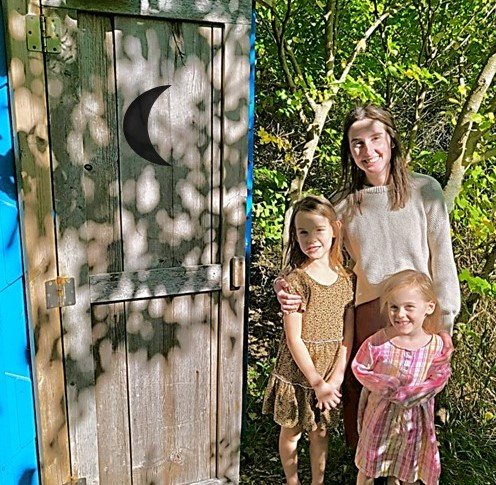
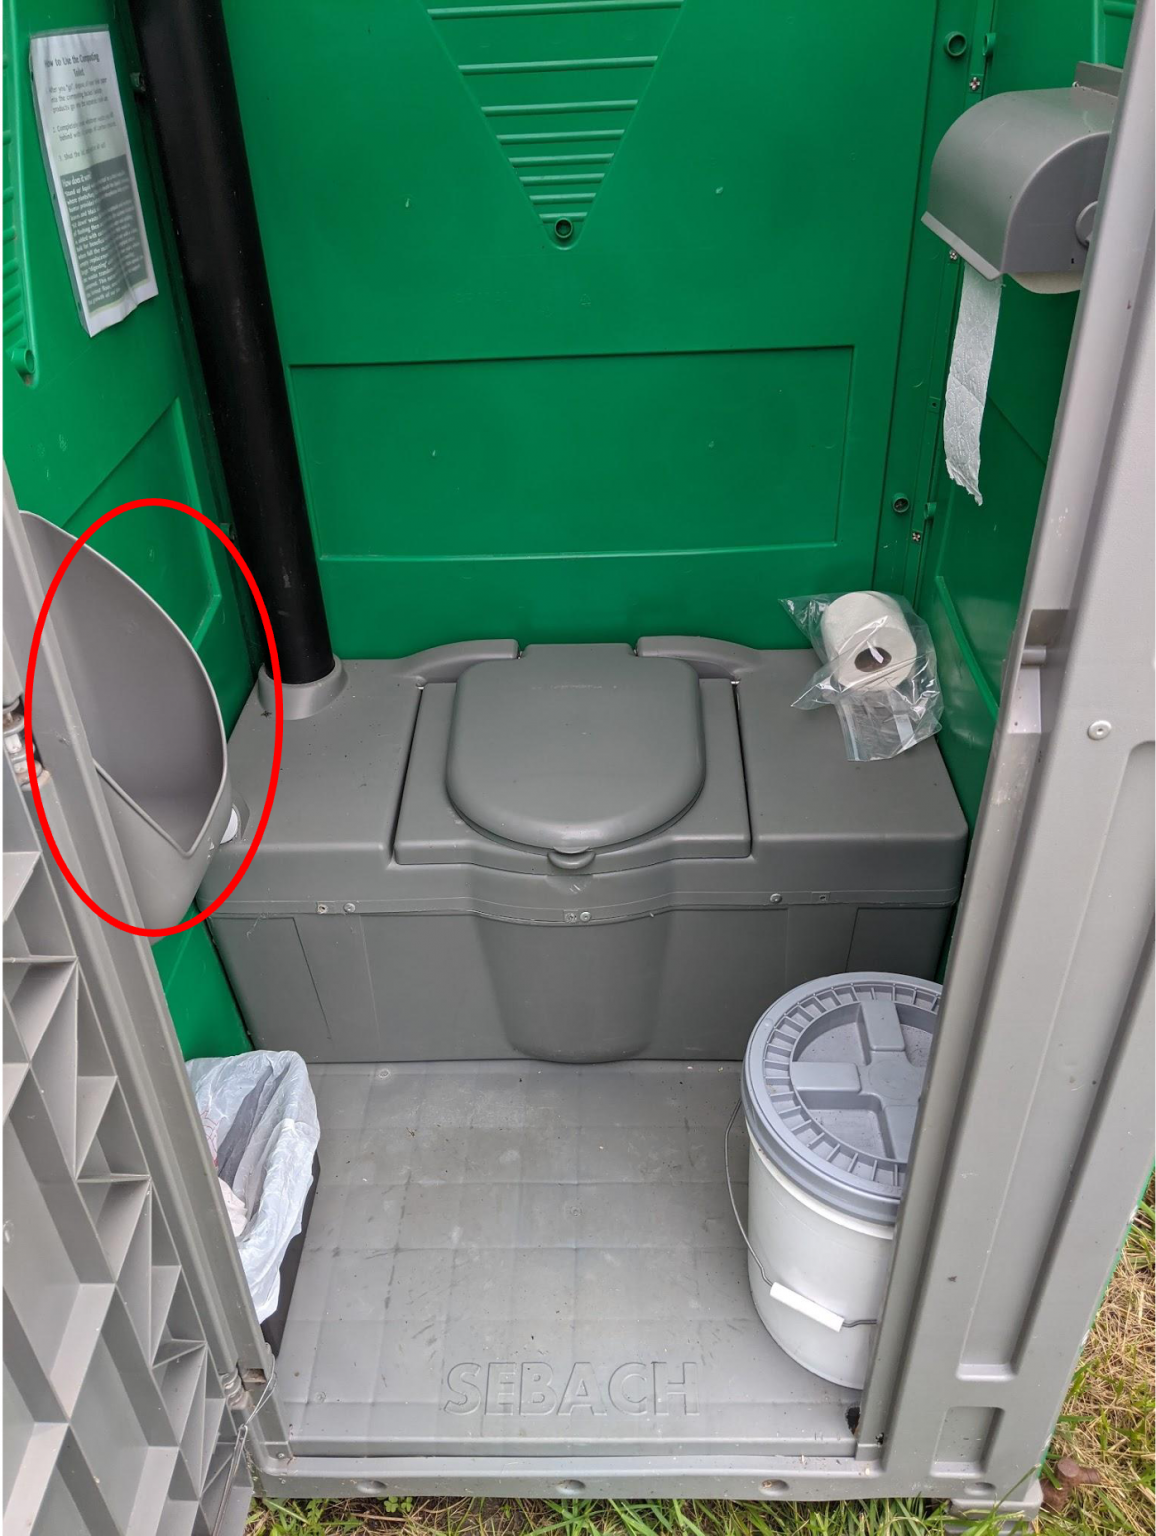
It is convenient to have a smaller-capacity system. For that, we use five or six-gallon buckets that we have set up in repurposed portapotties.
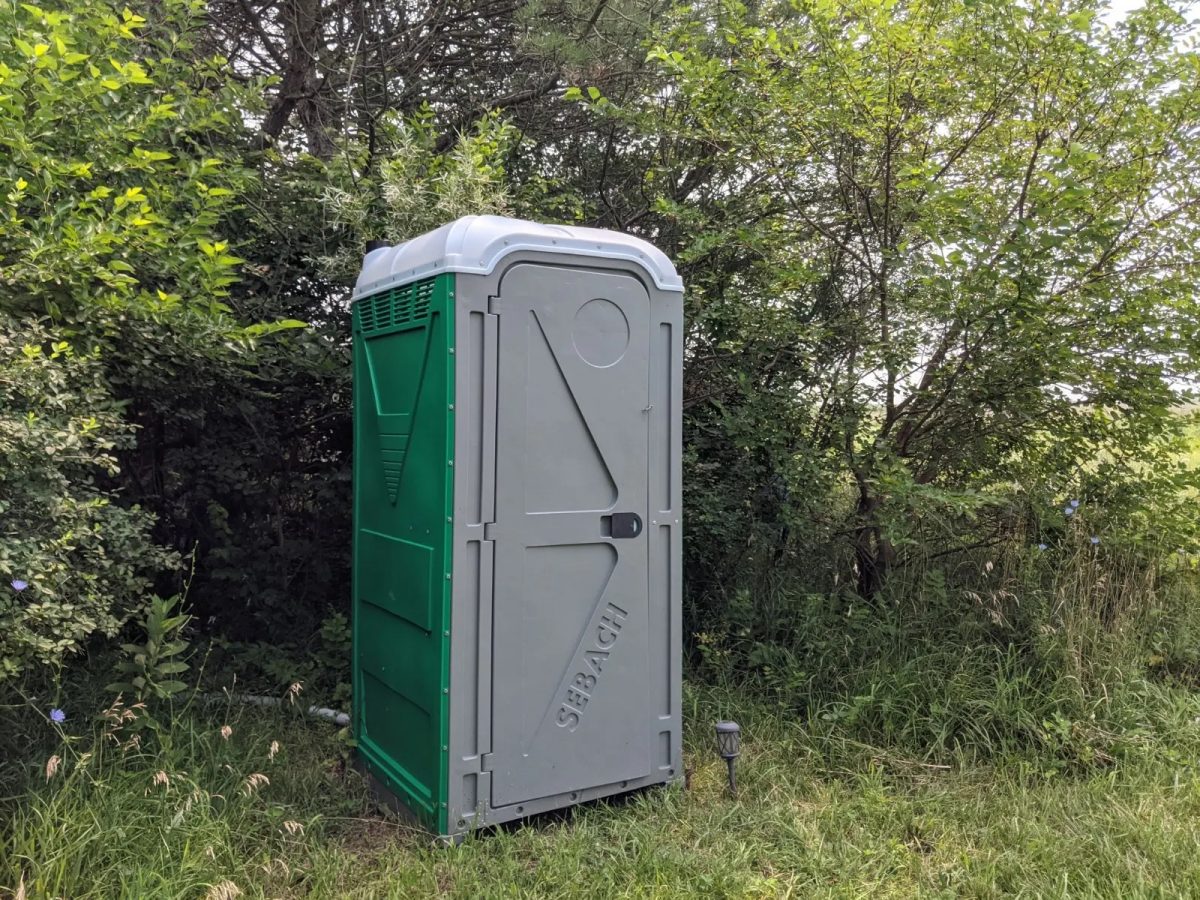
The logistics are mostly the same, except in these smaller-scale systems, we also have a stand-up urinal that diverts urine outside.
For the urinal, we have attached a hose to the drain that snakes through a hole we drilled into the tank of the portapotty and runs outside, sloping downwards towards the base of a tree.
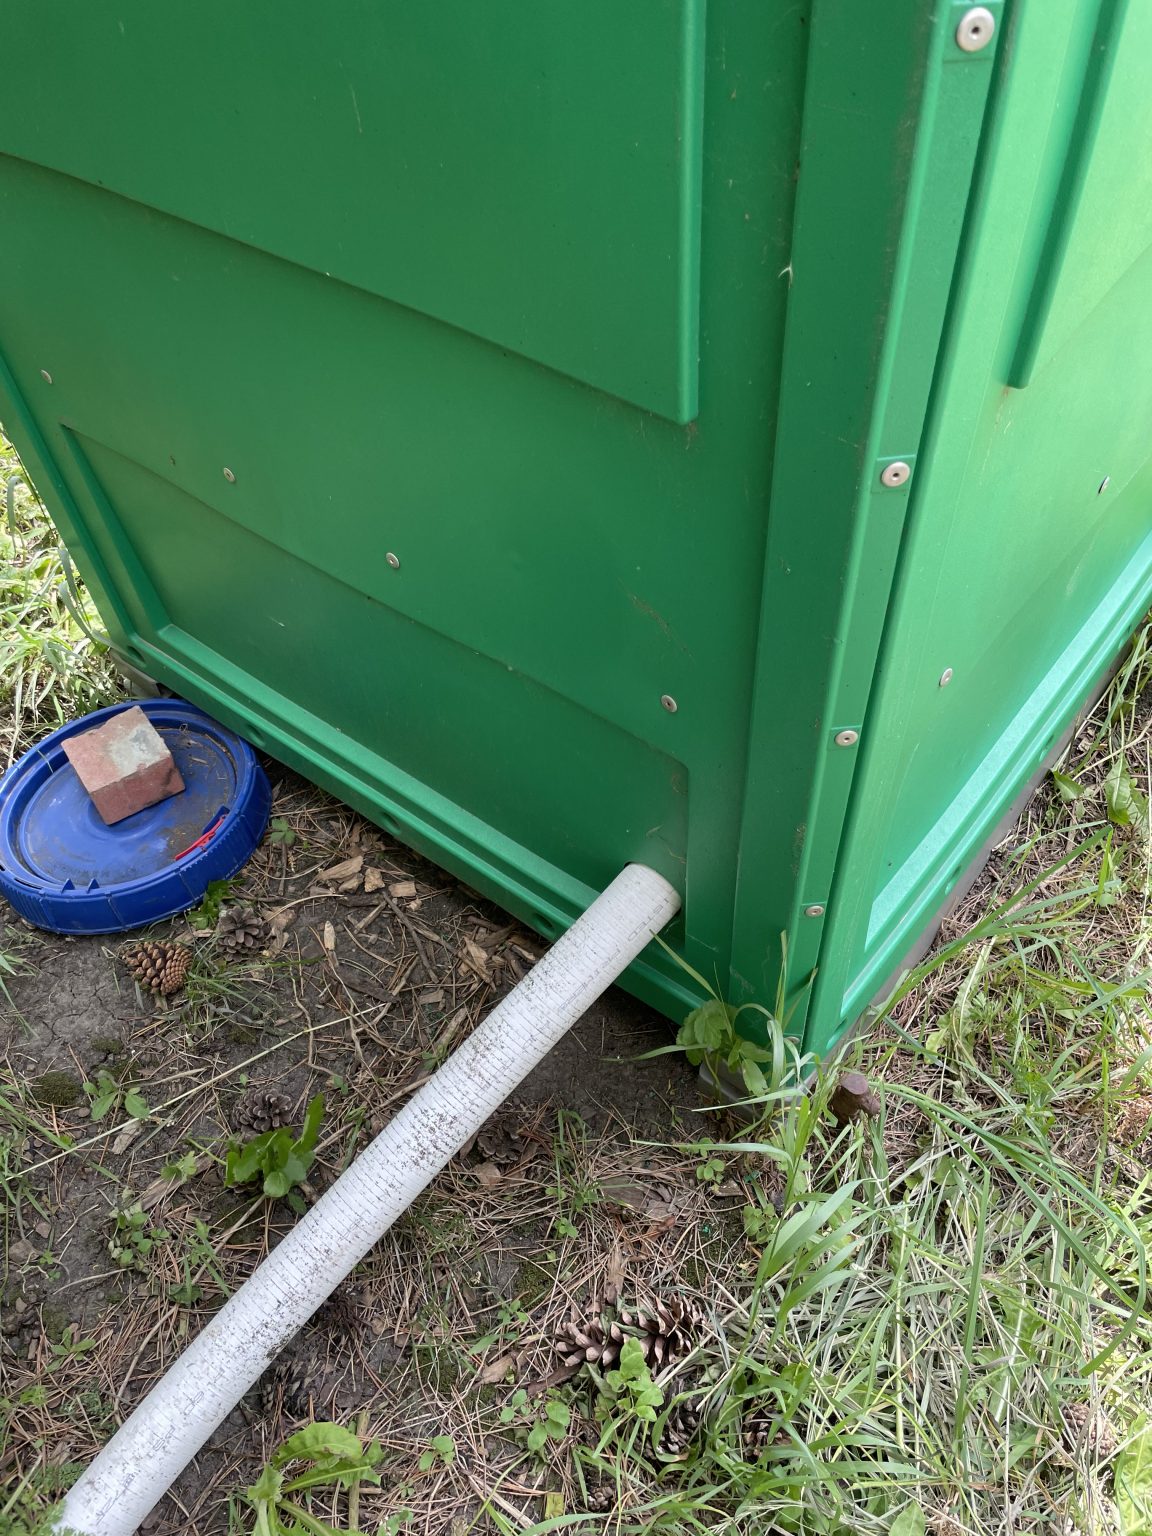
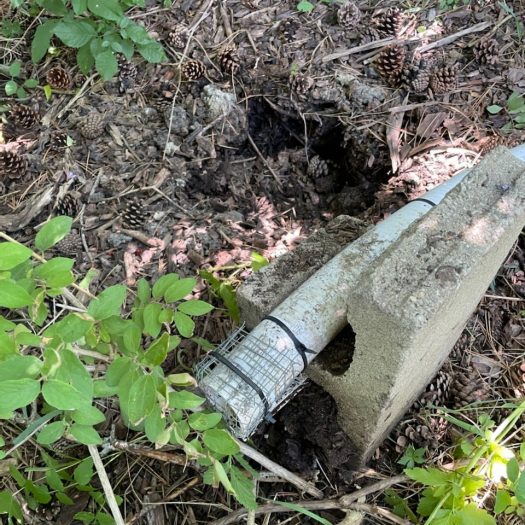
Where the hose empties, we have dug a hole about 12-15 inches deep and backfilled it with woodchips, where the resident bacteria/microbes consume all the nutrients in urine and clean and filter it before it seeps into the ground. As a result, the surrounding trees benefit from the added nutrients and water, and we deal with less volume of liquid waste in the bucket.
Over a couple of years of usage, we found it helpful to attach a screen over the outside end of the tube to prevent small rodents from entering. We also attach the end of the hose to a concrete block to be sure it does not pop out of the ground.
The bucket is placed down into the former tank of the portapotty on a platform of bricks to sit closely underneath the seat’s lid.
 We attached a makeshift plastic guard under the seat lid to ensure no urine escapes the bucket’s rim.
We have found pine shavings to be nicer to use than bulk woodchips because they look cleaner, are easy to purchase & handle, and leave a fresh scent.
 Once the bucket is 1/2 to 3/4 full, we pull it out and empty it into a 55-gallon plastic barrel we call the “Digester” and use the auger to incorporate the new waste. Just for good measure, we throw in a couple of handfuls of our own topsoil to ensure the drum’s contents have our own soil microbe community present.
Over time, the drum contents drop significantly as the organic matter continually breaks down. Once full, we let the contents rest for at least a year.
Having to handle buckets and empty them into the digester means more close contact with the waste in this system than in the larger bin system. Still, plastic gloves and basic hygiene after working on the toilets eliminate possible contamination.
Because of its 5-gallon capacity, it does demand more attention than the 26-gallon system, but the frequency at which we are emptying, turning, and checking makes the toilet exceptionally clean and odor-free. It is a perfect smaller-scale setup. We use it in our camping area, where it can easily handle two people using it for a weekend before needing maintenance.
It is so valuable to be able to process waste safely, efficiently, and comfortably on-site. We get fantastic feedback from our campers.
Our Super-Clean Composting Toilet Systems are highly approachable from both the user and maintenance end. They have proven to work incredibly well for us.
Please shoot us any questions you might have, and if you create one of these systems, please share your successes and challenges. We’re all learning from each other just as we took the best of what others have done to make our system work well for us.
Cheers… Midwest Permaculture Team
Download The 8-Steps to the Super-Clean Composting Toilet SystemA quick guide to our composting toilet system.
By signing up, you'll receive occasional email newsletters with valuable permaculture insights and updates on our courses. We respect your privacy and won't send spam. You can unsubscribe at any time.
7 thoughts on “DIY “Super Clean Composting Toilet” Design”
What product/additive
do you use that you are calling “microbes”? Thanks.
Hi Robin, We have used BioDigester™ from https://advancingecoag.com/product/biodigester-acre-p6850060/. Hope that helps!
This is very clear and easy to follow. I have just bought a remote piece of conservation land, (in New Zealand), and this gives me confidence in going forward to establish pleasant living conditions. Thank you.
Hi, this looks perfect for our cottage. I’m thinking about the 5 gallon/55 gallon combination.
Once you have the 55 gallon full, and it’s sat for the year, how do you generally empty it? I imagine by that point it’s quite heavy.
After it’s composted it’s just the same as any other compost. It will reduce quite a bit. You could shovel it out into buckets or a wheelbarrow and distribute it to appropriate places. You could also move the whole thing with a hand truck if the ground is suitable.
How long would it take a family of 6 to fill a 55 gallon drum?
Based on our experience you can figure about a 1/2 gallon per poop including the cover material, pee gets absorbed. You probably don’t want to fill any container to the brim, we dump our 5-gallon buckets when they’ve got about 3.5 gallons in them, a 55-gallon drum you might fill up only 50 gallons. That’s still 100 deposits, about 16-17 days. Keep in mind it’s supposed to compost aerobically, that’s why we use the compost auger. A great resource is https://humanurehandbook.com/.