Dry Brick Rocket Stove Maple Evaporator
- Bill Wilson
Greetings…
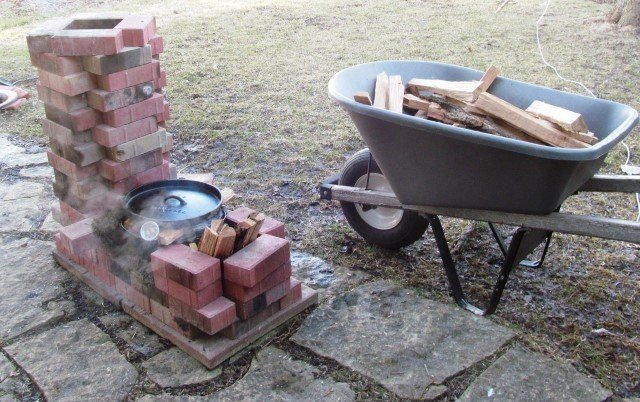
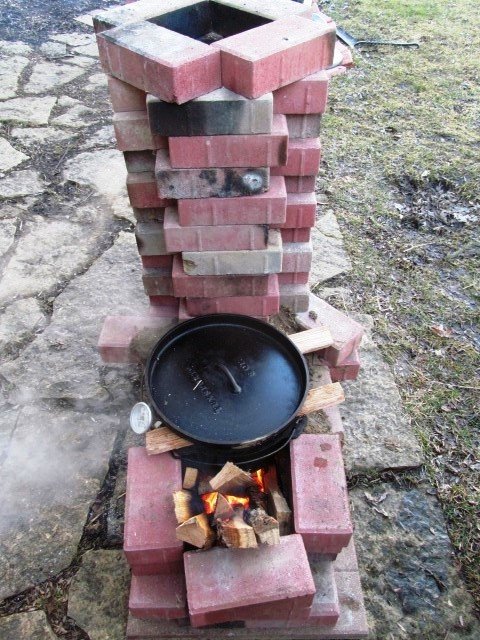
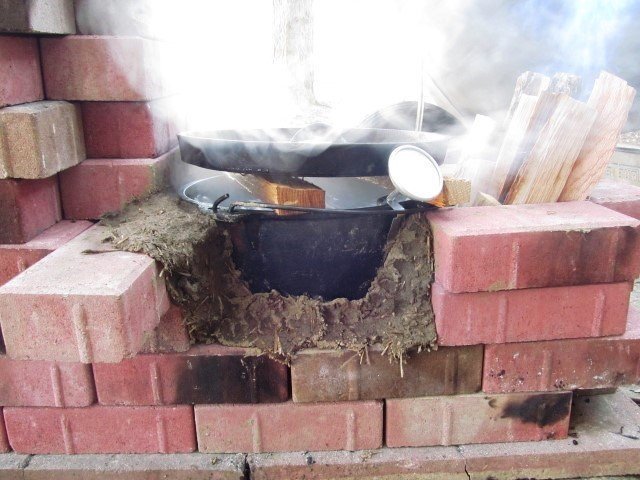
At the last minute this winter we decided to tap our mature maple tree (just one tap) and boil off some sap to make a small amount of maple syrup. I was equally interested in building an experimental rocket stove as an evaporator with the materials I had on hand. It worked great!
With some landscaping bricks, a dutch oven and a bit of home-made cob we had our stove chugging along in about an hour… maple syrup in 5 hours. 3+ gallons of sap made 1 cup. of syrup. Here are some pictures:


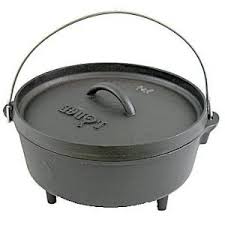
A word about the dutch oven.
I’m sure the early settlers used large cast-iron pots to boil off their syrup. But cast iron is no longer recommended due to the affect on the flavor and color of the syrup.
In our batch there were small-black particles and it started to develop a metallic taste as it boiled down further and further.
So, when we got near the end (down from 3 gallons to about 1/2 gallon) we ran the sap through a paper coffee filter to pull out the black mineral deposits and then boiled the filtered remains down in a stainless steel pot on our kitchen stove. This saved it for sure. Our fresh syrup looks great (light caramel color) and tastes very acceptable (to me). It does not have the perfect maple syrup flavor but it is very sweet and very tasty anyway.
Should any of you experiment with your own dry brick rocket stove, please let us know what you end up using as an evaporator pan and how it worked for you.
Cheers… Bill

2 thoughts on “Dry Brick Rocket Stove Maple Evaporator”
I have used the inner enameld pan from an electric counter top turkey oven an an evaporator pan. it holds 10 gals of sap and can span two burners at once. Works great!
Great idea Tracey…and that would eliminate the iron taste for sure. Did the enamel pan hold up OK to the intensity of the rocket stove heat/flames?